Introduction
Transforming a concrete patio into a lush, green oasis may seem daunting. However, with the right approach, it can become an achievable DIY project. This guide outlines essential steps for installing artificial grass on concrete, providing practical insights to enhance outdoor spaces. Yet, the journey comes with challenges. What are the critical considerations to ensure a successful installation that lasts?
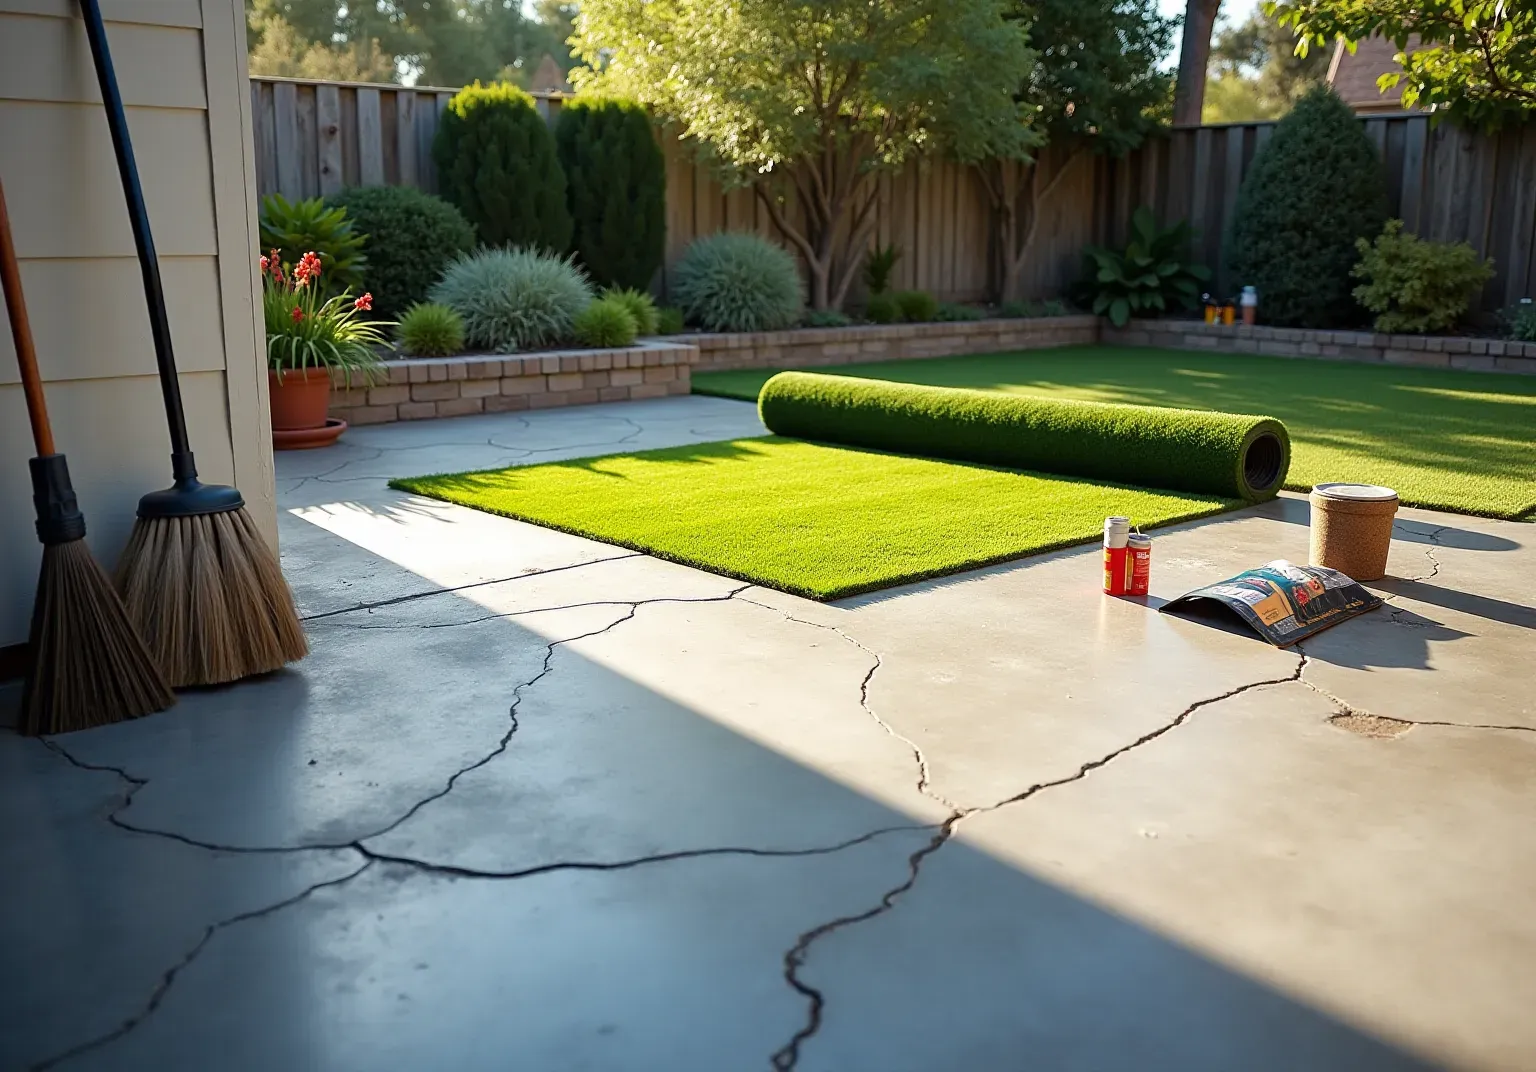
Prepare the Concrete Surface
- Clear the Area: Start by removing all furniture, planters, and any other obstacles from the concrete patio. This will create an unobstructed workspace for your project.
- Clean Thoroughly: Use a broom or pressure washer to eliminate dust, dirt, and debris. Make sure the area is completely dry before moving on to the next step.
- Inspect for Damage: Carefully check the concrete for any cracks or uneven areas. Fill any cracks with an appropriate concrete filler and smooth out rough spots to achieve a level finish.
- : For any low spots, consider applying a to ensure an even surface. This step is crucial to prevent water pooling beneath the grass, which can lead to mold and other issues. from is strongly advised to ensure adequate water flow and enhance the lifespan of the artificial grass. Their on concrete patio are designed to be safe, stylish, and low-maintenance, making them ideal for families and pets. To secure the turf effectively, use such as
XGS Turf GlueorMapei PU-1Kduring installation. Remember to schedule your to discuss your vision for a beautiful, !

Ensure Proper Drainage
- Assess the Area: Start by evaluating your concrete patio for any existing water management systems. If none are present, it is essential to develop a runoff strategy to prevent .
- Install: If necessary, drill small holes in the concrete to facilitate . Position these openings strategically to ensure efficient runoff; improper placement can lead to liquid buildup and potential damage to the grass. It is advisable to fill these holes with pea gravel to enhance liquid absorption.
- Consider a Mat for Runoff: To optimize , place a mat or foam cushioning beneath the grass. This addition not only aids in directing but also protects the from moisture-related damage, thereby extending the lifespan of your installation.
- Test the Drainage: After completing the installation, pour liquid onto the surface to verify adequate flow. If pooling occurs, adjust the system to ensure efficient drainage. Insufficient water flow can lead to puddles in the turf, fostering the growth of mold, moss, and mildew, and damaging the lawn's structure. As noted by SGW Bay Area, "The importance of cannot be overstated.

Install and Secure the Artificial Grass
- Unroll the Turf: Start by thoroughly cleaning the concrete area to . This step is essential for a . Once cleaned, lay the over the prepared surface, allowing it to acclimate for a few hours. This acclimation helps minimize wrinkles and creases, ensuring a smoother installation.
- Cut to Fit: Use a sharp utility knife to to the dimensions of your patio. It is advisable to leave a slight overhang at the edges, which will be important for effectively securing the grass.
- : Select a or heavy-duty double-sided tape to to the concrete. Ensure that the adhesive is applied evenly for the , following the manufacturer's guidelines for optimal results. Proper adhesive application can significantly enhance the longevity of the installation.
- Secure the Surface: Firmly press the surface down into the adhesive to create a strong bond. For added security, consider using around the perimeter, ensuring they are level with the ground surface to maintain a seamless appearance. Additionally, consider to facilitate drainage, preventing water accumulation and potential mold issues beneath the grass.

Finish and Inspect the Installation
- : After the adhesive has cured, trim any excess grass along the edges to achieve a polished finish. Ensure that the edges are neat and align perfectly with the patio's perimeter for a .
- : For a , use a stiff-bristled broom to fibers against the grain. This technique lifts the fibers, enhancing the overall aesthetic and .
- : Conduct a thorough walk-around of the installation to identify any loose areas, wrinkles, or uneven spots. Make necessary adjustments to ensure a seamless and safe area, as these minor details can significantly impact the grass's durability and appearance.
- Clean Up: Remove any debris or tools used during installation. A light rinse of the turf with water will help eliminate , leaving the surface looking pristine and ready for use. Regular maintenance, including brushing and rinsing, is crucial to prolonging the lifespan of , which can last a decade or more with .

Conclusion
Transforming a concrete patio into a lush, green oasis with artificial grass is a rewarding endeavor that requires careful preparation and execution. This process involves several critical steps:
- Surface Preparation: Begin with a thorough cleaning and inspection of the concrete surface to ensure it is free from debris and contaminants.
- Drainage Solutions: Implement effective drainage solutions to prevent water pooling, which is essential for the longevity of the turf.
- Turf Installation: During installation, apply adhesive carefully to secure the turf in place, ensuring a seamless appearance.
- Finishing Touches: Finally, trim any excess grass and brush the fibers to achieve a polished look that closely resembles natural grass.
By diligently following these steps, homeowners can create a beautiful and functional outdoor space that enhances the overall aesthetic of their home.
Investing time and effort into installing artificial grass on a concrete patio not only elevates the outdoor environment but also offers a low-maintenance alternative to traditional grass. This project can lead to a more enjoyable outdoor experience, making it a worthwhile consideration for homeowners looking to enhance their patios. For those contemplating this transformation, seeking guidance from experts and employing best practices will undoubtedly lead to a successful installation that can be enjoyed for years to come.
Frequently Asked Questions
What is the first step in preparing a concrete surface for artificial grass installation?
The first step is to clear the area by removing all furniture, planters, and any other obstacles from the concrete patio to create an unobstructed workspace.
How should the concrete surface be cleaned before installation?
The concrete surface should be cleaned thoroughly using a broom or pressure washer to eliminate dust, dirt, and debris. It is important to ensure the area is completely dry before proceeding.
What should be inspected on the concrete surface before installation?
The concrete surface should be inspected for any cracks or uneven areas. Any cracks should be filled with an appropriate concrete filler, and rough spots should be smoothed out to achieve a level finish.
How can low spots on the concrete surface be addressed?
For any low spots, a self-leveling compound can be applied to ensure an even surface. This step is crucial to prevent water pooling beneath the grass.
Why is it recommended to collaborate with experts from California Turf Company?
Collaborating with experts from California Turf Company is advised to ensure adequate water flow and enhance the lifespan of the artificial grass, as they provide premium solutions designed to be safe, stylish, and low-maintenance.
What type of adhesives should be used during the installation of artificial grass?
High-quality adhesives such as XGS Turf Glue or Mapei PU-1K should be used to secure the turf effectively during installation.
How can I get assistance with my artificial grass project?
You can schedule a free consultation with California Turf Company to discuss your vision for a beautiful, hassle-free outdoor space.
List of Sources
- Prepare the Concrete Surface
- Installing Artificial Grass on Concrete: Professional Guide (https://biltrightturf.com/installing-artificial-grass-on-concrete-professional-guide)
- Easy DIY Guide: Installing Artificial Turf on Concrete (https://artificialturfexpress.com/blog/the-diy-guide-to-installing-the-best-artificial-turf-on-concrete)
- How to Install Artificial Grass on Concrete (Step-by-Step) (https://ccgrass.com/installing-artificial-grass-on-concrete)
- justanswer.com (https://justanswer.com/home-improvement/r8ckm-i-ve-concrete-patio-see-image-attached.html)
- How To Install Artificial Grass On Concrete Surfaces (https://turftekusa.com/blog/how-to-install-artificial-grass-on-concrete-surfaces)
- Ensure Proper Drainage
- Installing Artificial Grass on Concrete: Professional Guide (https://biltrightturf.com/installing-artificial-grass-on-concrete-professional-guide)
- How and Why You Should Lay Artificial Grass on Concrete | Artificial Lawn Company (https://artificiallawn.co.uk/latest-news/how-and-why-you-should-lay-artificial-grass-on-concrete)
- The Importance of Drainage Systems for a Lush and Vibrant Artificial Grass | Smart Turf® Artificial Grass (https://smartturf.com/drainage-artificial-grass)
- Artificial Grass Drainage Systems | What You Need to Know (https://usfamilyturf.com/artificial-grass-drainage-blog)
- sgwbayarea.com (https://sgwbayarea.com/blog/the-essential-drainage-guide-for-successful-artificial-turf-installation)
- Install and Secure the Artificial Grass
- Installing Artificial Grass on Concrete: Professional Guide (https://biltrightturf.com/installing-artificial-grass-on-concrete-professional-guide)
- sgwsacramento.com (https://sgwsacramento.com/blog/everything-you-need-to-know-about-installing-artificial-grass-on-concrete)
- How to Install Artificial Grass on Concrete | Angi (https://angi.com/articles/how-to-install-artificial-grass-concrete.htm)
- Installing Artificial Grass on Concrete | US Turf (https://usturfsandiego.com/news/installing-artificial-grass-on-concrete)
- How to Install Artificial Grass on Concrete (Step-by-Step) (https://ccgrass.com/installing-artificial-grass-on-concrete)
- Finish and Inspect the Installation
- How to Install Artificial Grass (The Complete Guide) (https://aquablumosaics.com/blogs/news/how-to-install-artificial-grass?srsltid=AfmBOoo4ZuPxiVdDk7LXi3tBGGvxz89rOQn0HdeoqL7rvl0IRo98eere)
- Artificial Turf Lifespan | What Affects Durability (https://festivalturf.com/blog/artificial-turf-lifespan)
- realturf.com (https://realturf.com/us/learn/artificial-grass/diy/maintenance)
- A Step-by-Step Guide to Installing Artificial Turf Grass (https://lowes.com/n/how-to/install-artificial-grass)
- Installing Artificial Turf: Step By Step - Realturf USA (https://realturf.com/us/installing-artificial-turf-step-by-step)