Introduction
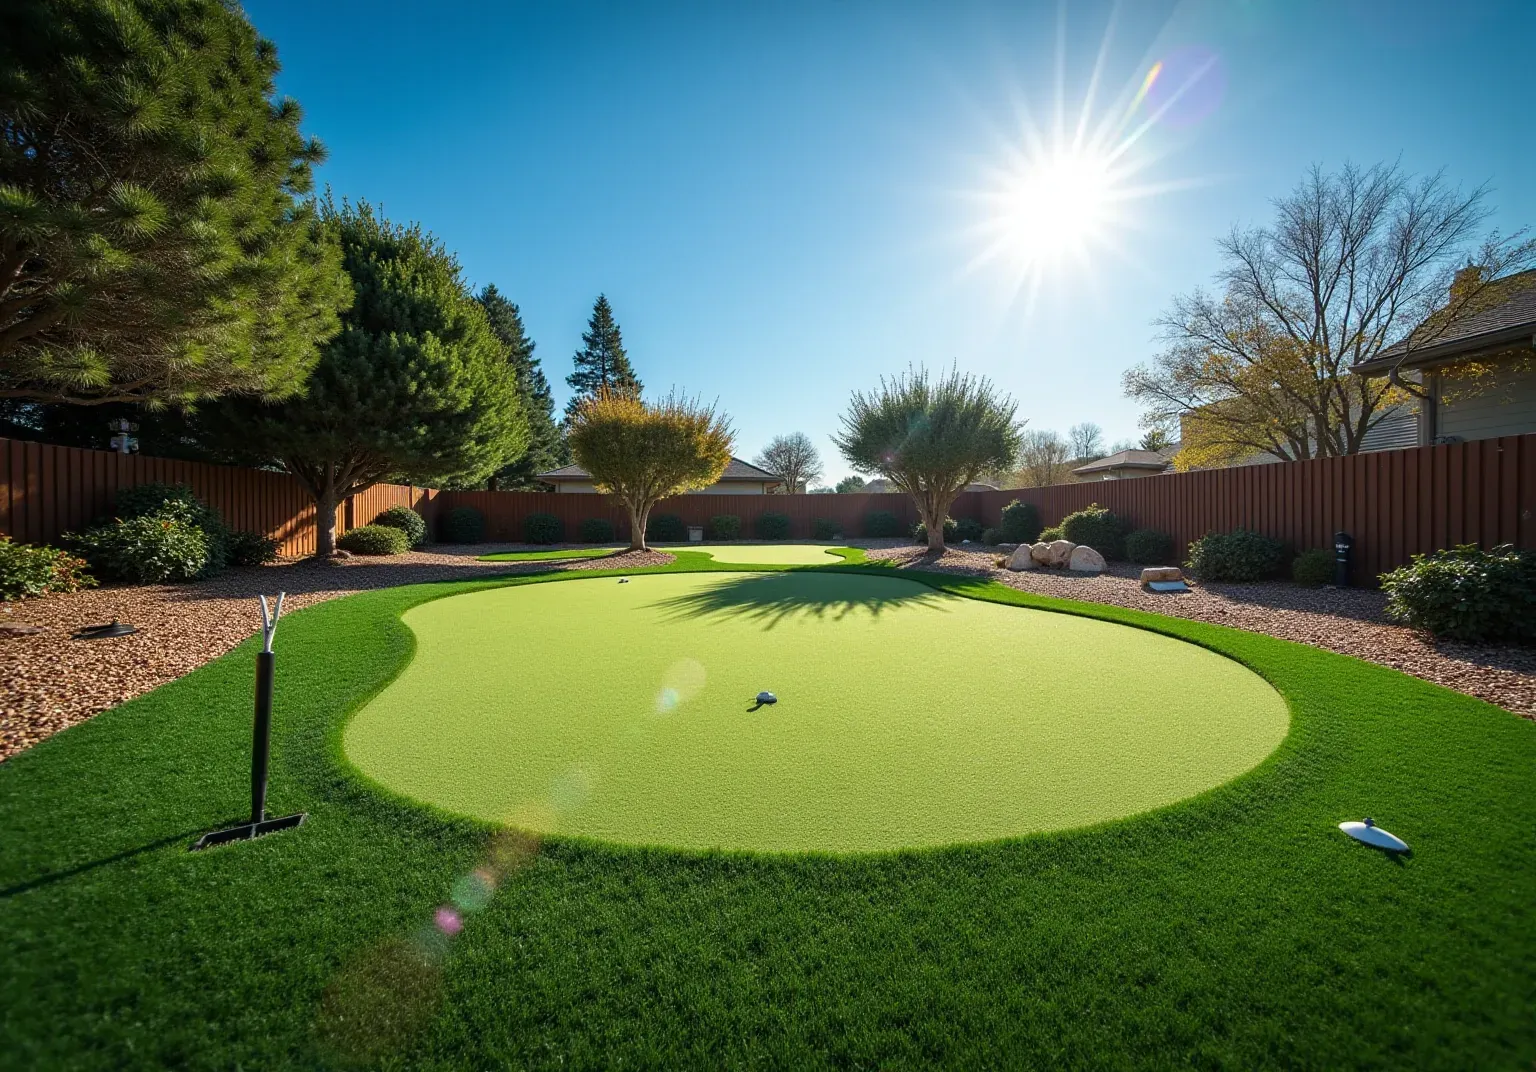
Transforming an ordinary outdoor space into a golfer's paradise is achievable by creating a backyard putting green. This addition not only offers relaxation but also provides practice opportunities right at home. This guide outlines the essential steps for installing an astroturf putting green, ensuring that homeowners can enjoy a durable and aesthetically pleasing surface.
Key factors to consider include:
- Location
- Drainage
- Infill materials
By following best practices, you can avoid common pitfalls and achieve a professional finish.
Choose Your Location and Design
- Evaluate Your Yard: Identify a flat, level area that receives ample sunlight, as this is essential for maintaining healthy grass. Avoid locations with heavy shade from trees or structures, which can impede growth and complicate maintenance. Placing your golf practice area too near to trees can raise upkeep due to ; therefore, consider the overall arrangement thoughtfully. California Turf Company specializes in creating and installing high-quality synthetic grass that resembles natural lawns, ensuring an attractive and practical area suitable for various sports.
- Consider Drainage: Ensure the chosen location has effective drainage to prevent water pooling, which can harm the grass. If necessary, plan for slight grading to facilitate proper water runoff, enhancing the longevity of your golf surface. California Turf Company's synthetic turf is engineered for superior durability and performance, making it an excellent choice for various weather conditions and sports activities.
- Design Your Eco-Friendly Space: Create a layout that outlines the size and shape of your golf practice area. Incorporate features such as bunkers or water elements to enhance realism and playability. Use stakes and string to mark the area, ensuring it fits seamlessly within your yard's dimensions. Homeowners in Southern California generally spend between $5,000 and $20,000+ for a professionally installed backyard golf surface, depending on size, materials, and design complexity. California Lawn Company provides tailored high-quality synthetic backyard golf surfaces designed for dedicated players, enhancing your golfing experience at home.
- Check Local Regulations: Before moving forward, verify any local zoning laws or HOA regulations regarding backyard installations. This step is essential to avoid potential issues and ensure compliance with community standards. Furthermore, consider utilizing high-quality materials, such as UV-stabilized polyethylene or nylon grass, which are recommended for Southern California's climate and can significantly influence the durability and performance of your surface. Arrange your complimentary consultation with California Turf Company to discuss your personalized golf course design and ensure you select the best options for your requirements.

Prepare the Foundation
- Clear the Area: Start by removing any existing grass, weeds, and debris from the designated area. Utilizing a shovel or sod cutter ensures the ground is thoroughly clean, setting the stage for a .
- Excavate the Soil: Dig down approximately 3 to 4 inches to create adequate space for the base material. This depth is essential for ensuring proper drainage and stability, which are crucial for the longevity of your golf course.
- Add Base Material: Fill the excavated area with crushed stone or decomposed granite, compacting it in layers to form a solid foundation. Aim for a thickness of 2 to 4 inches, as this will provide the necessary support for the turf.
- Level the Surface : Use a rake to smooth out the base material, ensuring it is level and even. A properly leveled surface is vital for the performance of the golf course, preventing issues such as uneven play and drainage problems.
By following these steps and being mindful of potential pitfalls in DIY installations, homeowners can create a durable and functional putting green that enhances their outdoor space while avoiding common mistakes that could lead to costly repairs. For those seeking professional assistance, consider starting a free consultation with California Lawn Company to ensure a high-quality installation.

Install the Putting Green Turf
- Roll Out the Grass : Begin by unrolling the artificial grass over the prepared base. Allow it to acclimate for a few hours to minimize creasing and ensure a smooth installation.
- Cut to Fit : Use a utility knife to trim the edges of the grass, ensuring a snug fit within the designated area. For a clean edge, always cut along the grain of the grass.
- Fasten the Grass : To prevent movement, attach the grass to the base using landscape staples or adhesive. Place staples every 6 to 12 inches along the edges and seams to ensure a .
- Seam the Turf: If your putting green consists of multiple pieces, join them using seam tape and adhesive. Ensure that the seams are tight and properly aligned to maintain a smooth and seamless surface.

Add Infill and Putting Cups
- Choose Your Infill: Select an appropriate infill material, such as silica sand or OptiFILL+. Silica sand is cost-effective and provides good drainage, while OptiFILL+ offers superior drainage and odor control, making it particularly suitable for pet areas. The right infill not only helps keep the blades upright but also mimics the feel of natural grass.
- Spread the Infill: Utilize a drop spreader to evenly across the grass surface. Aim for a depth of 2-3 pounds of infill per square foot, depending on the type of grass and expected foot traffic. This ensures that the grass maintains its structure and provides a comfortable playing surface.
- Brush the Grass: After spreading the infill, employ a stiff-bristled broom to work it into the grass fibers. This step is crucial for achieving uniform distribution and ensuring that the blades remain upright, thereby enhancing the overall appearance and functionality of the green.
- Install Holes for Cups: Dig holes for the cups, ensuring they are positioned ¼ inch below the surface of the turf. Secure them in place using concrete or compacted soil, allowing them to set before use. Proper installation of the cups is vital for a realistic putting experience, as it directly affects the ball roll and overall playability.

Conclusion
Creating a personal astroturf putting green at home transforms your backyard into a golfer's paradise, offering both convenience and enjoyment. This investment not only elevates personal leisure but also adds value to your property. By following the outlined steps, homeowners can achieve a professional-looking practice area that enhances their golfing experience.
Key considerations include:
- Evaluating the Yard: Assess sunlight exposure and drainage to ensure optimal conditions for the turf.
- Preparing a Solid Foundation: A well-prepared base is crucial for durability and functionality.
- Proper Installation: Ensure correct placement of the turf and putting cups to mimic the feel of a natural green.
Each step is essential in creating a realistic practice environment right at home. Embrace the opportunity to enhance your outdoor space with a customized putting green, and enjoy the benefits of practicing your golf skills without leaving home.
Frequently Asked Questions
What should I consider when choosing a location for my golf practice area?
Choose a flat, level area that receives ample sunlight and avoid locations with heavy shade from trees or structures. It's important to consider the overall arrangement to minimize upkeep from falling leaves and debris.
How important is drainage for my golf practice area?
Effective drainage is crucial to prevent water pooling, which can harm the grass. Planning for slight grading can facilitate proper water runoff and enhance the longevity of your golf surface.
How can I design an eco-friendly golf practice space?
Create a layout that outlines the size and shape of your area, incorporating features like bunkers or water elements for realism. Use stakes and string to mark the area, ensuring it fits within your yard's dimensions.
What is the typical cost for installing a backyard golf surface in Southern California?
Homeowners in Southern California generally spend between $5,000 and $20,000+ for a professionally installed backyard golf surface, depending on the size, materials, and design complexity.
Are there any local regulations I need to check before installing a golf practice area?
Yes, it's essential to verify any local zoning laws or HOA regulations regarding backyard installations to avoid potential issues and ensure compliance with community standards.
What materials are recommended for creating a golf practice area in Southern California?
High-quality materials such as UV-stabilized polyethylene or nylon grass are recommended, as they significantly influence the durability and performance of your surface in the local climate.
How can I get assistance with designing my golf course?
You can arrange a complimentary consultation with California Turf Company to discuss your personalized golf course design and select the best options for your requirements.
List of Sources
- Choose Your Location and Design
- How to Build a Putting Green in Your Backyard: 5 Tips - Motz (https://themotzgroup.com/infill_blog/tips-for-installing-a-putting-green-in-a-backyard)
- How To Make Your Backyard Putting Green Dream a Reality (https://usga.org/content/usga/home-page/course-care/green-section-record/62/issue-17/how-to-make-your-backyard-putting-green-dream-a-reality.html)
- 4 Best Practices for Residential Putting Green Design (https://californiaturfco.com/4-best-practices-for-residential-putting-green-design)
- Backyard Putting Green Guide for SoCal | Ruff n Tuff Turf (https://ruffntuffturf.com/backyard-putting-green-cost)
- How Much Does a Backyard Putting Green Cost in 2026? | Angi (https://angi.com/articles/backyard-putting-green-cost.htm)
- Prepare the Foundation
- How to Install a Backyard Putting Green: Why DIY Isn’t Worth It (https://bigbullyturf.com/how-to-install-putting-green)
- How Deep Should the Base Be for Artificial Turf? | FusionTurf (https://find.fusionturf.com/answers/how-deep-should-the-base-be-for-artificial-turf)
- How To Make Your Backyard Putting Green Dream a Reality (https://usga.org/content/usga/home-page/course-care/green-section-record/62/issue-17/how-to-make-your-backyard-putting-green-dream-a-reality.html)
- Artificial Grass Installation and More with Big Bully Turf (https://8newsnow.com/news/las-vegas-now/artificial-grass-installation-and-more-with-big-bully-turf)
- 4 Steps to Prepare the Base for Artificial Grass Installation – Hall Turf | Artificial Turf Installation Kansas City KS & MO (https://hallturf.com/4-steps-to-prepare-the-base-for-artificial-grass-installation)
- Install the Putting Green Turf
- Putting Green Installation Timeline: 1 to 5 Days | FusionTurf (https://find.fusionturf.com/answers/how-long-does-putting-green-installation-take)
- A Guide To Installing An Artificial Putting Green (https://turftekusa.com/blog/a-guide-to-installing-an-artificial-putting-green)
- How To Install the Ultimate Artificial Turf Putting Green | Synthetic Grass Warehouse (https://syntheticgrasswarehouse.com/blog/how-to-install-the-ultimate-artificial-turf-putting-green)
- The Dos and Don’ts of Installing an Artificial Turf Putting Green - OC Turf & Putting Greens (https://octurfandputtinggreens.com/the-dos-and-donts-of-installing-an-artificial-turf-putting-green)
- DIY Artificial Grass Putting Green Installation: Step-by-Step Guide - SGW Phoenix (https://sgwarizona.com/phoenix/blog/diy-artificial-grass-putting-green-installation-step-by-step-guide)
- Add Infill and Putting Cups
- Strategic Insights into Artificial Turf Infill Market Trends (https://datainsightsmarket.com/reports/artificial-turf-infill-1117511)
- Which Artificial Turf Infill Is Best for Your Yard? (2026 Guide for Texas and Florida) (https://magnoliaturf.com/what-is-turf-infill-and-what-kind-should-you-use)
- The Role of Infill in Keeping Artificial Turf Safe and Comfortable — TurfWash (https://turfwash.com/blog/the-role-of-infill-in-keeping-artificial-turf-safe-and-comfortable)
- Essential Guide to Synthetic Grass Infill - The Turf Yard (https://theturfyard.com/how-much-infill-for-synthetic-grass)
- Infill Matters When Installing Artificial Grass Putting Greens — Here’s Why | Synthetic Grass Warehouse (https://syntheticgrasswarehouse.com/blog/infill-matters-when-installing-artificial-grass-putting-greens-heres-why)