Introduction
As artificial grass gains popularity in Southern California, homeowners are increasingly looking for sustainable and low-maintenance landscaping solutions. This guide presents four essential steps for successfully installing turf, ensuring a vibrant and durable lawn that enhances outdoor spaces. However, the installation process can seem daunting. How can one ensure a flawless installation that withstands the test of time?
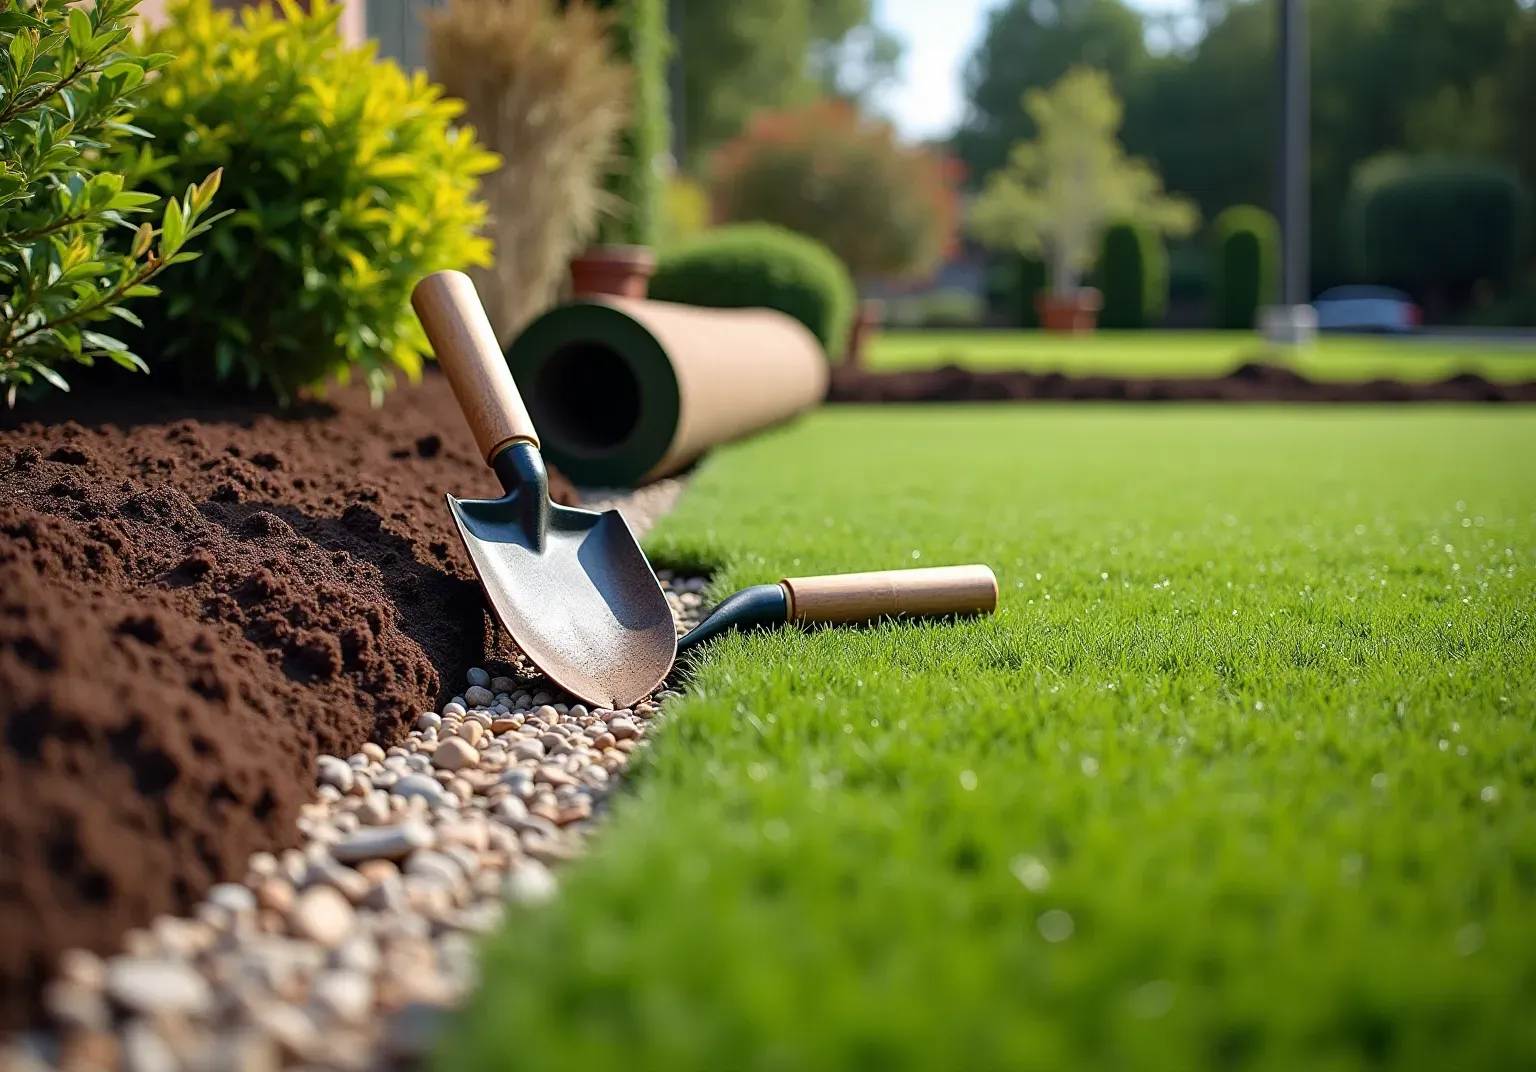
Prepare the Installation Area
- Clear the Area: Begin by removing any existing grass, weeds, rocks, or debris from the setup site. A shovel or sod cutter is effective for larger areas. Proper clearing is crucial as it establishes a solid foundation for and prevents future complications.
- Excavate the Soil: Dig down approximately 2-4 inches, depending on the thickness of the sub-base you plan to install. This depth is essential for , as it ensures and creates a stable base for the grass. Poor soil conditions can lead to patchiness and drainage issues, making this step vital for long-term success.
- Grade the Surface: Ensure the location is graded to promote drainage away from structures. Use a rake to level the ground and create a smooth surface. in a helps prevent water accumulation, which can harm the grass and lead to maintenance difficulties.
- Install a Weed Barrier: Place a to prevent future growth of weeds that could interfere with the grass setup. This step is essential for maintaining the integrity of your over time, particularly when , as it and enhances the longevity of your investment.
In 2022, nearly 92% of inquiries originated from , highlighting the as a sustainable landscaping choice. By following these preparation steps, homeowners can ensure a seamless setup process and enjoy a vibrant, for years to come.

Lay a Solid Sub-Base
- Choose the Right Material: Select . These materials are recognized for their and stability, significantly reducing the risk of puddling and . Research shows that , allowing approximately 30% more water to pass through compared to gravel. This makes crushed stone a , especially when .
- Spread the Aggregate: Evenly distribute the aggregate over the prepared area to a depth of 3-4 inches. Use a rake to ensure a uniform layer, which is essential for achieving a solid foundation. Additionally, ensure that the location is graded with a slope of at least 1-2% to facilitate .
- Compact the Base: Thoroughly compact the aggregate using a plate compactor or hand tamper, particularly in hard-to-reach areas. ; it prevents shifting and ensures the base remains stable under the weight of the grass. Inadequate compaction can lead to uneven surfaces and long-term maintenance issues. Remember to saturate the aggregate after leveling to aid in compaction.
- Check for Levelness: After compacting, verify the surface with a level to ensure it is even. Make any necessary adjustments to maintain a flat surface, as a well-leveled base is vital for the longevity and performance of your . Before laying the sub-base, consider installing to prevent weeds without trapping moisture.

Secure and Seam the Artificial Grass
- Roll Out the Turf: Start by unrolling the over the prepared sub-base, ensuring it fits the designated area without overlaps. Allow the grass to acclimate for a few hours to eliminate any creases, which is crucial for achieving a smooth process when .
- : Use a sharp utility knife to trim the edges of the grass for a precise fit. Always cut from the back of the grass to protect the fibers, ensuring a clean edge that enhances the overall appearance.
- Seam the Edges: When seaming, of the grass by approximately 2 inches. Apply seam tape and adhesive to bond the edges securely, pressing down firmly to create a strong connection. This technique is vital for preventing visible seams and ensuring durability during the process of , as proper of the installation.
- : To keep the ground flat and in place, use or landscape staples to secure the edges. Space them about 6 inches apart, as this density effectively prevents shifting and maintains a smooth surface. Additionally, consider placing a when to inhibit weed growth, and conduct routine checks after to identify any loose sections, allowing for prompt re-securing to prolong the grass's lifespan.

Complete the Installation with Finishing Touches
- Add Infill: Start by evenly distributing infill material, such as silica sand or rubber granules, across the grass surface. , while rubber granules offer cushioning and resilience. Recent statistics show that silica sand is increasingly preferred in infill applications due to its durability and lower , with studies indicating it can reduce maintenance efforts by up to 30% compared to rubber granules.
- Brush the Grass: Use a stiff-bristled broom to brush the grass fibers upright. This important step not only improves the visual appeal of the surface but also ensures an even distribution of the infill. Regular brushing is crucial for maintaining the integrity of the fibers, as it helps prevent matting and promotes a natural appearance. Experts highlight that .
- Check for: Examine the transitions between the grass and any hard surfaces, such as patios or walkways, to ensure they are smooth and visually appealing. Adjust the edges as needed to create a seamless integration that enhances the overall aesthetic of your landscape. Additionally, confirm that proper drainage is established to prevent water pooling, which can damage the grass over time.
- : Perform a thorough inspection of the installing turf to ensure that everything is secure and professionally finished. Make any necessary final adjustments to prepare the turf for immediate use, creating a beautiful and functional outdoor space. Remember to , to monitor for wear and potential weed growth at the edges or seams. Utilizing during maintenance will also help maintain the integrity of the grass.

Conclusion
Installing turf in Southern California can transform your outdoor space into a lush, maintenance-free oasis. By meticulously following the outlined steps-from preparing the installation area to completing the finishing touches-homeowners can ensure a successful and durable turf installation that enhances their property’s appeal.
Key steps include:
- Clearing the area: Remove any existing vegetation and debris to create a clean slate for installation.
- Excavating the soil: Ensure proper drainage by digging down to the appropriate depth.
- Laying a solid sub-base: Use the right materials to provide a stable foundation for the turf.
- Securing and seaming the artificial grass: Properly attach and seam the turf to prevent future issues.
- Adding infill: This step enhances the turf's durability and appearance.
- Ensuring smooth transitions: Create seamless connections between different areas of turf for a polished look.
Each of these elements plays a crucial role in achieving a vibrant and long-lasting lawn. Investing time and effort into these installation practices not only leads to immediate visual benefits but also promotes the longevity of your artificial grass. By embracing these best practices, you can ensure that your turf remains a beautiful and practical feature of your home for years to come, allowing you to enjoy a stunning outdoor environment with minimal upkeep.
Frequently Asked Questions
What is the first step in preparing the installation area for turf?
The first step is to clear the area by removing any existing grass, weeds, rocks, or debris from the setup site. This establishes a solid foundation for installing turf.
How deep should I excavate the soil for turf installation?
You should dig down approximately 2-4 inches, depending on the thickness of the sub-base you plan to install. This depth is essential for adequate drainage and creating a stable base for the grass.
Why is grading the surface important before installing turf?
Grading the surface is important to promote drainage away from structures. It helps prevent water accumulation, which can harm the grass and lead to maintenance difficulties.
What is the purpose of installing a weed barrier?
A weed barrier fabric is installed to prevent the future growth of weeds that could interfere with the grass setup. This step reduces the need for ongoing maintenance and enhances the longevity of the artificial grass.
What trend was noted regarding artificial grass inquiries in 2022?
In 2022, nearly 92% of artificial grass inquiries originated from residential property owners, indicating a growing trend towards artificial ground cover as a sustainable landscaping choice.
What are the benefits of following these preparation steps for turf installation?
Following these preparation steps ensures a seamless setup process and helps homeowners enjoy a vibrant, maintenance-free lawn for years to come.
List of Sources
- Prepare the Installation Area
- How to Prepare the Lawn Before Turf Arrives? How Soon Do I Have to Lay New Turf After Delivery? | NorthPennNow (https://northpennnow.com/news/2025/nov/24/how-to-prepare-the-lawn-before-turf-arrives-how-soon-do-i-have-to-lay-new-turf-after-delivery)
- Artificial Grass, Market Trends, Business Insights, and Analysis (https://installartificial.com/how/artificial-grass-business-insights-market-trends)
- Artificial Turf Market Size And Share | Industry Report, 2033 (https://grandviewresearch.com/industry-analysis/artificial-turf-market)
- shawgrass.com (https://shawgrass.com/about/news-blog/how-to-prep-for-artificial-grass-installation)
- How to Install Artificial Grass on Soil | US Turf (https://usturfsandiego.com/news/how-to-install-artificial-grass-on-soil)
- Lay a Solid Sub-Base
- What is the Best Base to Put Under Artificial Grass? (https://delaturf.com/post/what-is-the-best-base-to-put-under-artificial-grass)
- How to Choose the Right Base for Artificial Grass (https://realturf.com/us/what-sub-base-is-best-for-your-artificial-grass)
- What Goes Under Artificial Turf? Best Base Materials for Artificial Grass Installation (https://mightygrass.com/what-goes-under-artificial-turf)
- Important Facts About Compaction To Ensure a Perfect Artificial Turf Installation Every Time - SGW Sacramento (https://sgwsacramento.com/blog/important-facts-about-compaction-to-ensure-a-perfect-artificial-turf-installation-every-time)
- 4 Essential Facts About Installing a Sub-Base Under Your Artificial Turf | Synthetic Grass Warehouse (https://syntheticgrasswarehouse.com/blog/4-essential-facts-about-installing-a-sub-base-under-your-artificial-turf)
- Secure and Seam the Artificial Grass
- pristinelandscapingandlighting.com (https://pristinelandscapingandlighting.com/the-ultimate-guide-to-successfully-install-artificial-turf)
- A Step-by-Step Guide to Installing Artificial Turf Grass (https://lowes.com/n/how-to/install-artificial-grass)
- The Seaming Techniques You Need To Know to Install Artificial Grass Like a Pro | Synthetic Grass Warehouse (https://syntheticgrasswarehouse.com/blog/the-seaming-techniques-you-need-to-know-to-install-artificial-grass-like-a-pro)
- Ultimate Guide to Securing Artificial Turf (https://premiumgrassblades.com/the-ultimate-guide-to-securing-artificial-turf-spiral-nails-staples-and-proper-installation)
- 2021 Worldwide Trends in the Artificial Grass Market (https://grassmanturf.com/2021-worldwide-trends-in-the-artificial-grass-market)
- Complete the Installation with Finishing Touches
- shawgrass.com (https://shawgrass.com/about/news-blog/high-traffic-commercial-areas)
- Artificial Turf Maintenance Guide | Cleaning & Care Tips (https://fieldturflandscape.com/maintenance/artificial-turf-maintenance-guide)
- How to Keep Artificial Turf Clean Year-Round | US Turf (https://usturfsandiego.com/news/how-to-keep-artificial-turf-clean)
- What Does a Great Synthetic Turf Sports Field Maintenance Routine Look Like? (https://themotzgroup.com/sport_blog/what-does-a-great-synthetic-turf-sports-field-maintenance-routine-look-like)
- greentek.com (https://greentek.com/news/why-and-how-to-brush-your-turf)