Introduction
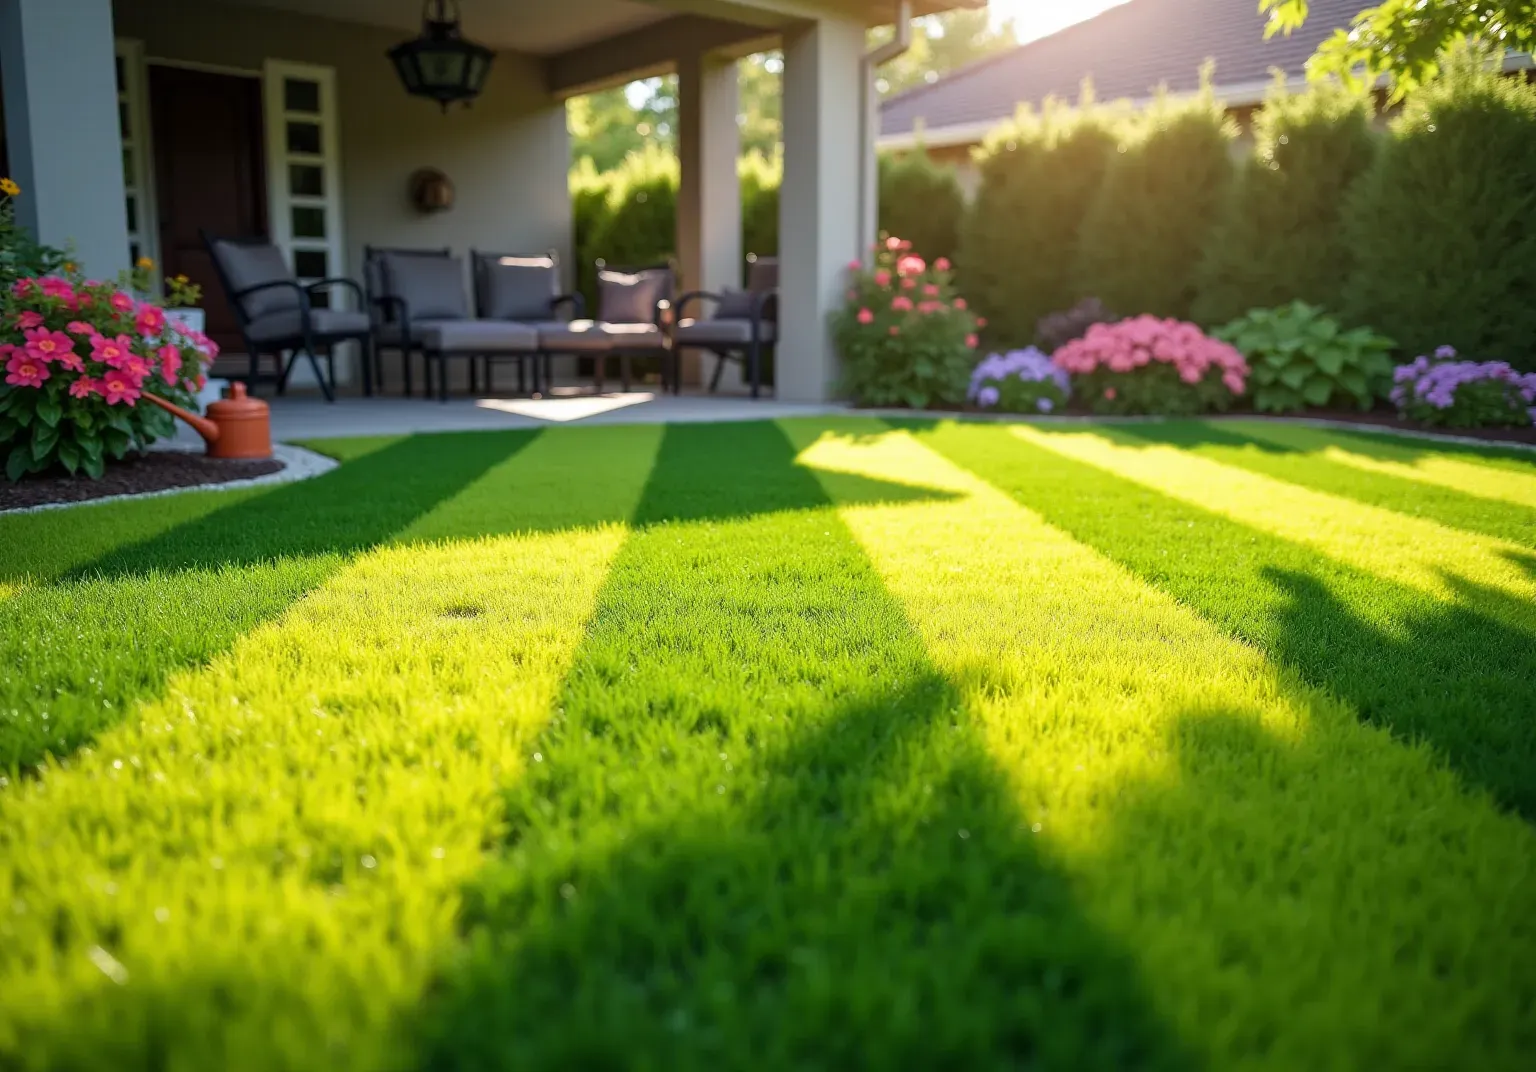
Transforming a yard into a lush, green oasis with turf grass may appear daunting. However, with the right approach, the process can be significantly simplified. This guide outlines the essential steps for installing turf grass, providing readers with a clear path to achieving a beautiful, low-maintenance lawn.
To ensure a successful installation, several critical elements must be considered, including:
- Ground preparation
- Drainage
- Infill material
Understanding these factors will help you navigate the installation process effectively.
Prepare the Ground for Turf Installation
- : Begin by thoroughly removing any existing grass, weeds, rocks, and debris from the installation site. Utilize a shovel or sod cutter to ensure the area is completely clear. This foundational step is vital for preventing future issues such as uneven surfaces or weed growth.
- : After clearing the area, use a rake to . This process is essential to eliminate any bumps or dips, ensuring a . Proper grading not only enhances aesthetics but also improves water flow, preventing water pooling. Ensure the surface is slightly sloped away from structures to promote .
- Check for Drainage: Evaluate the location for . If you identify low spots, fill them with soil to create a more even surface. A well-drained location is crucial for the longevity of your , as it minimizes the risk of settling and maintains a flat appearance over time. For larger areas, consider using a plate compactor to quickly tamp the aggregate.
- Install a: Lay down a fabric to prevent weeds from growing through the turf. Secure it with 6-inch galvanized nails or landscape anchors every few feet. This step is essential for , reducing in the long run. Furthermore, remove 3 to 4 inches of current soil and grass to enable suitable base material, including a 2-inch to 4-inch layer of aggregate for stability and effective water management.

Create a Stable Base: Excavation and Compaction
- Excavate the Area: Start by , ensuring a consistent depth throughout the area. This excavation is crucial for accommodating the and facilitating proper . It's essential to maintain a slight incline of about 2% to promote .
- Add Base Material: Fill the excavated space with a mixture of , applying a layer that is 2-3 inches thick. This base layer is vital for providing both drainage and stability, as it supports the surface and prevents shifting over time. Additionally, consider placing a geotextile fabric beneath the crushed rock to serve as a weed barrier, enhancing the of the base.
- Compact the Base: Use a plate compactor to thoroughly compact the base material, aiming for a . Achieving this high level of compaction is essential for creating a solid foundation that minimizes the risk of future settling and ensures . Experts emphasize that attaining the appropriate compaction is critical for the longevity of installing turf grass.
- Check for Levelness: After compaction, utilize a level to verify that the surface is even. Make any necessary adjustments by adding or removing material to achieve a smooth, flat surface. is crucial to prevent water pooling and ensure the longevity of the . Throughout this process, consistently to maintain the desired slope.

Install and Secure the Artificial Turf
- Roll Out the Surface: Begin by rolling out the over the prepared base. Ensure it is oriented in the desired direction to achieve a natural appearance. This initial step establishes a solid foundation for installing successfully.
- Trim the Edges: Use a sharp utility knife to carefully of the grass, ensuring a precise fit for the area. Cut along the , which can compromise the integrity and appearance of the surface.
- Secure the Grass: To effectively anchor the grass, employ around the perimeter and at seams, spacing them approximately 6 inches apart. This method is essential for maintaining the grass's position and preventing movement. Experts recommend , such as using shorter nails or U-staples for putting greens, to enhance the grass's functionality and longevity. Additionally, the effectiveness of installing can be improved by applying a for minor cracks in concrete.
- Check for Alignment: After securing the surface, step back to . Make any necessary adjustments to ensure it lies flat and appears seamless. Proper alignment not only enhances aesthetic appeal but also contributes to the grass's durability, as misalignment can lead to wear and tear over time. Adhering to these best practices will help ensure a that enhances your outdoor space.

Finalize Installation: Infill and Grooming
- Add: Begin by evenly distributing the appropriate across the grass surface. Options include silica sand, known for its , or . Use a broom to achieve an even distribution, as this is critical for the grass's performance and longevity. Recent advancements in internal structure design emphasize improved drainage, shock absorption, and durability, making it essential to select the right material for your specific requirements.
- : After applying the , utilize a power broom or a stiff-bristled broom to . This process lifts the fibers, and ensuring that the material settles evenly. Regular grooming is vital for maintaining a , as it helps distribute the material uniformly and keeps the grass blades upright. Lawn care experts emphasize that '' for preserving the quality of your grass.
- Check for Uniformity: Conduct a thorough inspection of the grass to identify any areas that may require additional material or further grooming. Adjustments should be made to achieve a consistent and uniform appearance, which is essential for both aesthetic appeal and functional use. Ongoing monitoring of the grass condition is necessary to detect potential issues or hazards, ensuring .
- : Conclude the installation with a to verify that everything is secure and visually appealing. Make any last-minute adjustments to ensure your new lawn is ready for enjoyment. , including grooming and material management, will help sustain the grass's quality and extend its lifespan. Remember, proper upkeep of s is crucial for maintaining turf performance and safety.

Conclusion
Installing turf grass at home can transform outdoor spaces into lush, green havens with minimal upkeep. Homeowners can ensure a successful installation that enhances both the beauty and functionality of their yards by following the outlined steps, from preparing the ground to final grooming.
Key points emphasized throughout this article include:
- Thorough Ground Preparation: Clearing, leveling, and ensuring proper drainage are essential.
- Stable Base Creation: Excavation and compaction are crucial for the longevity of the turf.
- Proper Securing and Infill Application: These steps contribute significantly to the overall performance and aesthetic of the artificial lawn.
- Regular Maintenance Practices: Grooming and monitoring infill materials help sustain the quality of the turf over time.
Ultimately, the installation of turf grass is not just about laying down a surface; it's about creating a vibrant outdoor environment that can be enjoyed for years to come. By adhering to these best practices, homeowners can achieve a beautiful, low-maintenance lawn that enhances their property while providing a safe and enjoyable space for family and friends. Embrace the opportunity to elevate your outdoor living experience with a well-installed artificial turf lawn.
Frequently Asked Questions
What is the first step in preparing the ground for turf installation?
The first step is to thoroughly clear the area by removing any existing grass, weeds, rocks, and debris. This can be done using a shovel or sod cutter to ensure the site is completely clear.
Why is leveling the ground important before turf installation?
Leveling the ground is essential to eliminate bumps or dips, ensuring a smooth surface for the turf. Proper grading enhances aesthetics and improves water flow, preventing water pooling.
How should the ground be graded for turf installation?
The surface should be slightly sloped away from structures to promote effective water runoff, which is important for preventing water-related issues.
What should be checked regarding drainage before installing turf?
It's important to evaluate the location for proper drainage. If low spots are identified, they should be filled with soil to create a more even surface, as good drainage is crucial for the longevity of the artificial grass.
What can be used to compact the ground in larger areas?
For larger areas, a plate compactor can be used to quickly tamp the aggregate and ensure a well-prepared surface.
Why is it necessary to install a weed barrier?
A weed barrier fabric is necessary to prevent weeds from growing through the turf, which helps maintain the appearance and integrity of the new lawn and reduces maintenance needs.
How should the weed barrier be secured?
The weed barrier should be secured with 6-inch galvanized nails or landscape anchors every few feet.
What preparation should be done regarding soil before laying the turf?
It is recommended to remove 3 to 4 inches of current soil and grass to allow for suitable base material, including a 2-inch to 4-inch layer of aggregate for stability and effective water management.
List of Sources
- Prepare the Ground for Turf Installation
- Turf Lawn Installation: Step-By-Step Instructions (https://turftekusa.com/blog/turf-lawn-installation-step-by-step-instructions)
- How to Install Artificial Grass on Soil | US Turf (https://usturfsandiego.com/news/how-to-install-artificial-grass-on-soil)
- A Step-by-Step Guide to Installing Artificial Turf Grass (https://lowes.com/n/how-to/install-artificial-grass)
- shawgrass.com (https://shawgrass.com/about/news-blog/how-to-prep-for-artificial-grass-installation)
- Master Ground Prep: DIY Turf Installation Made Easy (https://artificialturfexpress.com/blog/the-diyers-guide-to-ground-prep-for-turf-installation-and-accessories)
- Create a Stable Base: Excavation and Compaction
- Guide to Artificial Turf Base Prep | Elite Turf Supply (https://eliteturfsupply.com/blogs/preparing-ground-for-artificial-grass)
- What’s the Best Base for Artificial Grass Installation? - US Turf (https://us-turf.com/uncategorized/best-base-artificial-grass-installation)
- californiaturfco.com (https://californiaturfco.com/master-your-artificial-turf-base-essential-installation-tips)
- How to Install Artificial Turf on Dirt | US Turf (https://usturfsandiego.com/news/how-to-install-artificial-turf-on-dirt)
- Install and Secure the Artificial Turf
- 4 Ways to Anchor Artificial Grass to the Ground (https://blog.artificialgrassrecyclers.com/how-to-anchor-artificial-grass)
- Case Studies: Landscape & Recreation - Synthetic Turf Council (https://syntheticturfcouncil.org/page/Case_Studies_2)
- Top 5 Turf Installation Quote Mistakes Contractors Keep Making (https://aglgrass.com/blogs/turf-installation-quote-mistakes)
- The Importance of Professional Installation for Artificial Turf - H2I Group (https://h2igroup.com/blogs/the-importance-of-professional-installation-for-artificial-turf)
- Installing Artificial Turf: Step By Step - Realturf USA (https://realturf.com/us/installing-artificial-turf-step-by-step)
- Finalize Installation: Infill and Grooming
- Essential turf field maintenance practices - Miller Sports (https://millersports.com/essential-turf-field-maintenance-practices-2)
- Strategic Insights into Artificial Turf Infill Market Trends (https://datainsightsmarket.com/reports/artificial-turf-infill-1117511)
- Artificial Turf Infill Options (Pros, Cons & Best Uses) | US Turf (https://usturfsandiego.com/news/artificial-turf-infill-options)
- Artificial Turf Infill Market Size, Share & Forecast (https://verifiedmarketresearch.com/product/artificial-turf-infill-market)
- Artificial Turf Maintenance Guide | Cleaning & Care Tips (https://fieldturflandscape.com/maintenance/artificial-turf-maintenance-guide)