Introduction
Laying artificial grass can transform any outdoor space into a lush, maintenance-free oasis. However, this process requires careful planning and execution. This guide will walk readers through the essential steps to ensure a successful installation, from measuring the area to adding those crucial finishing touches.
What happens when the seemingly straightforward task of installing artificial grass becomes riddled with challenges? Understanding the common pitfalls and best practices is vital. These insights can make all the difference in achieving a flawless lawn that stands the test of time.
Plan and Measure Your Installation Area
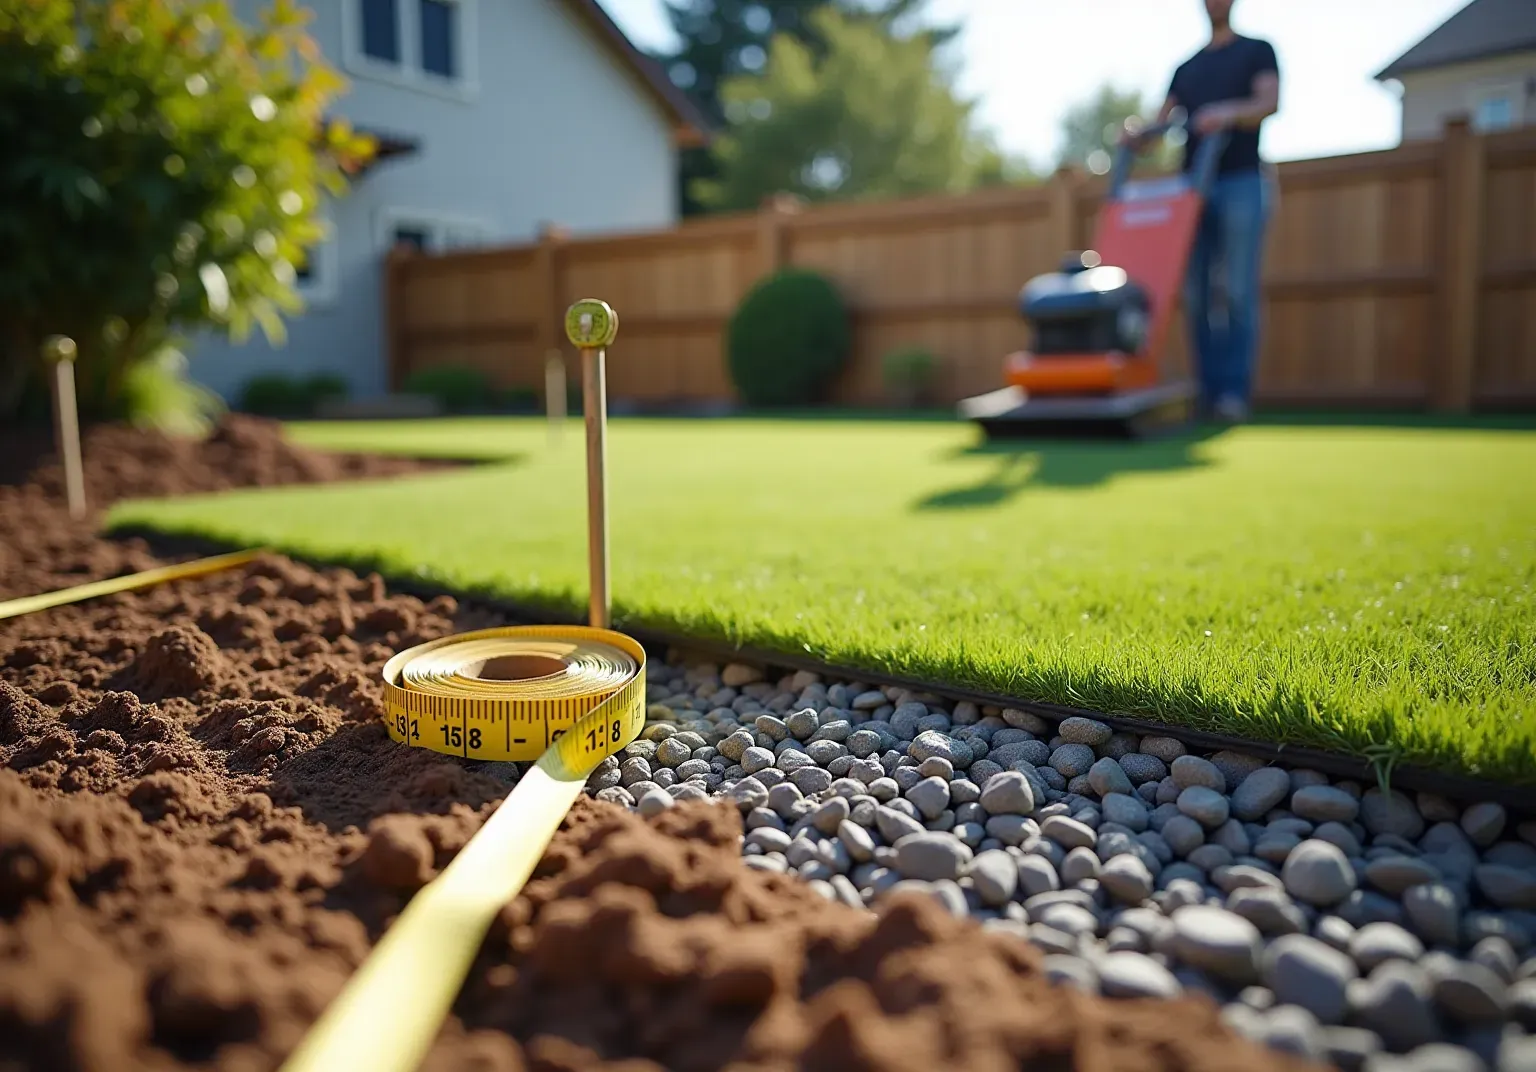
- Gather Your Tools: To begin, you will need a measuring tape, stakes, and string. Optionally, a notepad for recording measurements can be beneficial.
- Define the space by utilizing stakes to outline the perimeter of the area designated for . This step will help you and confirm that you have .
- Measure Dimensions: Accurately . For spaces with irregular shapes, divide the area into smaller rectangles or squares, measure each section, and then total the square footage.
- Calculate Turf Needed: After determining the total square footage, . This ensures that you have enough material for and achieving a seamless installation.
- Check for Drainage: . Ideally, the installation site should have a , preventing accumulation beneath the grass.

Prepare the Base for Artificial Grass
- Clear the Area: Begin by , weeds, and debris from the installation site. Use a shovel or a sod cutter to create a clean slate for your new lawn. As one expert noted, "Determining the in the specific location you’re aiming to install is one of the initial steps to laying ."
- Excavate the Soil: Dig down approximately 3-4 inches to establish a level surface. This depth is crucial for forming a suitable and ensuring , which is essential for the durability of your . Additionally, it is advisable to order at least 10% extra to accommodate cutting, trimming, or any mistakes during layout.
- Add Base Material: Fill the excavated area with a layer of crushed stone or gravel, about 2-3 inches deep. This material not only provides a sturdy foundation but also enhances drainage, preventing water accumulation and ensuring a stable base for the grass.
- Compact the Base: Thoroughly compact the base material using a plate compactor. This step is critical to prevent settling and create a when for the .
- Level the Surface: After compacting, use a rake to level the surface, ensuring there are no high or low spots. Inconsistencies in the surface can adversely affect the final appearance and functionality of the turf, making it essential to achieve a smooth, even base. For example, effective removal of the current vegetation ensures a smooth surface for the new , facilitating better compaction and preventing future settling.

Lay and Secure the Artificial Grass
- Unroll the turf by laying the over the , allowing it to relax for a few hours. This step is crucial for laying , as it helps reduce wrinkles and makes the surface easier to cut and position accurately.
- : Use a sharp utility knife to trim the edges of the grass for a precise fit. Always cut from the back of the lawn to prevent any damage to the grass fibers, ensuring a clean edge.
- Secure the Grass: To keep the grass securely in place, use around the perimeter and along seams. Position these fasteners every 6 to 8 inches, with approximately 1 nail or staple per square foot of grass. This spacing is essential for preventing shifting and maintaining a flat surface.
- : If your setup involves several sections of grass, to connect them efficiently. Following the manufacturer's instructions will yield the best results and ensure a seamless appearance. Remember to overlap seams of the weed barrier fabric by 3-6 inches to prevent weed growth.
- : Before finalizing the installation, in the same direction. This alignment is key to achieving a natural look. Make any necessary adjustments before securing the turf completely. It is also recommended to use a tamper or plate compactor for compacting the aggregate in larger areas to ensure a stable base.

Add Finishing Touches and Groom the Grass
- Infill the Turf: If your requires infill, it is crucial to evenly distribute it across the surface using a drop spreader. This process not only helps the blades of grass stand upright but also adds , enhancing its stability and longevity. Landscaping experts emphasize that is vital for maintaining the grass's performance and appearance.
- Brush the Grass: Use a or a power broom to brush the grass fibers against the grain. This technique fluffs up the fibers, creating a more natural appearance and preventing matting, which can detract from the aesthetic appeal of your lawn. Regular grooming is essential, as it keeps the fibers upright and looking full.
- Check for Debris: Regularly inspect the surface for any debris or excess materials. Keeping the turf clean not only enhances its appearance but also contributes to its overall maintenance, ensuring a . A simple hose serves as your primary cleaning tool for rinsing away dust and debris.
- Inspect the Installation: Walk around the area to identify any loose edges or sections that may require additional securing. Addressing these issues promptly helps maintain the integrity of your installation and . As Brad Timsit emphasizes, .
- Final Cleanup: After completing your , dispose of any leftover materials and tidy up the work area. A clean space enhances the overall impression of your new lawn, making it a welcoming addition to your home.
can extend the lifespan of from 10-15 years to over 20 years, providing excellent value for your investment. Landscaping professionals stress that proper, consistent maintenance is key to maximizing your turf's lifespan, appearance, and hygiene.

Conclusion
Laying artificial grass can transform a yard into a vibrant, low-maintenance oasis when executed properly. Homeowners can ensure a successful project that enhances their outdoor space by following the outlined steps:
- Planning and measuring the installation area
- Adding the finishing touches
- Maintaining the turf
Careful preparation is crucial. This includes accurately measuring the area, clearing the site, and establishing a solid base. Each phase - from securing the grass to grooming it post-installation - plays a vital role in achieving a seamless and natural-looking lawn. Regular maintenance practices further extend the life of the turf, providing lasting beauty and functionality.
Investing time and effort into the installation process pays off significantly. A well-laid artificial grass lawn can offer years of enjoyment without the hassle of traditional lawn care. Embracing these best practices not only elevates the aesthetic appeal of a home but also contributes to a more sustainable and enjoyable outdoor environment.
Frequently Asked Questions
What tools do I need to measure my installation area for artificial grass?
You will need a measuring tape, stakes, and string. Optionally, a notepad for recording measurements can be beneficial.
How can I define the space for laying artificial grass?
You can define the space by utilizing stakes to outline the perimeter of the area designated for the installation. This helps visualize the space and confirm that you have sufficient turf.
How do I measure the dimensions of the installation area?
Accurately measure the length and width of the designated area. For irregularly shaped spaces, divide the area into smaller rectangles or squares, measure each section, and then total the square footage.
How do I calculate the amount of turf needed for my installation?
After determining the total square footage, add an additional 5-10% to account for cuts and waste. This ensures you have enough material for a seamless installation.
What should I check for regarding drainage before installing artificial grass?
Evaluate the area for any potential drainage issues. Ideally, the installation site should have a gentle incline to facilitate water drainage and prevent accumulation beneath the grass.
List of Sources
- Plan and Measure Your Installation Area
- How to Accurately Quote a Synthetic Turf Installation (https://siteone.com/en/articles/hardscapes-outdoor-living/quoting-synthetic-turf-installation-projects)
- Case Studies: Landscape & Recreation - Synthetic Turf Council (https://syntheticturfcouncil.org/page/Case_Studies_2)
- Artificial Turf Versus Natural Grass: A Case Study of Environmental Effects, Health Risks, Safety, and Cost (https://mdpi.com/2071-1050/17/14/6292)
- How Much Fake Grass Will You Need? How to Measure for Artificial Turf – Xtreme Green Synthetic Turf (https://xgreensynthetic.com/measuring-for-turf)
- How to measure a surface before installing artificial grass - Realturf USA (https://realturf.com/us/how-to-measure-a-surface-before-installing-artificial-grass)
- Prepare the Base for Artificial Grass
- shawgrass.com (https://shawgrass.com/about/news-blog/how-to-prep-for-artificial-grass-installation)
- How to Install Artificial Grass on Soil | US Turf (https://usturfsandiego.com/news/how-to-install-artificial-grass-on-soil)
- Artificial Grass Installation DIY: My Experience, Tips, and Insights! | Purchase Green Artificial Grass (https://purchasegreen.com/diy-tips/artificial-grass-installation-diy-my-experience-tips-and-insights)
- How to Prep the Base for Artificial Grass (https://installartificial.com/how/to-prep-the-base-for-artificial-grass)
- A Step-by-Step Guide to Installing Artificial Turf Grass (https://lowes.com/n/how-to/install-artificial-grass)
- Lay and Secure the Artificial Grass
- How to Install Artificial Grass on Soil | US Turf (https://usturfsandiego.com/news/how-to-install-artificial-grass-on-soil)
- The Essential Guide to Securing Artificial Grass During Your Installations - SGW Sacramento (https://sgwsacramento.com/blog/the-essential-guide-to-securing-artificial-grass-during-your-installations)
- A Step-by-Step Guide to Installing Artificial Turf Grass (https://lowes.com/n/how-to/install-artificial-grass)
- Ultimate Guide to Securing Artificial Turf (https://premiumgrassblades.com/the-ultimate-guide-to-securing-artificial-turf-spiral-nails-staples-and-proper-installation)
- Artificial Turf Market, Industry Size Forecast [Latest] (https://marketsandmarkets.com/Market-Reports/artificial-turf-market-121486580.html)
- Add Finishing Touches and Groom the Grass
- Case Studies: Landscape & Recreation - Synthetic Turf Council (https://syntheticturfcouncil.org/page/Case_Studies_2)
- Case Studies (https://urbanturfsolutions.co.nz/case-studies)
- usturfsandiego.com (https://usturfsandiego.com/news/make-artificial-turf-look-more-natural)
- Artificial Turf Maintenance Guide | Cleaning & Care Tips (https://fieldturflandscape.com/maintenance/artificial-turf-maintenance-guide)
- Synthetic Turf: History, Design, Maintenance, and Athlete Safety - PMC (https://pmc.ncbi.nlm.nih.gov/articles/PMC6299344)