Introduction
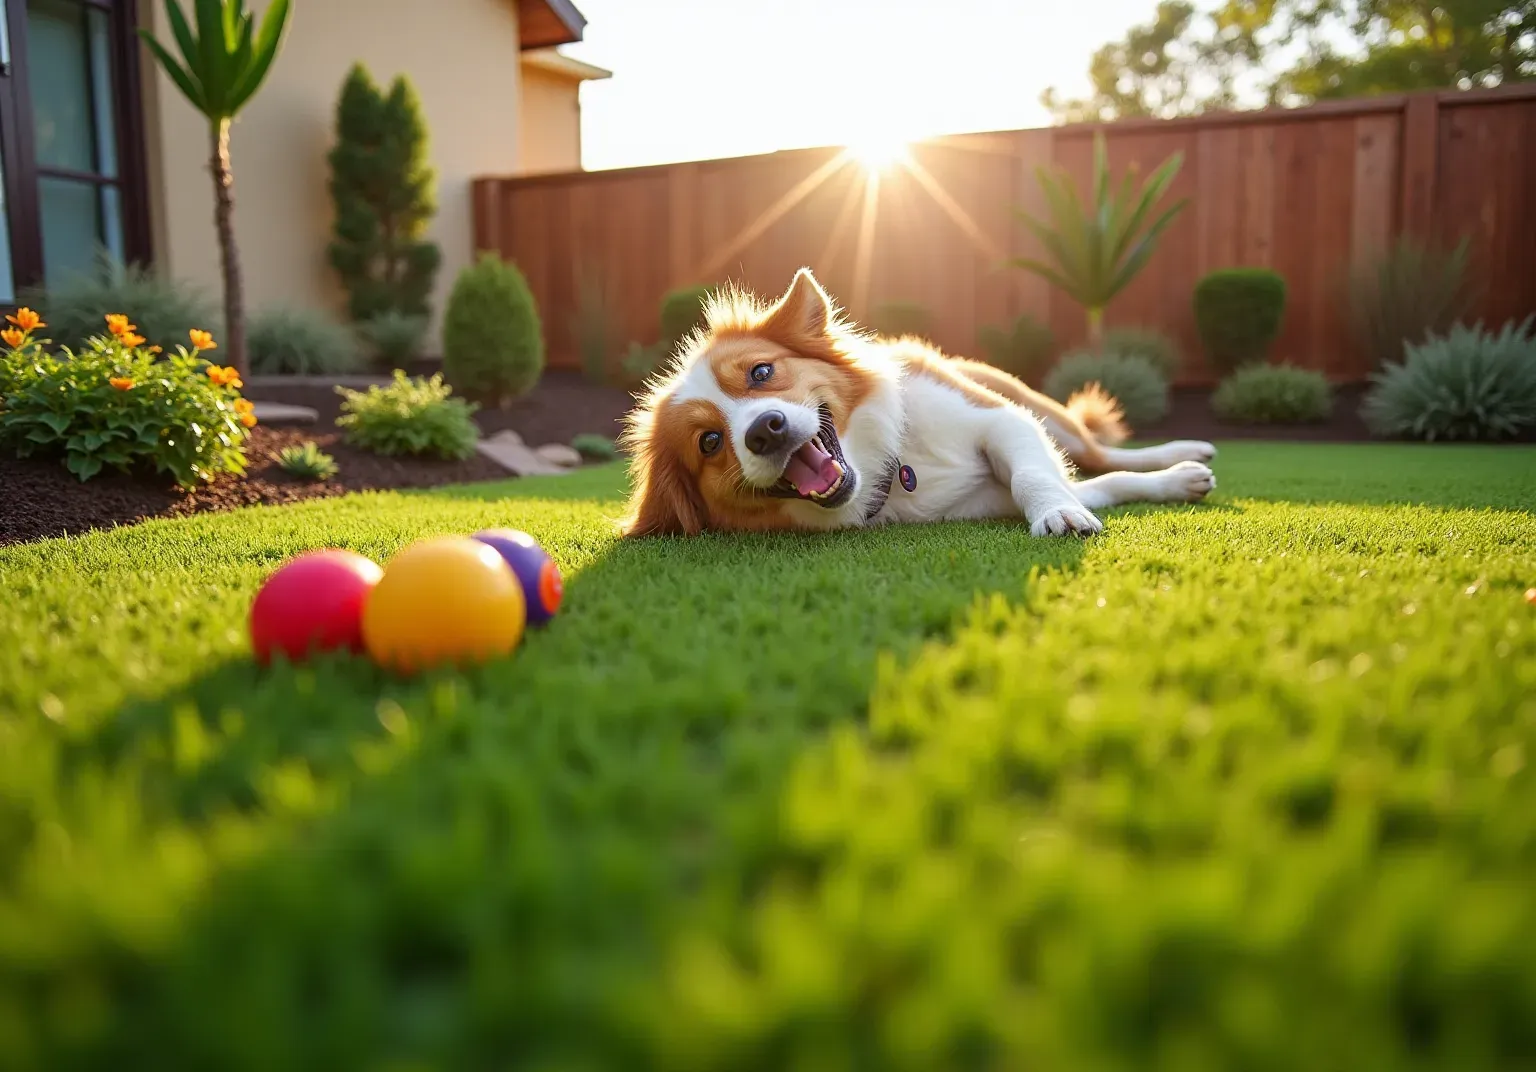
Transforming a backyard into a lush, green oasis with artificial turf is a goal many homeowners aspire to achieve. This guide outlines the essential steps for a smooth and effective turf field installation, covering everything from site preparation to the final touches. With various techniques and materials available, navigating the complexities of the installation process can be challenging. By exploring these five critical steps, you can discover the keys to creating a stunning, maintenance-free lawn that enhances any outdoor space.
Prepare the Site for Turf Installation
- Clear the Area: Start by removing any existing grass, weeds, rocks, and debris from the setup site. This step is crucial for ensuring a clean surface for the grass in , as any leftover materials can hinder proper installation and lead to uneven surfaces. Additionally, remember to relocate any lawn decorations to facilitate a smooth setup process.
- : Evaluate the soil for drainage issues and type. Compacted soil or poor drainage may require amendments to create an ideal foundation for the grass. It is advisable to consult with professionals, such as those at , to determine the best approach for your specific site conditions. As one landscape expert noted, determining the soil conditions in the specific area you intend to set up synthetic grass is one of the initial steps to preparing for .
- Mark the Area: Use stakes and string to outline the installation area. This visual aid helps in accurately measuring and planning the layout, ensuring that the grass fits perfectly within the designated space.
- : Use a level to verify that the ground is even. Address any dips or high spots, as these can impact the performance and appearance of the grass. Proper leveling is essential to prevent water pooling and to ensure a .
- : The average cost for can vary, but homeowners should budget approximately $1 to $2 per square foot. This investment is vital for achieving a successful that satisfies both aesthetic and functional needs. While installing can be a DIY project, it often leads to unexpected challenges and additional costs for tools or equipment rental. To ensure a stunning, maintenance-free lawn throughout the year, consider starting your with , where you can explore high-quality and designed for safety, low upkeep, and year-round effectiveness.

Excavate and Level the Ground
- Excavate the Area: Start by digging out the top 3-4 inches of soil from the marked area. This depth is crucial for establishing a suitable foundation and ensuring efficient drainage for the .
- : Thoroughly clear the excavated area of all roots, rocks, and organic matter. This step is vital to prevent future growth and to create a stable foundation for the turf.
- : Use a rake to , ensuring a smooth surface. Pay attention to any low spots, filling them with extra soil as necessary to achieve a level surface.
- : Utilize a plate compactor to compress the soil, ensuring it is firm and stable. Proper compaction is essential for , as it prevents settling after the installation of grass. Contractors emphasize that a well-compacted base significantly enhances the durability and appearance of the finished surface, reducing the risk of future issues such as uneven areas. According to industry statistics, .
- Secure the Grass: After compaction, . This step is essential for preventing shifting and sinking over time.
- Final Checks: After securing the surface, double-check the level of the ground. , as it significantly contributes to the overall performance and durability of the .

Install and Compact Base Materials
- Choose: Start by selecting an appropriate . Options like Class II road material are widely recommended due to their , , and . Decomposed granite is another excellent choice for turf field installation, as it is favored for its drainage capabilities and compaction properties, ensuring a robust foundation.
- Spread the: Distribute the chosen evenly across the excavated area to a depth of 3 to 4 inches. This depth is crucial for preventing shifting and promoting , particularly in high foot traffic areas.
- Compact the Foundation: Use a plate compactor to thoroughly compress the . Achieving a is essential for creating a stable foundation that effectively supports the turf field installation. As one expert notes, "Properly compacting the foundation ensures longevity and performance of the turf."
- Check for Levelness: After compacting, utilize a level to confirm that the area is even. Make necessary adjustments by adding or removing foundational material to achieve a smooth, level surface. This step is vital, as uneven surfaces can lead to issues such as puddling or grass displacement over time. Additionally, consider using a for tight corners to ensure thorough compaction.

Lay and Secure the Turf
- Roll Out the Surface: Begin by unrolling the over the prepared base, ensuring it fits the designated area without any stretching or bunching. Allow the for approximately three hours to facilitate natural expansion, which helps prevent creasing.
- : Carefully use a utility knife to of the grass for a precise fit. It is advisable to leave a slight overhang, which will be secured later, ensuring a clean and .
- : To keep the grass in place, use around the perimeter and at the seams, spacing them approximately every 4-6 inches. This method prevents movement and preserves the integrity of the setup.
- Seam the Grass: When working with multiple pieces of grass, and to secure them together. This technique not only enhances the aesthetic appeal but also ensures a seamless transition between sections, contributing to the overall . Experts recommend focusing on side seams rather than head seams to achieve a less noticeable finish.

Groom and Fill the Turf for Final Touches
- Add Infill: Start by evenly distributing , such as silica sand or rubber granules, across the surface. This essential step not only stabilizes the ground cover but also helps keep the , improving both appearance and performance. Infill serves multiple purposes, including providing cushioning and support, which are vital for the of the surface.
- Brush the Grass: Use a stiff-bristled broom or grass rake to brush the fibers upright and ensure even distribution of the infill. This grooming technique is important for achieving a natural look and texture, enhancing the visual appeal of the surface.
- Water the Grass: with water to help settle the infill and reduce dust. This step also assists in standing the grass fibers upright, contributing to a lush, green appearance.
- Final Inspection: Perform a thorough walk-around of the area to identify any uneven spots or areas needing additional infill. Make necessary adjustments to ensure a polished, that meets your aesthetic standards.
Regular , including , is crucial for extending the lifespan of your . Turf professionals emphasize that "Proper, is the key to getting the most out of its lifespan, appearance, and hygiene." It is advisable to conduct light rinsing and debris removal weekly, and to utilize a power broom annually for optimal upkeep. This approach ensures your installation remains a beautiful addition to your property for years to come.

Conclusion
Successfully installing a turf field at home requires a meticulous approach to ensure a durable and aesthetically pleasing result. Homeowners can transform their outdoor space into a lush, maintenance-free lawn that enhances both the beauty and functionality of their property by following these outlined steps.
Key Steps for Installation:
- Prepare the Site: Clear debris, assess soil conditions, and ensure proper leveling.
- Excavate and Compact: Create a solid foundation by excavating and compacting the ground.
- Select Base Materials: Choose suitable materials that will support the turf effectively.
- Secure the Turf: Properly secure the turf to ensure stability and longevity.
- Groom the Grass and Add Infill: These final touches are crucial for achieving a natural appearance and ensuring long-lasting performance.
Each of these steps plays a vital role in the overall success of the installation process. Investing time and effort into these steps not only guarantees a beautiful end result but also helps homeowners avoid potential pitfalls and additional costs in the future.
By embracing best practices in turf installation, homeowners can create a stunning outdoor area that can be enjoyed year-round. For those considering this project, consulting with professionals can provide valuable insights and support, making the journey to a perfect turf field both rewarding and achievable.
Frequently Asked Questions
What is the first step in preparing the site for turf installation?
The first step is to clear the area by removing any existing grass, weeds, rocks, and debris to ensure a clean surface for the turf installation.
Why is it important to assess soil conditions before turf installation?
Assessing soil conditions is important to identify drainage issues and soil type. Compacted soil or poor drainage may require amendments to create an ideal foundation for the grass.
How can I mark the area for turf installation?
You can mark the area using stakes and string to outline the installation space, which helps in accurately measuring and planning the layout.
How do I check for levelness in the ground?
Use a level to verify that the ground is even. Address any dips or high spots to prevent water pooling and ensure a smooth surface.
What are the cost considerations for removing existing grass and debris?
The average cost for removing existing grass and debris can range from $1 to $2 per square foot, which is an important investment for a successful turf field installation.
What should I do during the excavation process?
Begin by digging out the top 3-4 inches of soil from the marked area to establish a suitable foundation and ensure efficient drainage for the synthetic grass.
Why is it necessary to remove debris after excavation?
Removing debris, including roots, rocks, and organic matter, is vital to prevent future growth and create a stable foundation for the turf.
How do I level the ground after excavation?
Use a rake to level the excavated area, paying attention to low spots and filling them with extra soil as necessary to achieve a smooth surface.
What is the purpose of compacting the soil?
Compacting the soil with a plate compactor ensures it is firm and stable, which prevents settling after the installation of grass and enhances the durability and appearance of the finished surface.
How do I secure the grass after installation?
Secure the grass around the perimeter using galvanized steel stakes every 4-6 inches to prevent shifting and sinking over time.
What final checks should I perform after securing the grass?
After securing the grass, double-check the level of the ground to ensure a stable and level surface, which is essential for the performance and durability of the artificial grass.
List of Sources
- Prepare the Site for Turf Installation
- shawgrass.com (https://shawgrass.com/about/news-blog/how-to-prep-for-artificial-grass-installation)
- chronicleonline.com (https://chronicleonline.com/weeklies/wakulla_news/considering-synthetic-turf-what-homeowners-should-know-before-installation/article_24131cd5-552b-57af-898d-49d09af2c902.html)
- Scorching temps from California turf raises questions about artificial turf, xeriscaping in humid states like Florida - News (https://blogs.ifas.ufl.edu/news/2025/07/30/scorching-temps-from-california-turf-raises-questions-about-artificial-turf-xeriscaping-in-humid-states-like-florida)
- As California installs more artificial turf, health and environmental concerns multiply (https://latimes.com/science/story/2025-09-17/californias-love-hate-relationship-with-artificial-turf)
- Plastic Turf Fields Are Taking Over America (https://nytimes.com/2025/07/26/business/artificial-turf-grass-sports.html)
- Excavate and Level the Ground
- shawgrass.com (https://shawgrass.com/about/news-blog/how-to-prep-for-artificial-grass-installation)
- 5 Important Artificial Grass Installation Tips (https://openpr.com/news/4319628/5-important-artificial-grass-installation-tips)
- Dig Out Process for Artificial Turf | Elite Turf Supply (https://eliteturfsupply.com/blogs/dig-out-process-for-artificial-turf)
- How to Install Artificial Turf on Dirt | US Turf (https://usturfsandiego.com/news/how-to-install-artificial-turf-on-dirt)
- Leveling the Field: How to Ensure an Even Surface During Your Artificial Turf Installation | Synthetic Grass Warehouse (https://syntheticgrasswarehouse.com/blog/leveling-the-field-how-to-ensure-an-even-surface-during-your-artificial-turf-installation)
- Install and Compact Base Materials
- xgreensynthetic.com (https://xgreensynthetic.com/best-base-artificial-turf)
- Artificial Grass Sub-Base explained | Purchase Green Artificial Grass (https://purchasegreen.com/blog/artificial-grass-sub-base)
- How to Choose the Right Base for Artificial Grass (https://realturf.com/us/what-sub-base-is-best-for-your-artificial-grass)
- Artificial Grass Installation: 6 Key Surface Requirements | Magnolia Turf (https://magnoliaturf.com/landscapes/artificial-grass-key-surface-requirements)
- Understanding the Importance of Compaction | Synthetic Grass Warehouse (https://syntheticgrasswarehouse.com/blog/understanding-the-importance-of-compaction)
- Lay and Secure the Turf
- How To Lay Artificial Turf (https://thisoldhouse.com/lawns/how-to-lay-artificial-turf)
- How to Install Artificial Turf on Dirt | US Turf (https://usturfsandiego.com/news/how-to-install-artificial-turf-on-dirt)
- syntheticturfnorthwest.com (https://syntheticturfnorthwest.com/a-helpful-guide-to-installing-synthetic-turf-diy)
- How to Install Artificial Grass: DIY Tips For Your Lawn (https://flooringinc.com/blog/how-to-install-artificial-grass?srsltid=AfmBOoqQ88jRCC0P6sotCMC483DkE_i8_HfNLmRbmlZ1grB0z9EbIG5U)
- A Step-by-Step Guide to Installing Artificial Turf Grass (https://lowes.com/n/how-to/install-artificial-grass)
- Groom and Fill the Turf for Final Touches
- themotzgroup.com (https://themotzgroup.com/sport_blog/how-to-synthetic-turf-field-grooming)
- Tips for Artificial Turf Maintenance | Texas Backyard Living (https://texasbackyardliving.com/tips-for-artificial-turf-maintenance)
- Grooming Artificial Grass: DIY Explained | Purchase Green Artificial Grass (https://purchasegreen.com/blog/grooming-artificial-grass)
- replaymaintenanceusa.com (https://replaymaintenanceusa.com/post/the-importance-of-infill-depth-in-synthetic-turf-fields-ensuring-longevity-and-performance)
- Artificial Turf Maintenance Guide | Cleaning & Care Tips (https://fieldturflandscape.com/maintenance/artificial-turf-maintenance-guide)