Introduction
Choosing the right location for an artificial turf putting green is crucial for maximizing its performance and durability. Many homeowners fail to recognize the importance of site selection, which can lead to suboptimal performance of the putting green. This guide will walk you through the steps to install the turf and help it thrive in your backyard. By addressing these factors, homeowners can ensure a putting green that not only performs well but also lasts for years. Dive into the essential steps and expert tips that promise to transform any outdoor space into a golfer's paradise.
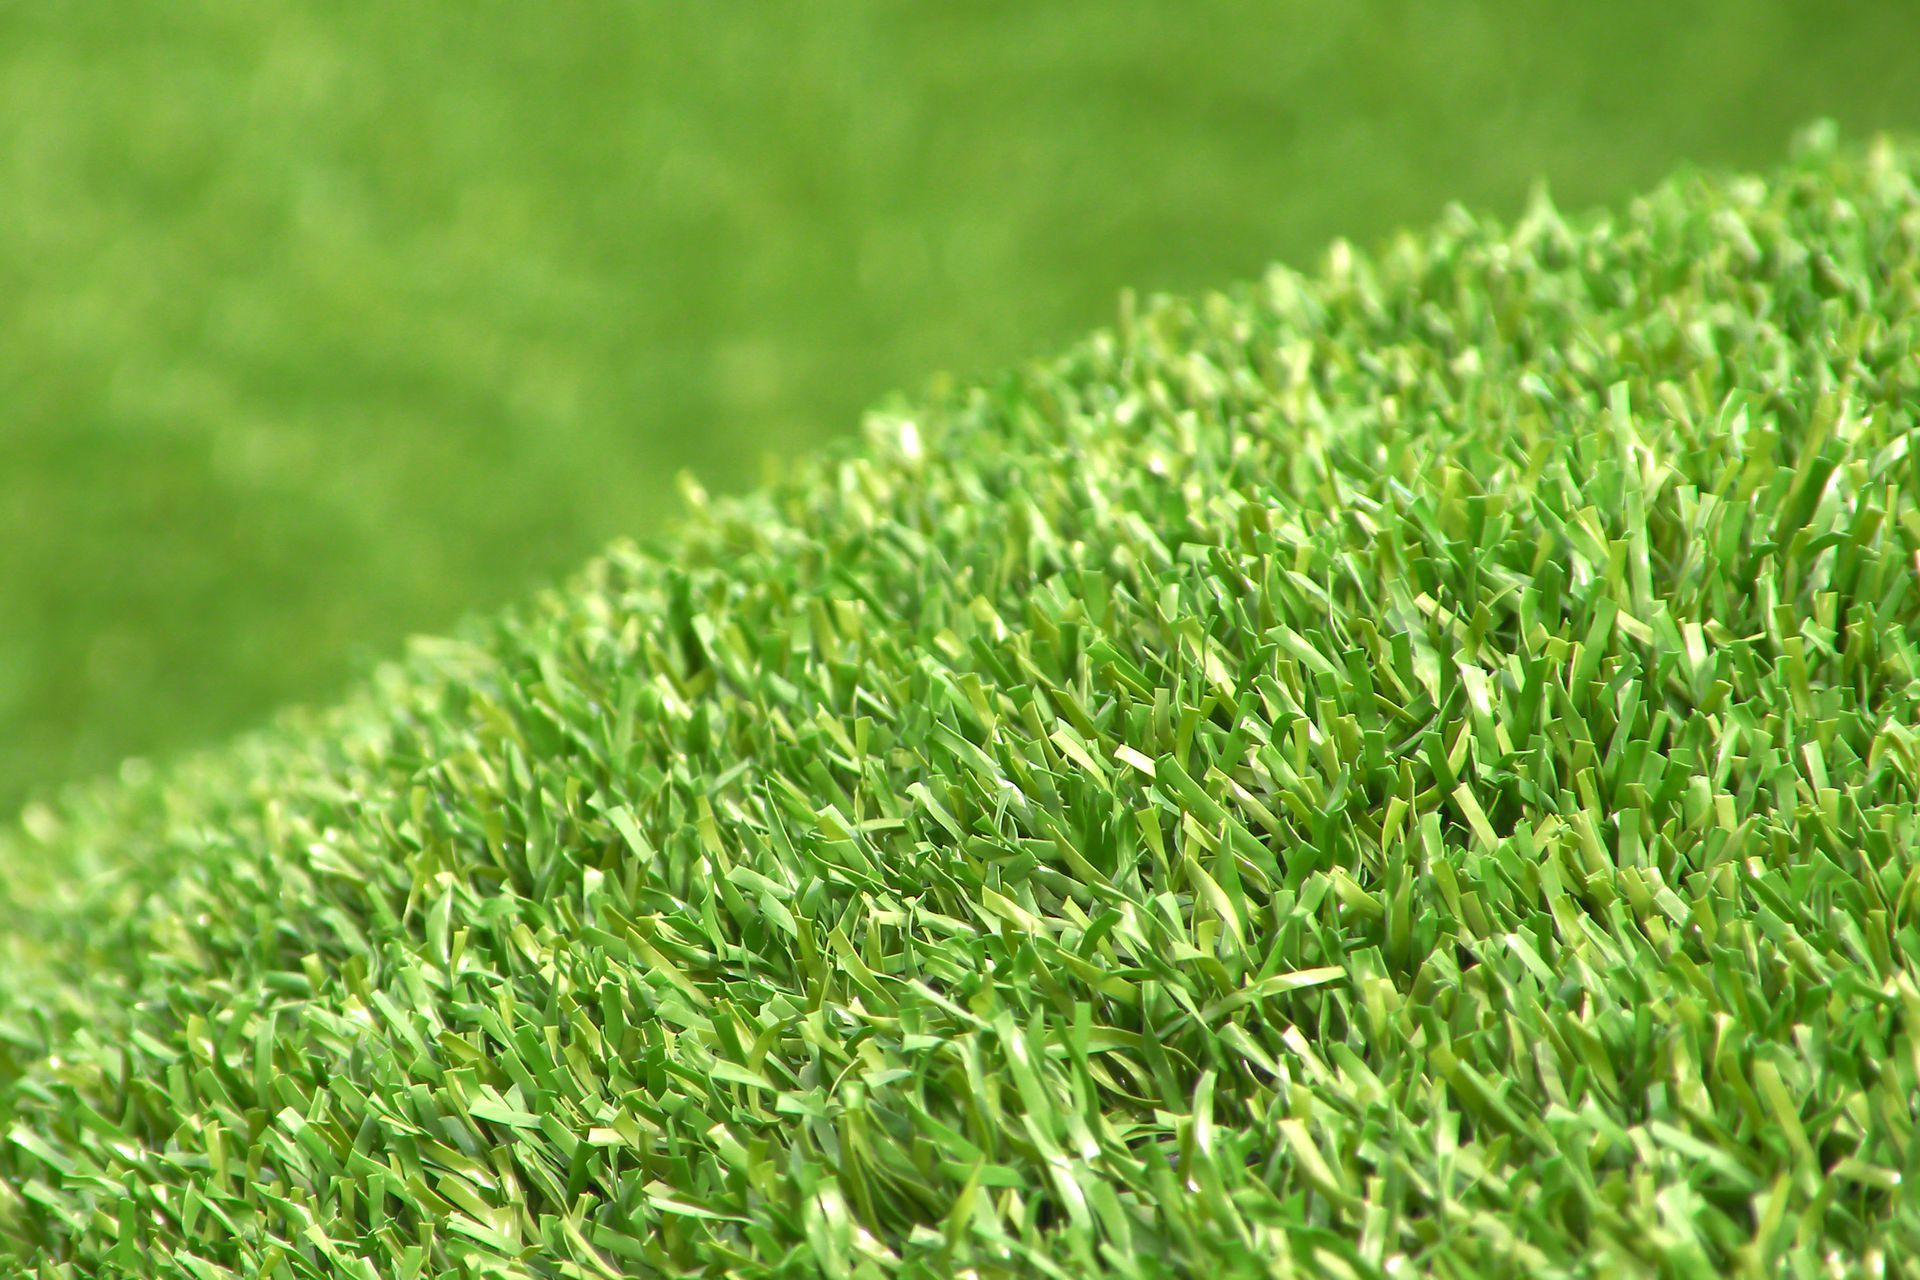
Select the Ideal Location for Your Putting Green
- Assess Sunlight Exposure: Choosing the right location for your artificial grass is crucial for ensuring its longevity and performance. Select a spot that receives at least six hours of direct sunlight daily. This exposure is essential for preserving the grass's vibrant color and preventing mold development, which can compromise its health and appearance. Moreover, having California Turf Company install your grass can boost your property value by up to 24%. This makes choosing the right location even more critical.
- Evaluate Drainage: Ensure the area has effective drainage to prevent water pooling, which can lead to grass deterioration. Avoid low areas where water may gather, as poor drainage not only harms the grass but also increases maintenance efforts and costs. Regular maintenance practices, such as rinsing the turf and using heat-reflective infill, can further enhance performance in sunny conditions, ensuring a stylish and low-maintenance lawn for your family.
- Consider Accessibility: Place the golf area in a location that is easily reachable for routine use and upkeep. Avoid areas that are too distant from your home or obstructed by obstacles, as this can hinder enjoyment and maintenance. With California Turf Company’s expert installation, your golf area will not only work well but also fit beautifully into your outdoor space.
- Check for Level Ground: Ideally, choose a flat area with minimal slope. Uneven ground can complicate installation and affect playability, so be prepared to invest time in leveling the surface during preparation. For optimal performance, consider a pile height of around 1/2 inch for the grass, which is crucial for ensuring a smooth ball roll and enhancing your golf game at home.
- Avoid High-Traffic Areas : Steer clear of locations that experience frequent foot traffic or are used for other activities. High-traffic zones can harm the turf and adversely affect its performance, diminishing the overall quality of your golf surface. A small backyard artificial golf surface can generally be set up in 1 to 3 days by California Turf Company, establishing realistic expectations for your project. By making informed decisions about placement, you can enhance both the enjoyment and durability of your artificial grass investment!

Prepare the Site: Measurement and Ground Leveling
Creating a well-prepared practice area is essential for understanding how to install artificial turf putting green to achieve optimal results in your backyard golf setup.
- Measure the Area: Start by utilizing a tape measure to precisely assess the dimensions of your practice area. Mark the outline with spray paint or stakes to visualize the designated space clearly.
- Clear the Area: Remove any existing grass, plants, or debris from the marked area. You can use a sod cutter or shovel to remove the grass, creating a clean slate for your installation.
- Level the Ground: Use a rake to level the ground and fill in any low spots with soil or sand. Aim for a slight slope of 1-2% to facilitate proper drainage away from the area, which is crucial for maintaining the grass's longevity.
- Compact the Soil: After leveling, compact the soil using a plate compactor or hand tamper to create a firm base. This step is essential to prevent settling after the surface is installed, ensuring a stable basis for your practice area. Failure to compact the soil may lead to uneven surfaces and potential damage to the turf over time.
- Install a Weed Barrier: Lay down a weed barrier fabric to prevent weeds from growing through the turf. This practice is essential for maintaining the integrity of your turf area over time, as studies show that effective weed barriers can significantly reduce weed growth, enhancing the overall aesthetics and functionality of the installation.
For the best results in your backyard golf area, consider scheduling a complimentary consultation with California Turf Company to learn how to install artificial turf putting green along with top-quality artificial grass and golf solutions. Investing time in these preparation steps will ensure a durable and visually appealing practice area that enhances your golfing experience.

Install the Artificial Turf: Laying and Securing
Installing Synthetic Grass
for Your Golf Area
Installing synthetic grass for your golf area
requires careful attention to detail to ensure a stable and aesthetically pleasing surface.
- Roll Out the Surface: Begin by rolling out the synthetic grass over the prepared area, making sure the fibers all face the same direction for a consistent appearance.
- Cut to Fit: Grab a utility knife to trim the grass edges, shaping it just right for your golf area. Leave a slight overhang to facilitate tucking under later for a neat finish.
- Secure the Grass: Fasten the grass to the ground with landscape staples or galvanized nails, placing them every 4 to 6 inches along the edges and seams to keep it in place. This method ensures a stable installation that withstands use.
- Join the Grass: If your golf area requires multiple sections of grass, use seam tape and adhesive to connect them securely. Ensure that the seams are tight and aligned to achieve a seamless appearance, which is crucial for both aesthetics and functionality.
- Tuck the Edges: Lastly, tuck the turf edges under themselves at the perimeter for a neat finish. A putty knife can assist in pushing the edges down into the ground, ensuring a polished look that enhances the overall installation.
Important Considerations: Make sure the installation site has no more than a 3% slope to ensure proper drainage. Additionally, a properly prepared base should be compacted and level to prevent bumps and depressions during use. It is advised that at least two individuals help with the assembly and disassembly of the golf kit for safety.
By following these guidelines on how to install artificial turf putting green, you can create a golf area that not only looks great but also performs well over time.

Apply Infill for Enhanced Performance and Durability
- Choose the Right Material : Achieving optimal performance on your putting green begins with the careful selection of materials. Choosing materials like silica sand or specialized infills, such as Envirofill, greatly affects the speed and feel of your putting green. Antimicrobial material choices help prevent bacteria and mold development, ensuring a cleaner playing environment.
- Distribute the Material: Use a drop spreader to evenly scatter the material across the grass surface. Aim for a depth of 2-2.5 pounds of material per square foot, as this range is recommended for maintaining stability and performance. For grass applications of 1,000-5,000 square feet, a 36” wide drop spreader is recommended, while a power or pull-behind drop spreader is best for regions exceeding 5,000 square feet. Proper distribution is essential; avoid overlapping the spreader by more than two inches to ensure even coverage.
- Brush the Material: After spreading, employ a stiff-bristled broom to work the material into the turf fibers. This method not only helps the blades stand vertically but also ensures that the material is evenly spread. Regular brushing is vital for maintaining the integrity of the surface and preventing issues like matting or uneven wear.
- Check for Coverage: Be sure to check the surface carefully to make sure the material is evenly spread and that there are no bare spots. Without adequate material, the putting surface may become unstable, affecting gameplay. Add more material as necessary to achieve the desired coverage and performance.
- Compact the Material : Lightly compact the material using a roller or by walking on the surface to ensure it settles properly. Compacting the material helps keep the surface stable and prevents bumps and dips that could disrupt gameplay. To keep your putting green performing at its best, regular maintenance and checking the fill depth are crucial. Additionally, avoid placing infill on wet synthetic grass fibers, as this can lead to sticking and improper settling.

Finalize Installation: Adjustments and Maintenance Tips
Maintenance of Your Putting Green
- Inspect the Surface: After installation, thoroughly inspect the putting green for any wrinkles or uneven areas. Should you find any issues, adjust the grass by lifting and re-securing it to maintain a smooth surface.
- Regular Maintenance: Establish a routine upkeep schedule that includes brushing the grass monthly to keep the fibers upright and prevent matting. Additionally, remove debris weekly to avoid buildup that can affect playability and aesthetics.
- Cleaning: Periodically clean the surface using a mild soap solution and a soft brush to effectively remove stains and maintain the turf's appearance. Rinse thoroughly with water to ensure no soap residue remains, which can attract dirt.
- Check Material Levels: Regularly monitor the material levels, especially in high-traffic areas, and replenish as needed to maintain optimal performance and visual appeal. Appropriate infill levels are essential for the stability and durability of the golf course surface.
- Seasonal Care: Prepare your putting green for seasonal changes by checking for drainage issues and ensuring that the grass remains free of leaves and debris during fall and winter. Checking your green at least once a year can catch problems early, keeping the grass in great shape. Additionally, seasonal deep cleaning should occur at least twice a year to eliminate stains and odors, as emphasized by turf maintenance professionals like Scott Sachse, who notes that timely inspections are crucial for preserving the quality of your lawn.
Neglecting these maintenance steps can seriously harm your putting green, affecting how it plays and looks.

Conclusion
Selecting and installing an artificial turf putting green requires meticulous planning and execution to achieve a successful outcome. Understanding key factors like location, site preparation, installation techniques, and maintenance is essential for creating a golf area that boosts enjoyment and property value.
Key steps include:
- Assessing sunlight exposure and drainage
- Preparing the ground with proper leveling and weed barriers
- Laying the turf with secure edges
Additionally, applying the right infill material is crucial for optimal performance and durability. Regular maintenance, including inspections and cleaning, will help preserve the quality of the putting green over time.
Investing time and effort in each phase of the installation process will create a beautiful and functional putting green that enhances your outdoor space. Following these guidelines ensures that your investment in an artificial turf putting green yields lasting enjoyment and enhances your outdoor space.
Frequently Asked Questions
What factors should I consider when selecting a location for my putting green?
You should assess sunlight exposure, drainage, accessibility, ground level, and avoid high-traffic areas. Ideally, choose a spot that receives at least six hours of direct sunlight, has effective drainage, is easily accessible, has minimal slope, and is away from frequent foot traffic.
Why is sunlight exposure important for my putting green?
Sunlight exposure is essential for preserving the grass's vibrant color and preventing mold development, which can compromise its health and appearance. At least six hours of direct sunlight daily is recommended.
How can I ensure proper drainage for my putting green?
Choose an area that does not have low spots where water can pool. Effective drainage prevents water accumulation, which can deteriorate the grass and increase maintenance efforts and costs.
What is the ideal ground condition for installing a putting green?
The ideal ground should be flat with minimal slope. A slight slope of 1-2% is recommended to facilitate drainage. Uneven ground can complicate installation and affect playability.
How should I prepare the site for my putting green?
Start by measuring the area, clearing any existing grass or debris, leveling the ground, compacting the soil, and installing a weed barrier. These steps are crucial for creating a stable and durable practice area.
What tools do I need to prepare the site for my putting green?
You will need a tape measure, spray paint or stakes, a sod cutter or shovel, a rake, a plate compactor or hand tamper, and weed barrier fabric.
How long does it take to set up a small backyard artificial golf surface?
A small backyard artificial golf surface can generally be set up in 1 to 3 days by California Turf Company.
What is the benefit of installing a weed barrier for my putting green?
Installing a weed barrier fabric prevents weeds from growing through the turf, helping to maintain the integrity and aesthetics of your turf area over time.
List of Sources
- Select the Ideal Location for Your Putting Green
- Tips for a Pro-Level Course With Putting Green Artificial Grass (https://fieldturflandscape.com/golf-putting-green/13-top-tips-for-designing-a-pro-grade-putting-green-with-artificial-grass)
- 4 Best Practices for Your Outdoor Golf Putting Green – Hall Turf | Artificial Turf Installation Kansas City KS & MO (https://hallturf.com/4-best-practices-for-your-outdoor-golf-putting-green)
- Mistakes to Avoid When Installing a Putting Green for Backyard Practice - Synthetic Lawn Installation Near Me Palm Springs, CA (https://visionturfandlighting.com/mistakes-to-avoid-when-installing-a-putting-green-for-backyard-practice)
- Your Guide to the Best Backyard Putting Green Turf (https://realturf.com/us/the-secret-to-a-perfect-backyard-putting-green)
- Turf Performance in Direct Sunlight: Maximizing Your Synthetic Grass Investment (https://integriturf.com/glossary/turf-performance-in-direct-sunlight-maximizing-your-synthetic-grass-investment)
- Prepare the Site: Measurement and Ground Leveling
- How to Install Artificial Turf on Dirt | US Turf (https://usturfsandiego.com/news/how-to-install-artificial-turf-on-dirt)
- How to Install Artificial Turf - RCP Block & Brick (https://rcpblock.com/installation-artificial-turf.html)
- Master Ground Prep: DIY Turf Installation Made Easy (https://artificialturfexpress.com/blog/the-diyers-guide-to-ground-prep-for-turf-installation-and-accessories)
- 4 Steps for Successful Artificial Turf Installation Right Now (https://californiaturfco.com/4-steps-for-successful-artificial-turf-installation-right-now)
- Install the Artificial Turf: Laying and Securing
- How To Build a Backyard Putting Green (https://xgrass.com/how-to-build-putting-green.html)
- 5 Backyard Putting Green Installation Mistakes & How to Fix Them (https://aglgrass.com/blogs/backyard-putting-green-mistakes)
- lowes.com (https://lowes.com/n/how-to/install-artificial-grass)
- Tour Greens | Backyard Putting Green Cost in 2025 (https://tourgreens.com/backyard-putting-green-cost.html)
- The Best Artificial Grass for Putting Green (https://themotzgroup.com/infill_blog/the-best-artificial-grass-for-putting-greens)
- Apply Infill for Enhanced Performance and Durability
- Infill Matters When Installing Artificial Grass Putting Greens — Here’s Why | Synthetic Grass Warehouse (https://syntheticgrasswarehouse.com/blog/infill-matters-when-installing-artificial-grass-putting-greens-heres-why)
- The Ultimate Checklist for Turf Infill Installation (https://themotzgroup.com/infill_blog/the-ultimate-checklist-for-turf-infill-installation)
- Perfecting Putting Green Surfaces – Part 2 – Infill Placement | Ask JW | Synthetic Grass Warehouse (https://syntheticgrasswarehouse.com/company/ask-an-expert/ask-jw/perfecting-putting-green-surfaces-part-2-infill-placement)
- Finalize Installation: Adjustments and Maintenance Tips
- 4 Best Practices for Maintaining Your Synthetic Turf Grass – Hall Turf | Artificial Turf Installation Kansas City KS & MO (https://hallturf.com/4-best-practices-for-maintaining-your-synthetic-turf-grass)
- Artificial Golf Greens Maintenance Tips (https://southwestgreens.com/blog/artificial-golf-greens-maintenance-tips)
- Turf Installation Inspection Checklist: Essential Steps for a Successful Installation (https://integriturf.com/glossary/turf-installation-inspection-checklist-essential-steps-for-a-successful-installation)
- Backyard Putting Green Maintenance Tips | TurFresh (https://turfresh.com/blog/helpful-artificial-grass-maintenance-tips-for-your-backyard-putting-green)
- What maintenance does an artificial putting green require? - Waterloo Turf North Dallas (https://waterlooturf.com/northdallas/ct_faq/what-maintenance-does-an-artificial-putting-green-require)