Introduction
Transforming your backyard into a golfer's paradise is achievable with the installation of a personal artificial grass golf green. This setup offers a convenient way to practice putting without the need to leave home. This guide outlines the essential steps for a successful installation, including gathering the right tools and materials, as well as adding those finishing touches that can make all the difference.
However, the excitement of a DIY project can sometimes clash with the complexities of proper installation. Understanding the nuances of each phase is crucial; it can mean the difference between achieving a professional-looking green and facing a disappointing result.
Gather Essential Tools and Materials
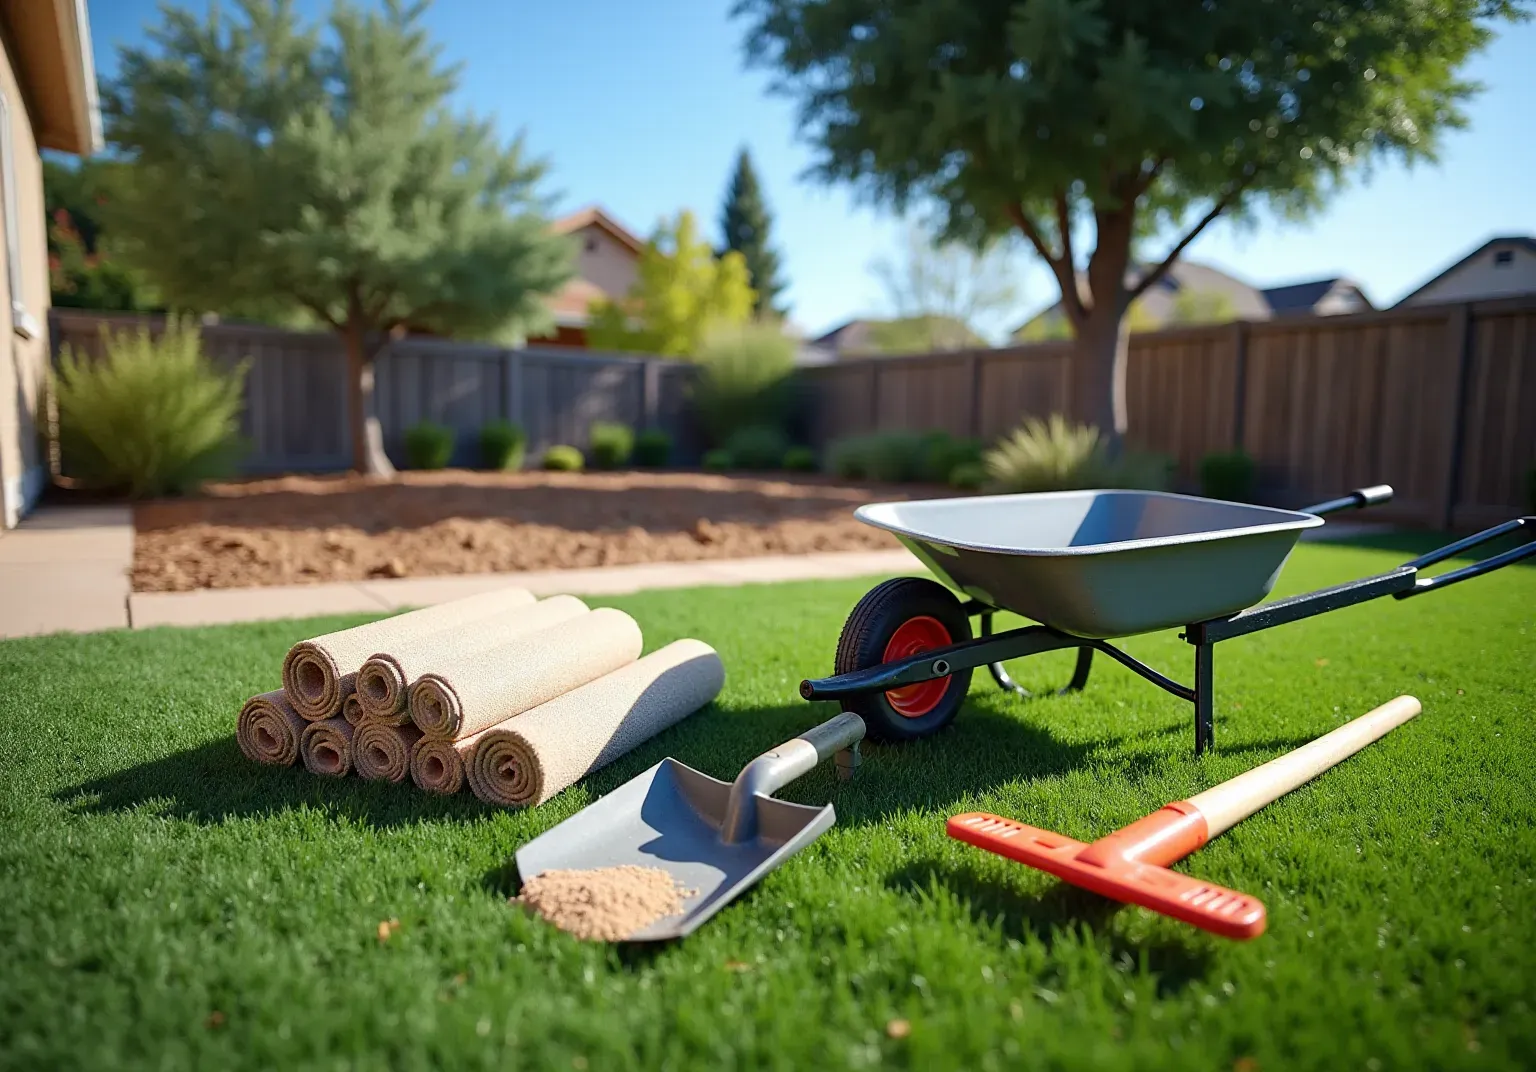
Before you begin setting up your , it’s crucial to gather the right to ensure a smooth process and a successful outcome. Here’s what you’ll need:
Tools:
- Shovel
- Rake
- Wheelbarrow
- Plate compactor (or hand tamper)
- Utility knife
- Measuring tape
- Turf staples or nails
- Seam tape (if needed)
- Bender board (for edging)
Materials:
- rolls
- (for the base)
- Weed barrier fabric
- Silica sand (for infill)
- (optional)
Having these ready not only streamlines your but also of your golf green. Utilizing the can significantly reduce setup time and enhance the overall quality of your project, ensuring that your new green remains in optimal condition for years to come.

Prepare the Site for Installation
To effectively prepare your site for , follow these :
- Select the Location: Choose a and receives ample sunlight. These factors are crucial for the longevity of your turf.
- Clear the Area: Remove any existing grass, plants, and debris from the selected site. This may involve using a shovel or sod cutter to ensure a clean slate for installation.
- Excavate the Soil: Dig down approximately 3-4 inches to create adequate space for the base material. Ensure the area is level and free of rocks to prevent uneven settling.
- Install a Weed Barrier: Lay down a to inhibit unwanted growth beneath the grass, which can compromise its appearance and durability.
- Add a Layer of Sub-Base Materials: Incorporate a about 2-3 inches deep to provide a for the turf.
- Compact the Soil: Utilize a plate compactor to compact the soil thoroughly, creating a for the base layer. This step is essential for preventing future unevenness and ensuring a smooth surface for your synthetic turf.
- Fasten the Turf: During setup, fasten the synthetic turf every 4 to 6 inches to maintain its position and prevent lifting.
By adhering to these steps, you can prepare for a successful that enhances your outdoor area.

Install the Base Layer for Stability
To install the for your , follow these essential steps:
- Choose Your Base Material: Select crushed stone or , as these materials provide . Alternatively, consider using Ultra Base panels, which offer a faster and cost-effective installation method. A well-constructed foundation is essential to prevent shifting or sagging, which can occur when the support is inadequate.
- Spread the : Pour the chosen into the excavated area, ensuring an even distribution to a . This depth is crucial for effective drainage and support.
- Level the Surface: Use a rake to even out the , creating a smooth and uniform surface. Proper leveling is vital for ensuring water flows away from the turf, preventing pooling and waterlogging.
- Compact the Foundation: Thoroughly compress the foundation layer using a plate compactor. This step is essential for establishing a solid foundation and preventing future settling, which can compromise the integrity of your installation.
- Check for Drainage: Ensure that the foundation is slightly sloped away from any structures to facilitate drainage. If installing on a non-permeable surface, consider incorporating drainage tiles to allow for efficient water flow. A well-constructed sub-base with the correct will enable water to flow freely beneath the surface and into designated drainage systems, enhancing the longevity of your .
- Install a Weed Membrane: To prevent weeds from emerging through the synthetic surface, lay a sturdy over the foundation before placing the sod.
By prioritizing these steps and choosing , you can create a long-lasting and efficient that enhances the performance and lifespan of your . As ProGreen professionals emphasize, "Investing in the foundation will allow you to enjoy fantastic turf for a long time with minimal maintenance.

Lay and Secure the Artificial Grass
To lay and secure your artificial grass effectively, follow these steps:
- Roll Out the Turf: Begin by unrolling the artificial grass and allowing it to acclimate for a few hours. This process helps reduce curling and ensures a smoother installation.
- Cut to Fit: Use a utility knife to trim the grass accurately to the shape of your . Make careful cuts around any obstacles to achieve a seamless fit.
- : Lay the grass over the prepared base and secure it using staples or nails. Position these fasteners every 6 to 12 inches along the edges and seams to ensure stability and prevent shifting. As a guideline, using about 1 nail or staple per square foot of grass is recommended for effective securing.
- Seam the Turf (if necessary): If your green consists of multiple pieces, use . This step is crucial for maintaining a . , which helps maintain your warranty and protects your investment.
- Check for Alignment: After securing the turf, . Make any necessary adjustments before moving on to the next stage of your setup. Additionally, ensure that a well-compacted base is in place, as this is essential for durability and stability.
For tailored support and to ensure a perfect setup, we suggest beginning your with before commencing your project. Our experts can provide tailored advice to enhance your installation experience!

Add Finishing Touches and Features
To complete your , follow these steps for a polished and functional installation:
- : , applying 1-2 pounds per square foot. This not only weighs down the grass but also enhances ball performance, improves drainage, and increases durability.
- : Carefully cut openings for the putting cups, ensuring they are aligned around pre-cut holes and level with the ground surface. Secure them with compacted materials for a seamless playing experience.
- Create Bunkers (optional): For added realism, consider . Use a to define the area and fill it with sand, mimicking the look of a . This trend enhances the overall aesthetic of your .
- Trim Edges: Utilize a utility knife to trim any excess turf along the edges, ensuring a clean and tidy finish that complements your landscape.
- : to identify any uneven areas or loose edges. Check for uneven infill distribution and make necessary adjustments to ensure a smooth and enjoyable playing surface. Regular maintenance is also recommended to prevent matting.

Conclusion
Installing an artificial grass golf green can significantly enhance your outdoor space, creating a personal haven for golf enthusiasts. This guide outlines essential steps, from gathering necessary tools and materials to applying the final touches, making the creation of a durable and visually appealing golf green an achievable project. Preparation, quality materials, and meticulous execution are crucial for a successful installation.
Key points include:
- Selecting the Right Location: Choosing an optimal site is fundamental for the longevity and functionality of your golf green.
- Preparing the Site: Proper site preparation ensures a stable foundation for the turf.
- Establishing a Stable Base Layer: A solid base layer supports the artificial grass, contributing to its durability.
Each phase, from laying and securing the artificial grass to enhancing the experience with features like putting cups and bunkers, is vital for achieving a professional-grade setup. This article also highlights best practices and tips to maintain the integrity and longevity of your golf green.
Investing time and effort into the installation process not only improves the aesthetics of your landscape but also creates a rewarding recreational space. Whether you are a seasoned golfer or a casual player, a well-installed artificial grass golf green invites enjoyment and practice year-round. Embrace the opportunity to create your own golfing oasis and elevate your outdoor experience today.
Frequently Asked Questions
What tools are needed for setting up a synthetic turf golf green?
The essential tools required include a shovel, rake, wheelbarrow, plate compactor (or hand tamper), utility knife, measuring tape, turf staples or nails, seam tape (if needed), and bender board (for edging).
What materials are necessary for the installation of synthetic turf?
The required materials consist of artificial grass rolls, crushed stone or decomposed granite (for the base), weed barrier fabric, silica sand (for infill), and optionally, putting cups and flags.
How can gathering the right tools and materials impact the installation process?
Having the appropriate tools and materials ready streamlines the installation process, reduces setup time, and enhances the overall quality of the artificial grass golf green, ensuring it remains in optimal condition for years.
What steps should be followed to prepare the site for artificial grass installation?
The steps include selecting a flat area with good drainage and sunlight, clearing the area of existing grass and debris, excavating the soil to about 3-4 inches, installing a weed barrier, adding a layer of sub-base materials (crushed stone or decomposed granite), compacting the soil, and fastening the turf every 4 to 6 inches.
Why is it important to compact the soil before installing synthetic turf?
Compacting the soil is essential to create a stable foundation for the base layer, preventing future unevenness and ensuring a smooth surface for the synthetic turf.
How deep should the soil be excavated for synthetic turf installation?
The soil should be excavated approximately 3-4 inches to create adequate space for the base material.
List of Sources
- Gather Essential Tools and Materials
- A Step-by-Step Guide to Installing Artificial Turf Grass (https://lowes.com/n/how-to/install-artificial-grass)
- A Guide To Installing An Artificial Putting Green (https://turftekusa.com/blog/a-guide-to-installing-an-artificial-putting-green)
- The Ultimate Checklist for a Flawless Artificial Turf Installation - The Turf Yard (https://theturfyard.com/the-ultimate-checklist-for-a-flawless-artificial-turf-installation)
- 10 Best Artificial Turf Installation Tools for Your Project - AGL (https://artificialgrassliquidators.com/artificial-turf-installation-tools)
- 5 Tools That Contractors Installing Artificial Grass Should Use | Purchase Green Artificial Grass (https://purchasegreen.com/blog/crucial-tools-contractors-installing-artificial-grass-should-use)
- Prepare the Site for Installation
- A Step-by-Step Guide to Installing Artificial Turf Grass (https://lowes.com/n/how-to/install-artificial-grass)
- How To Install Artificial Grass | SGW (https://sgwflorida.com/orlando/resources/installing-artificial-grass/step-by-step-guide-to-installing-artificial-grass)
- Master Ground Prep: DIY Turf Installation Made Easy (https://artificialturfexpress.com/blog/the-diyers-guide-to-ground-prep-for-turf-installation-and-accessories)
- shawgrass.com (https://shawgrass.com/about/news-blog/how-to-prep-for-artificial-grass-installation)
- Install the Base Layer for Stability
- Essential Base Material for Artificial Turf: Best Practices for Homeowners – Hall Turf | Artificial Turf Installation Kansas City KS & MO (https://hallturf.com/essential-base-material-for-artificial-turf-best-practices-for-homeowners)
- What is the Best Base to Put Under Artificial Grass? (https://delaturf.com/post/what-is-the-best-base-to-put-under-artificial-grass)
- Components of Artificial Turf Systems // TURF NETWORK (https://turfnetwork.org/artificial-grass/components)
- What Goes Under Artificial Turf? Insights for Your Project (https://progreen.com/what-goes-under-artificial-turf-essential-insights-for-your-project)
- Artificial Grass Sub-Base explained | Purchase Green Artificial Grass (https://purchasegreen.com/blog/artificial-grass-sub-base)
- Lay and Secure the Artificial Grass
- Case Study: 7 Gardens with Artificial Grass - Gardenista (https://gardenista.com/posts/case-study-7-gardens-with-artificial-grass)
- Ultimate Guide to Securing Artificial Turf (https://premiumgrassblades.com/the-ultimate-guide-to-securing-artificial-turf-spiral-nails-staples-and-proper-installation)
- A Guide To Installing An Artificial Putting Green (https://turftekusa.com/blog/a-guide-to-installing-an-artificial-putting-green)
- The Importance of Professional Installation for Artificial Turf - H2I Group (https://h2igroup.com/blogs/the-importance-of-professional-installation-for-artificial-turf)
- DIY Putting Green Installation: A Step-by-Step Guide (https://artificialturfexpress.com/blog/installing-the-best-putting-greens-in-your-yard-the-ultimate-diy-guide)
- Add Finishing Touches and Features
- smartturf.com (https://smartturf.com/artificial-grass-infill-types)
- Artificial Turf Infill Market: Trends & Growth Analysis 2035 (https://wiseguyreports.com/reports/artificial-turf-infill-market)
- 10 Benefits of Synthetic Turf Infill for Your Home – Hall Turf | Artificial Turf Installation Kansas City KS & MO (https://hallturf.com/10-benefits-of-synthetic-turf-infill-for-your-home)
- DIY Artificial Grass Putting Green Installation: Step-by-Step Guide - SGW Phoenix (https://sgwarizona.com/phoenix/blog/diy-artificial-grass-putting-green-installation-step-by-step-guide)
- Benefits Of Adding A Bunker To Your Putting Green | North East Synthetic Turf (https://northeastsyntheticturf.com/benefits-of-adding-a-bunker-to-your-putting-green)