Introduction
Creating a personal putting green at home is not merely a dream for avid golfers; it is an achievable project that can significantly enhance both practice and leisure. Homeowners can transform their outdoor spaces into a golfer's paradise by following a structured approach, complete with realistic turf and well-placed golf cups.
However, the journey from concept to completion can present several challenges. These include:
- Selecting the ideal location
- Ensuring proper installation techniques
To navigate these complexities effectively, one must consider how to install the perfect putting green turf that meets both aesthetic and functional needs.
Choose Location and Design for Your Putting Green
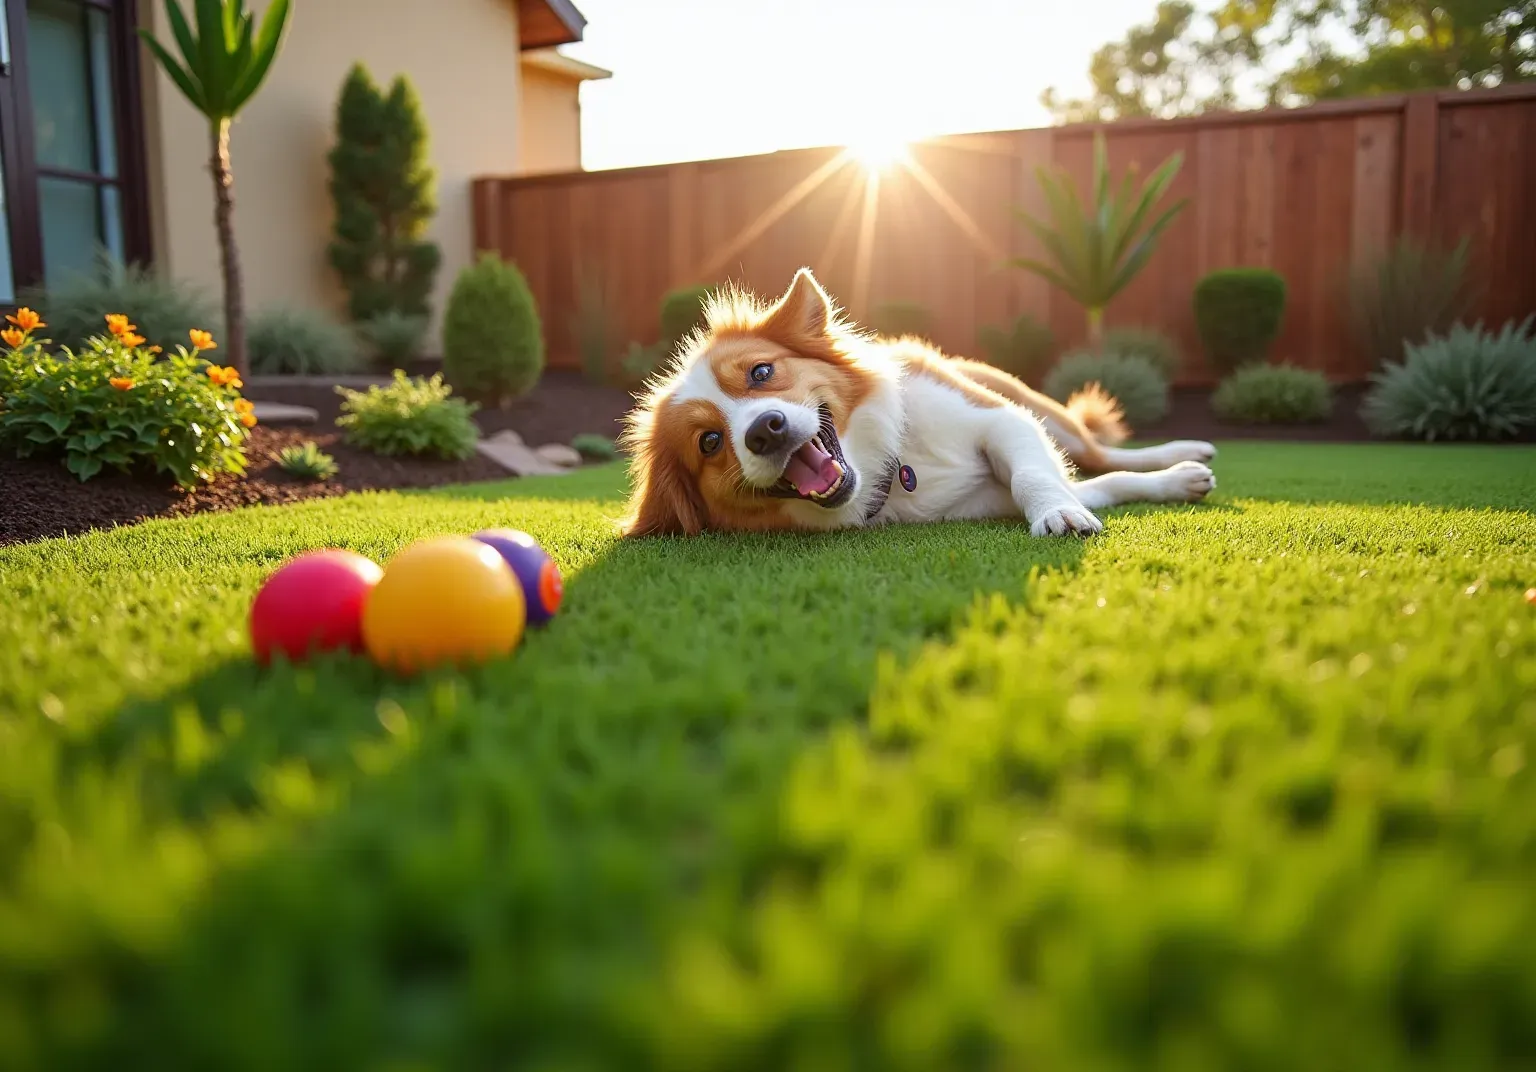
- Assess Your Yard: Identify a flat, open area that receives ample sunlight, ideally away from trees or structures that could create shadows. The area must be spacious enough to accommodate the dimensions of your envisioned , including space for , with typical generally ranging from 300 to 1,000 square feet.
- Consider Drainage: Choose a location with to prevent water pooling. If your yard has low spots, consider raising the area with fill dirt to ensure proper water flow and protect the vegetation.
- Design Elements: Enhance the realism of your golf course by incorporating features such as bunkers, slopes, or water hazards. A well-thought-out design not only improves aesthetics but also provides a more engaging practice experience. Sketch a layout that includes these elements, ensuring they fit harmoniously within your chosen space.
- Accessibility: Position the golf area for or patio, maximizing convenience and enjoyment. A centrally located area filled with encourages more frequent use and practice, ultimately enhancing your golfing skills.
- Check Local Regulations: Before finalizing your design, review any regarding landscaping and installations. This step ensures compliance and helps avoid potential issues during the installation process.
To explore the best options for your golf surface and receive professional advice, start your with today!

Prepare the Base for Your Putting Green
- Clear the Area: Start by removing any existing grass, plants, and debris from the designated area. Use a shovel or sod cutter to create a clean and , which is crucial for the subsequent steps.
- Excavate the Ground: Dig down approximately 4 to 6 inches to establish a . This depth is vital for ensuring and accommodating the , which allows for of your . Ensure that drainage pipes are placed no more than 15 feet apart to facilitate effective water management.
- Add: Fill the with crushed stone or gravel, compacting it to create a solid foundation. Aim for a compacted depth of about 3 to 4 inches, providing stability and support for the turf. If you encounter unstable soils during this process, consider consulting local geotechnical engineers.
- Level the Area: Use a rake to smooth and even out the top of the . This step is essential for forming a uniform surface, as any irregularity can influence ball roll and overall playability. Additionally, selecting suitable root-zone blends according to local conditions and golfer expectations will enhance the performance of your green.
- Install a: Lay down a fabric over the base to prevent weeds from growing through the grass. This barrier is crucial for preserving the integrity of the surface, ensuring that it remains clean and functional over time. Ultimately, after the sod installation, a of the surface will ensure it is playable.

Install Golf Cups for Accurate Play
- Mark Cup Locations: Identify the desired positions for your on the . Use spray paint or stakes to clearly mark these locations, ensuring they are spaced appropriately for . Consulting with golf professionals about the can enhance your practice experience.
- Excavate for Cups: Carefully dig holes for the cups, making them approximately 1 inch deeper than the height of the cup. This depth allows the cup to rest flush with the ground, creating a smooth appearance. Ensure that the holes have a minimum 1-2% slope across the for , as recommended by .
- Set the cups by inserting them into the filled with , ensuring they are level with the surrounding ground. Use a level to confirm that the top of each cup aligns perfectly with the ground surface for . A sharp utility knife is essential for trimming grass around the hole base and cutting grass over the , ensuring precise cuts.
- Secure the Cups: Surround the cups with compacted soil or gravel to stabilize them. For added efficiency, consider using to secure the cups in place. Ensure there are no gaps around the cups that could lead to instability, which is crucial for maintaining accurate play.
- Test the Cups: Roll a into each cup to confirm they are positioned correctly and function as intended. This step ensures that the cups provide a reliable target for practice.

Install and Cut the Artificial Turf
- Prepare the Base: Ensure you create a firm and level base before installing the grass. This step is essential to avoid problems with the synthetic grass and to guarantee a for your golf area.
- Lay the Grass: Roll out the over the prepared base. to prevent creasing and ensure a smooth installation.
- Cut to Fit: Use a sharp utility knife to carefully cut the grass to match the contours of your . Start by trimming around the edges, ensuring a snug fit around the cups and any design features. Leave an .
- Seam the Grass: If your design requires multiple pieces of grass, . Align the fibers meticulously to achieve a seamless look, which is crucial for both aesthetics and functionality.
- Secure the Grass: Fasten the grass to the ground using , particularly around the edges and seams. Consider using various types of edge restraints, such as plastic or metal edging, to enhance safety and stability. This step is essential to prevent shifting and , enhancing the overall playability of your golf course.
- Trim Excess Grass: After securing the grass, trim any extra material along the edges for a polished finish. This final touch not only improves the appearance but also ensures safety by eliminating loose edges.
Note: A typically requires a couple of full days or several weekends of work, so plan accordingly.

Apply Infill and Brush the Turf
- Choose the Right Infill: is crucial for enhancing the performance of your . Options like silica sand provide and a smooth, steady roll. can offer additional benefits, such as . It is important to remember that 90% of the weight of an should consist of infill to ensure optimal performance.
- Spread the Infill: Use a drop spreader to evenly distribute the infill across the grass area. Aim for a depth of approximately 1/4 inch, as this depth is essential for and ensuring optimal ball roll. Turf specialists recommend avoiding excessive application at once to prevent uneven surfaces. As J.W. States, 'Properly placing infill into is very important for ensuring the .'
- Brush the Turf: Employ a stiff-bristle broom or a power brush to work the infill into the turf fibers. This step is essential for positioning the blades upright, which aids in creating a more realistic putting area. Regular brushing helps maintain the infill's position and prevents compaction, ensuring a consistent playing experience. Additionally, consider compression rolling after infill placement to achieve a smooth finish.
- Check for Evenness: After brushing, examine the area for evenness. If you notice any low spots, add more infill as needed to achieve a uniform look and feel. like matted grass and uneven ball roll. Low infill levels can cause the turf to lie down, negatively impacting ball roll.
- Final Inspection: Roll a golf ball across the surface to evaluate its performance. Make any necessary adjustments to the infill to ensure optimal playability. A well-maintained infill not only enhances the aesthetic appeal of your but also significantly impacts the overall golfing experience.

Conclusion
Creating the ideal putting green turf at home is not just a dream; it’s a practical goal that can significantly enhance your outdoor space and improve your golfing skills. By following a structured approach-from selecting the right location and design to applying infill and maintaining the turf-anyone can establish a personal practice area that rivals professional courses.
Careful planning is essential. Begin by assessing your yard's layout, ensuring proper drainage, and adhering to local regulations. Each step, from preparing the base to installing the turf and golf cups, plays a crucial role in achieving a high-quality putting surface. Additionally, insights on selecting infill materials and their application will further enhance the playability and longevity of your green.
Investing time and effort into creating a home putting green can lead to significant improvements in your game while providing a beautiful and functional outdoor feature. Embrace the opportunity to transform your yard into a golfer's paradise. Consider consulting with professionals to ensure that your installation meets the highest standards. Your journey to mastering the art of putting begins right at home.
Frequently Asked Questions
How do I choose the right location for my putting green?
Select a flat, open area in your yard that receives ample sunlight, ideally away from trees or structures that could create shadows. Ensure the space is large enough, typically between 300 to 1,000 square feet, to accommodate your putting green.
What should I consider regarding drainage when selecting a location?
Choose a location with effective drainage to prevent water pooling. If there are low spots in your yard, consider raising the area with fill dirt to ensure proper water flow and protect the surrounding vegetation.
What design elements can I incorporate into my putting green?
Enhance the realism of your putting green by including features such as bunkers, slopes, or water hazards. A well-thought-out design improves aesthetics and provides a more engaging practice experience.
How can I ensure easy accessibility to my putting green?
Position the putting green centrally in your yard for easy access from your home or patio. This maximizes convenience and encourages more frequent practice.
Are there any regulations I need to check before installing a putting green?
Yes, review local regulations or HOA guidelines regarding landscaping and installations to ensure compliance and avoid potential issues during the installation process.
What is the first step in preparing the base for my putting green?
Begin by clearing the area of existing grass, plants, and debris using a shovel or sod cutter to create a clean and level surface.
How deep should I excavate the ground for the putting green base?
Excavate approximately 4 to 6 inches to establish a level base, which is crucial for proper drainage and accommodating the grass installation.
What type of material should I use for the base of my putting green?
Fill the excavated area with crushed stone or gravel, compacting it to create a solid foundation with a compacted depth of about 3 to 4 inches for stability and support.
How can I ensure the surface of my putting green is level?
Use a rake to smooth and even out the top of the base material. This step is essential for creating a uniform surface, as irregularities can affect ball roll and playability.
Why is it important to install a weed barrier?
A weed barrier fabric prevents weeds from growing through the grass, preserving the integrity of the surface and ensuring it remains clean and functional over time.
List of Sources
- Choose Location and Design for Your Putting Green
- northeastsyntheticturf.com (https://northeastsyntheticturf.com/how-to-choose-the-right-location-for-your-putting-green)
- What To Know When Installing a Putting Green in Your Yard (https://syntheticturfnorthwest.com/what-to-know-when-installing-a-putting-green-in-your-yard)
- aglgrass.com (https://aglgrass.com/blogs/backyard-putting-green-design)
- bestputtinggreensandturfpalmdesert.com (https://bestputtinggreensandturfpalmdesert.com/blog/choosing-the-right-location-for-your-backyard-putting-green)
- Smart Placement Tips for a Backyard Putting Green (https://fieldturflandscape.com/golf-putting-green/how-to-position-your-backyard-putting-green)
- Prepare the Base for Your Putting Green
- fieldturflandscape.com (https://fieldturflandscape.com/golf-putting-green/backyard-putting-green-installation-timeline-prep-guide)
- gcmonline.com (https://gcmonline.com/course/environment/news/usga-putting-green-construction)
- steeltoeu.com (https://steeltoeu.com/blog/how-to-install-artificial-turf-for-a-putting-green)
- How to Make a Backyard Putting Green with Artificial Turf (https://themotzgroup.com/infill_blog/how-to-make-a-backyard-putting-green-with-artificial-turf)
- FAQs Answered: Everything To Know About Installing a Synthetic Turf Putting Green | Synthetic Grass Warehouse (https://syntheticgrasswarehouse.com/blog/faqs-answered-everything-to-know-about-installing-a-synthetic-turf-putting-green)
- Install Golf Cups for Accurate Play
- artificialturfexpress.com (https://artificialturfexpress.com/blog/how-to-install-golf-cups-for-the-best-putting-greens-diy-guide)
- Professional cup hole cutting (https://golfcourseindustry.com/article/professional-cup-hole-cutting)
- Transform Your Backyard: The Ultimate Golfer's Guide to Professional-Quality Putting Greens - Turfs Up (https://turfsupcanada.com/transform-your-backyard-the-ultimate-golfers-guide-to-professional-quality-putting-greens)
- Putting Green Intallation Procedures (https://turfnetsportssupplies.com/site/how-to-install-putting-green-cups)
- syntheticgrasswarehouse.com (https://syntheticgrasswarehouse.com/company/ask-an-expert/ask-jw/installing-putting-green-cups)
- Install and Cut the Artificial Turf
- Four Tips for a Perfect Artificial Grass Putting Green Installation - SGW Nevada (https://sgwnevada.com/blog/four-tips-for-a-perfect-artificial-grass-putting-green-installation)
- aglgrass.com (https://aglgrass.com/blogs/diy-backyard-putting-green)
- steeltoeu.com (https://steeltoeu.com/blog/how-to-install-artificial-turf-for-a-putting-green)
- sgwarizona.com (https://sgwarizona.com/blog/diy-artificial-grass-putting-green-installation-step-by-step-guide)
- How To Install the Ultimate Artificial Turf Putting Green | Synthetic Grass Warehouse (https://syntheticgrasswarehouse.com/blog/how-to-install-the-ultimate-artificial-turf-putting-green)
- Apply Infill and Brush the Turf
- petgrows.com (https://petgrows.com/blogs/news/artificial-turf-infill-101-what-you-need-to-know-before-you-buy)
- How to Install Artificial Turf Infill with Swagger (https://themotzgroup.com/infill_blog/how-to-install-artificial-turf-infill)
- syntheticgrasswarehouse.com (https://syntheticgrasswarehouse.com/company/ask-an-expert/ask-jw/perfecting-putting-green-surfaces-part-2-infill-placement)
- Choosing the Perfect Putting Green Infill: Why It Matters - SGW Bay Area (https://sgwbayarea.com/blog/choosing-the-perfect-putting-green-infill-why-it-matters)
- Artificial Putting Greens: Proper Infill Levels (https://phillyartificialgrasspros.com/the-key-to-ideal-ball-roll-proper-infill-in-your-artificial-putting-green)