Introduction
Transforming an ordinary outdoor space into a golfer's paradise is achievable by creating a small backyard putting green. This addition not only provides a personal sanctuary for practice but also offers a space for relaxation. This guide presents a straightforward four-step process that enables homeowners to design, install, and maintain their own putting greens, ensuring a professional-grade experience right at home.
As enthusiasm grows for this DIY project, it is essential to consider key factors such as space, budget, and materials. These elements can significantly influence the success of your backyard golf oasis.
Assess Your Space and Budget for a Backyard Putting Green
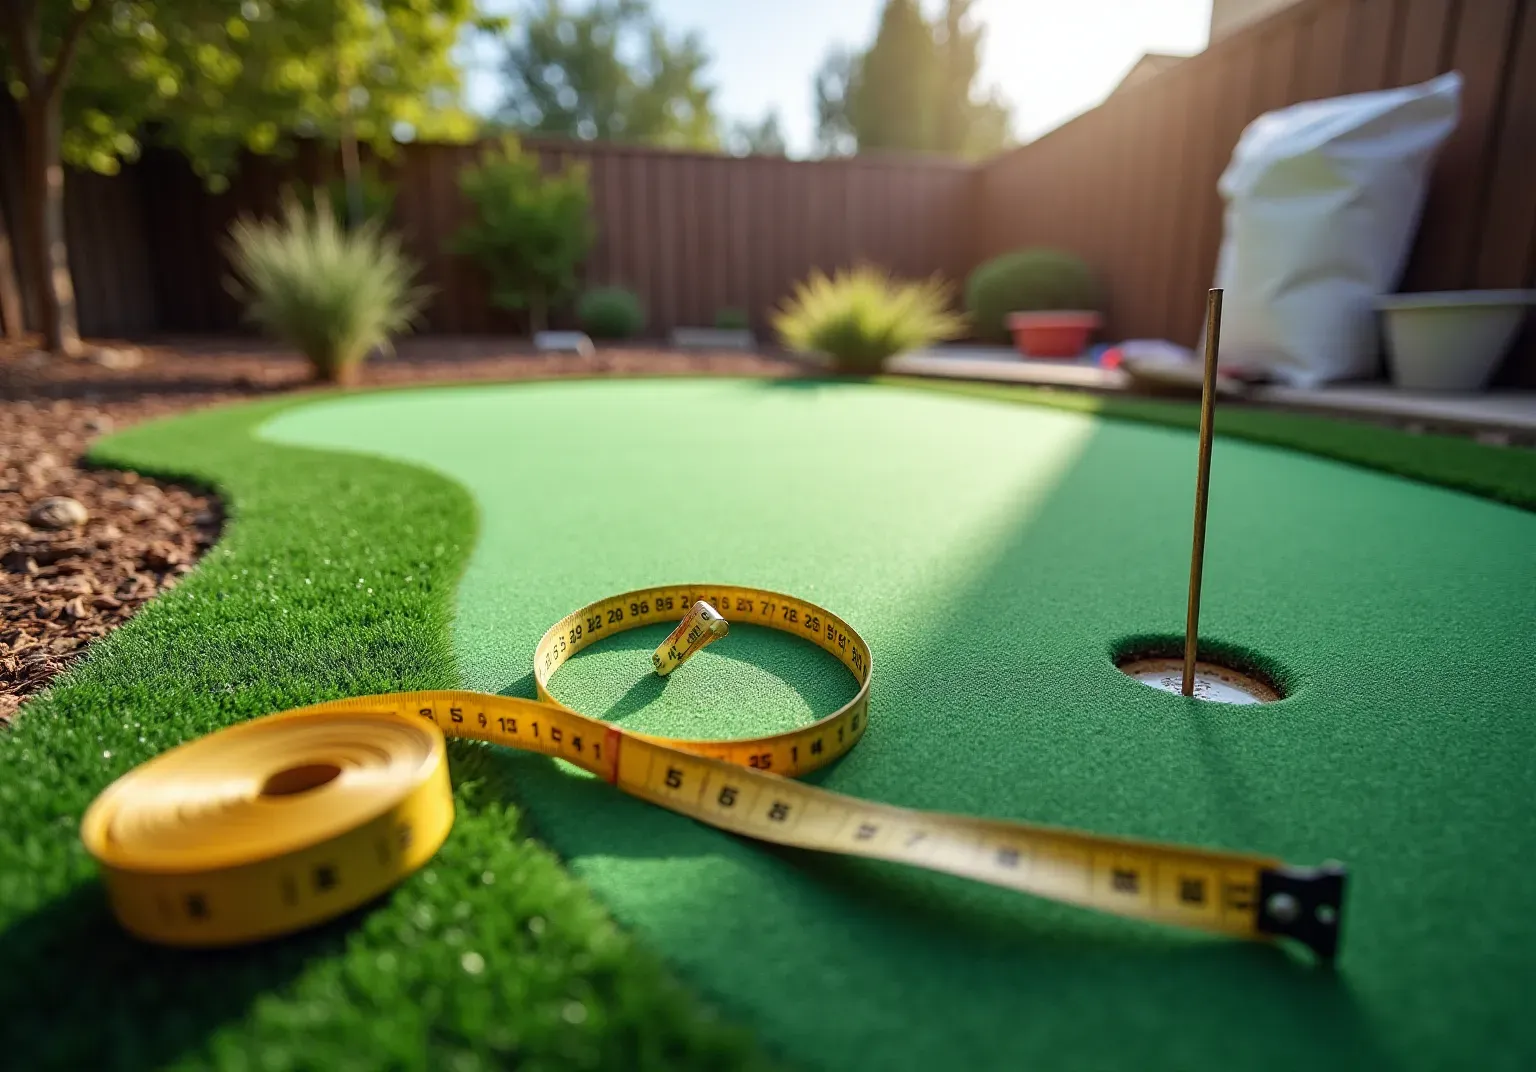
- Measure Your Space: Start by accurately measuring the area designated for your putting green. A minimum of 300 square feet is recommended for a functional space. Use a measuring tape to capture the length and width of the intended area, ensuring you account for any surrounding obstacles. California Lawn Company offers customized solutions to ensure your landscape fits seamlessly within your allocated space, enhancing your backyard golf experience.
- Consider the Layout: Think about the shape of your area. Rectangular or oval designs are generally easier to install, while more complex shapes may require additional materials and labor, potentially increasing costs. With California Company's , you can achieve the look and feel of a natural lawn, regardless of the layout you choose.
- Set a Budget: Define a clear budget for your project. Installation costs can vary significantly based on size, materials, and whether you choose a DIY approach or hire professionals. A basic DIY small backyard putting green typically starts at around $1,500, while a professionally installed small backyard putting green by California Lawn Company can range from $3,000 to $10,000 or more, depending on the complexity and features included.
- Consider Extra Elements: If you want to enhance your golf area with features such as bunkers or water hazards, be sure to include these in your budget. These additions will not only increase material costs but also installation expenses, so planning ahead is essential. California Company's skilled installation techniques ensure that any extra elements will be smoothly integrated into your personalized lawn design. Don't forget to reach out for your complimentary consultation to discuss your ideal lawn installation!

Choose the Right Materials and Design Features
- Select the surface: Choose between and natural grass for your small backyard putting green. Artificial grass from California Company is often recommended due to its consistency, durability, and low-maintenance qualities. It effectively replicates the look and feel of natural grass, providing a world-class golf experience right outside your door. Initiate your free consultation with California Turf Company to explore the best options tailored to your needs.
- Consider infill options: If you choose synthetic turf, evaluate the type of infill. Options include sand, rubber, or a combination of both. Sand provides a sturdier surface, while rubber offers a gentler sensation, enhancing your overall experience. Select the infill that aligns best with your playing style.
- Design features: Incorporate features such as bunkers, slopes, or water hazards to enhance the challenge and enjoyment of your putting surface. California Turf Company can assist in customizing these design elements to fit your specific play style and budget, ensuring a professional golf performance at home.
- Plan for drainage: Proper drainage is essential to prevent water pooling on your lawn. Ensure your design includes a slight slope away from the lawn to facilitate drainage, allowing for consistent performance even with frequent use.

Install Your Backyard Putting Green: Step-by-Step Process
Start your complimentary consultation with California Grass Company today to discover premium artificial grass and small backyard putting green solutions customized for your backyard!
- Prepare the Site: Clear the area of any existing grass, debris, or rocks. Excavate the soil to a depth of 3 to 5 inches to create a level base. Compact the soil thoroughly to ensure stability and prevent future settling.
- Create a Base: Add a layer of crushed stone or gravel, approximately 2 to 4 inches thick, to facilitate drainage and provide a solid foundation. Compact this layer thoroughly to ensure it is stable and uniform.
- Lay the Grass: Roll out your synthetic grass over the prepared base, ensuring it lies flat without any wrinkles. Trim the grass to fit your desired shape, leaving a slight excess around the edges for adjustments.
- Secure the Grass: Use landscape staples or adhesive to hold the grass in place. Fasten it down along the seams and edges to prevent any movement, ensuring a smooth and professional finish.
- Add Infill: If your grass requires infill, spread it evenly across the surface. Utilize a stiff broom to sweep the grass, assisting the infill in settling into the fibers for .
- Install Cups and Flags: Cut holes for the golf cups and insert them into the ground. Finally, place flags in the cups to complete your small backyard putting green, ready for practice and enjoyment.

Maintain Your Putting Green for Long-Lasting Enjoyment
- Regular Cleaning : To maintain the integrity of your turf, it is essential to remove debris such as leaves and dirt on a regular basis. Utilize a to keep the surface clean and free from buildup.
- Brushing: Regular brushing of the grass fibers is crucial for keeping them upright and preserving a natural appearance. This practice also aids in evenly distributing the infill, enhancing the overall look of your turf.
- Rinsing: Occasionally rinsing the turf with water is important for removing dust and allergens. This step is particularly vital if pets frequently use the area, as it helps maintain a clean and safe environment.
- Weed Control : Regular inspections for weeds around the edges of the turf are necessary to keep your garden looking pristine. Employ a weed killer or manually pull out any weeds to prevent them from detracting from the appearance of your turf.
- Inspect for Damage : Conduct regular inspections of your putting green to identify any signs of wear or damage. Promptly addressing any issues is essential to prevent further deterioration and ensure the longevity of your turf.

Conclusion
Creating a small backyard putting green can transform your outdoor space into a personal golfing oasis. This investment not only elevates your outdoor living experience but also provides a unique opportunity to practice and enjoy golf at home. By following a structured approach to assess your space, select the right materials, and execute a step-by-step installation, homeowners can achieve a functional and enjoyable putting surface.
Key insights include:
- Planning and Budgeting: Measuring your available space and setting a realistic budget are essential steps. Costs can vary greatly depending on your choices, so careful planning is crucial.
- Material Selection: Choosing the right materials, whether synthetic grass or natural turf, is vital for achieving a desirable playing experience. Each option has its benefits, and understanding these can help you make an informed decision.
- Design and Drainage: Incorporating thoughtful design features and ensuring proper drainage will enhance both the functionality and aesthetics of your putting green. A well-designed green not only looks good but also performs better.
- Maintenance Practices: Regular maintenance, such as cleaning and inspecting for damage, will ensure that your green remains in top condition for years to come. This ongoing care is key to preserving your investment.
By taking the time to plan and execute your project with care, you can create a space that brings joy and relaxation, making every putt a step closer to improving your game. Embrace the challenge and satisfaction of building your own putting green, and enjoy the rewards of your hard work right in your backyard.
Frequently Asked Questions
What is the recommended minimum space size for a backyard putting green?
A minimum of 300 square feet is recommended for a functional putting green.
How should I measure the area for my putting green?
Use a measuring tape to accurately capture the length and width of the intended area, ensuring you account for any surrounding obstacles.
What shapes are easier to install for a putting green?
Rectangular or oval designs are generally easier to install compared to more complex shapes.
How can California Lawn Company help with my putting green?
California Lawn Company offers customized solutions to ensure your landscape fits seamlessly within your allocated space, enhancing your backyard golf experience.
What should I consider when setting a budget for a backyard putting green?
Installation costs can vary based on size, materials, and whether you choose a DIY approach or hire professionals. A basic DIY small backyard putting green typically starts at around $1,500, while a professionally installed one can range from $3,000 to $10,000 or more.
Are there additional features I can include in my putting green?
Yes, you can enhance your golf area with features such as bunkers or water hazards, but be sure to include these in your budget as they will increase material and installation costs.
How does California Lawn Company handle extra elements in the design?
California Company's skilled installation techniques ensure that any extra elements, such as bunkers or water hazards, will be smoothly integrated into your personalized lawn design.
Can I get a consultation for my backyard putting green project?
Yes, you can reach out for a complimentary consultation to discuss your ideal lawn installation.
List of Sources
- Assess Your Space and Budget for a Backyard Putting Green
- How Much Does a Backyard Putting Green Cost in 2026? | Angi (https://angi.com/articles/backyard-putting-green-cost.htm)
- Hey, golfers. Want a putting green? Here's how much money you'll have to sink into the project. - Homes.com News (https://homes.com/news/hey-golfers-want-a-putting-green-heres-how-much-money-youll-have-to-sink-into-the-project/2059885131)
- Backyard Putting Green Sizes: How Big Should Yours Be? (https://texasturfusa.com/austin-landscape-design/the-perfect-backyard-putting-green-size-a-golfers-guide)
- Backyard Putting Green Cost | What to Expect & How to Save (https://aglgrass.com/blogs/backyard-putting-green-cost)
- Install Your Backyard Putting Green: Step-by-Step Process
- How To Build a Backyard Putting Green (https://xgrass.com/how-to-build-putting-green.html)
- Backyard Putting Green: Case Study #6 — Waypoint Construction Group (https://waypointconstruction.com/our-work/backyard-putting-green-case-study)
- DIY vs Pro: Backyard Putting Green Installation Costs #Golf (https://heavenlygreens.com/blog/backyard-putting-green-diy-vs-professional)
- How To Make Your Backyard Putting Green Dream a Reality (https://usga.org/content/usga/home-page/course-care/green-section-record/62/issue-17/how-to-make-your-backyard-putting-green-dream-a-reality.html)
- DIY Putting Green Installation: A Step-by-Step Guide (https://artificialturfexpress.com/blog/installing-the-best-putting-greens-in-your-yard-the-ultimate-diy-guide)
- Maintain Your Putting Green for Long-Lasting Enjoyment
- Artificial Putting Green Maintenance: Year-Round Care Guide (https://aglgrass.com/blogs/artificial-putting-green-maintenance)
- 10 Tips for Maintaining an Artificial Grass Putting Green (https://wintergreengrass.com/10-tips-for-maintaining-an-artificial-grass-putting-green)
- Putting Green Turf: Complete Guide to Backyard Putting Greens in 2026 - D and G Flooring (https://dgfloors.com/putting-green-turf)
- How to Clean and Maintain Putting Green Turf: A Seasonal Guide (https://backninegreens.com/blog/how-to-clean-and-maintain-putting-green-turf-seasonal-checklist)
- How Long Does a Dallas Artificial Putting Green Last? (https://syntheticgrassdfw.com/putting-greens/what-is-the-lifespan-of-an-artificial-dallas-putting-green-installation)