Introduction
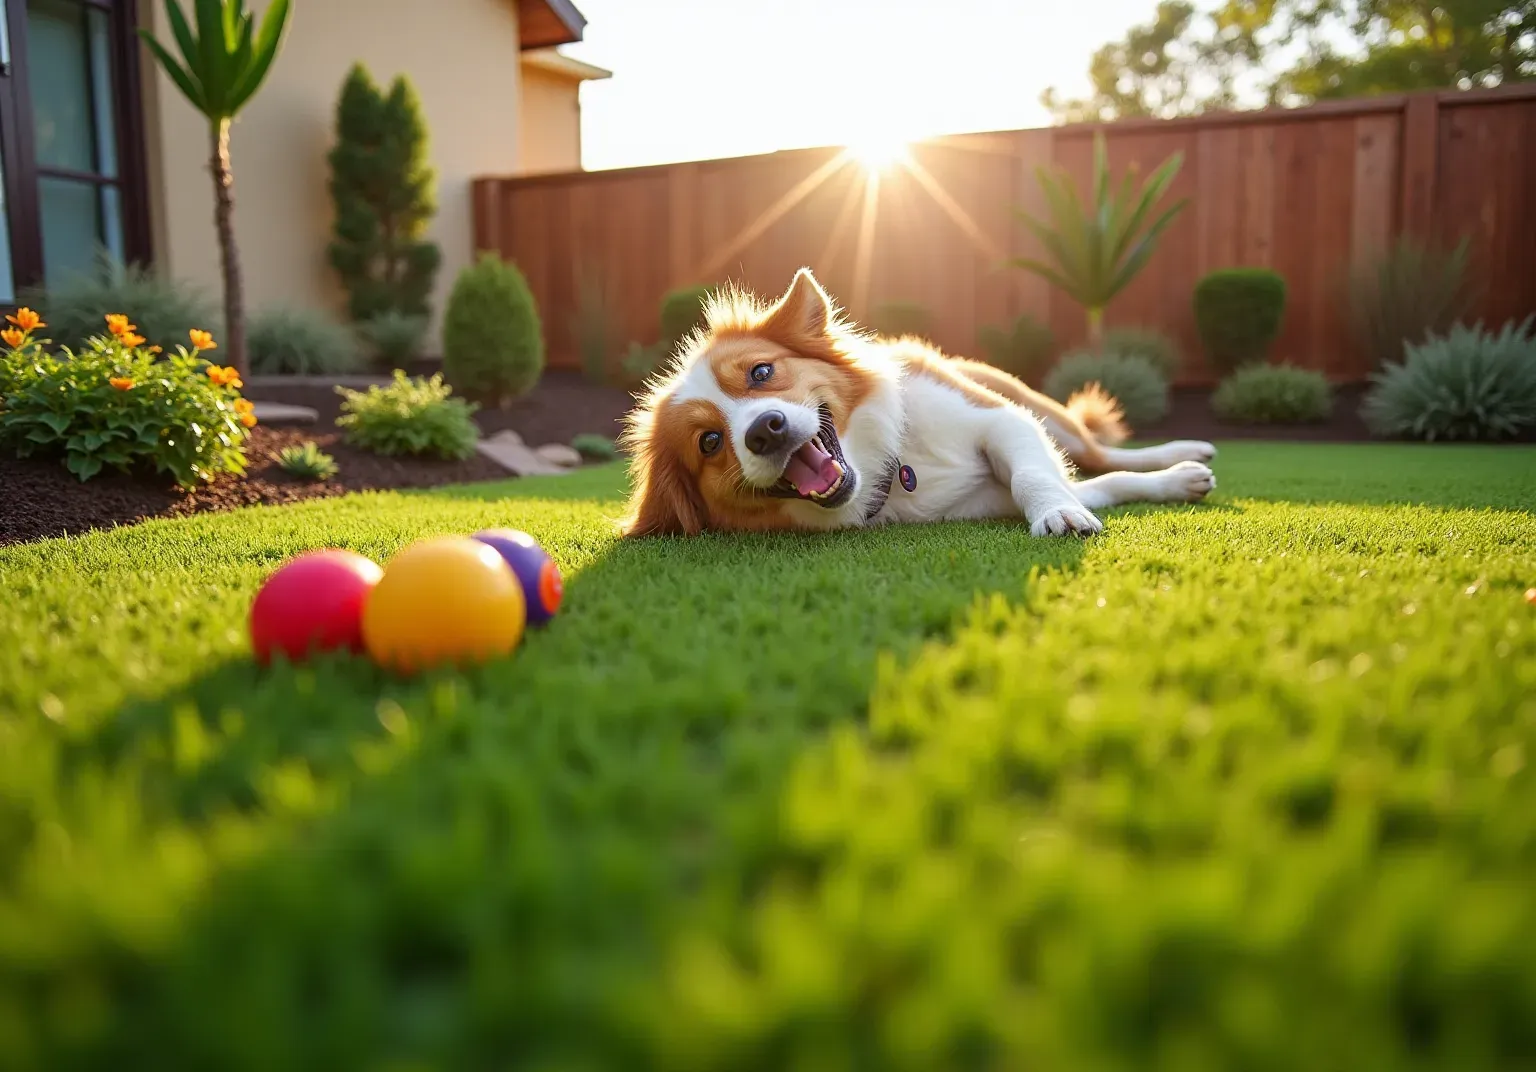
Transforming an ordinary backyard into a golfer's paradise starts with the installation of an artificial putting green. This project not only enhances aesthetic appeal but also adds significant recreational value. This guide clarifies the step-by-step process of creating a professional-grade putting surface, emphasizing the importance of proper preparation and maintenance for long-lasting enjoyment.
However, this journey raises an important question:
Can a DIY approach truly match the quality and performance of a professionally installed green?
Or are there hidden pitfalls that could undermine the golfing experience?
Prepare Your Site for Installation
- Select the Location: Choose a flat area in your yard that receives ample sunlight and is free from overhanging branches. Ideally, the site should have a slight slope for drainage, not exceeding a 3% incline, to prevent water pooling and ensure optimal playability.
- Clear the Area: Remove any existing grass, plants, rocks, or debris from the selected site. Utilizing a sod cutter or shovel will ensure the area is completely clear, setting the stage for a successful installation.
- Level the Ground: Use a rake to level the ground, filling in any low spots with soil. Compact the soil with a plate compactor to create a solid base, which is crucial for maintaining stability and preventing unevenness in your putting surface. Proper is essential for the longevity and performance of the turf.
- Install a: Lay down a fabric to prevent unwanted growth beneath the turf. This step is crucial for preserving the quality of your turf over time, ensuring a clean and low-maintenance surface.
- Outline the Area: Use spray paint or stakes and string to outline the shape of your putting area. This visual guide will assist you during the installation process, helping to achieve a balanced and aesthetically pleasing design.
Consider: While , it can be complex and may lead to subpar results. Employing experts from ensures that when learning how to install an , the installation meets high standards of quality and performance, especially concerning and . Their expert methods for how to install ensure a durable, long-lasting surface made from that deliver true ball roll and consistent performance, enhancing your golfing experience. As noted by HomeAdvisor, 'An improperly installed surface could hinder your game more than assist it.'
: Homeowners typically spend between $15 and $40 per square foot for installation. Understanding these costs can help you plan your budget effectively.
Ready to elevate your backyard golf experience? Contact California Grass Company today to schedule your complimentary consultation and discuss your ideal lawn!

Install the Artificial Putting Green
Initiate your free consultation with for and putting green solutions.
- To understand how to install , you should prepare the base by clearing and leveling the area, then adding a or decomposed granite, approximately 2-4 inches deep. This layer is essential for and provides a stable base that enhances the grass's longevity. Ensure that the base is graded with a slight slope away from any structures to facilitate proper water drainage, preventing pooling and potential harm to the grass.
- Compact the Base: Use a plate compactor to thoroughly compact the base material. When considering how to install , proper compaction is crucial to prevent settling after the grass is installed, ensuring a stable and even surface for . Skimping on this step can lead to uneven surfaces that affect gameplay.
- To understand how to install , first lay the grass by rolling out the synthetic surface over the prepared base and allowing it to acclimate for a few hours. This acclimation period helps reduce creases and wrinkles, leading to a smoother installation.
- To learn how to install an , of your golf green. Use a utility knife for clean, precise edges, ensuring that all cuts are straight to maintain a professional appearance.
- When learning how to , start by determining the placement of the putting cups and cutting holes in the grass accordingly. The cups should be positioned about ¼ inch below the surface of the grass for . Careful alignment during this step is crucial to ensure a consistent ball roll and a realistic golfing experience.
- When considering how to install , make sure to or adhesive to fasten the edges to the ground. Ensure that the grass lies flat and is free from wrinkles or bubbles, which can affect both aesthetics and performance. Improper seaming can lead to issues with ball roll and surface integrity.
- Add Infill: If necessary, spread a layer of infill material, such as silica sand, over the grass. This helps weigh it down and keeps the fibers upright, contributing to a while enhancing drainage.

Finalize and Maintain Your Putting Green
Initiate your free consultation with for and .
- Inspect the Installation: After installation, thoroughly examine the surface for any loose areas or imperfections. Make necessary adjustments to ensure everything is secure and level. This foundational step is crucial for long-term performance. is here to assist with any adjustments needed.
- Regular Cleaning: Maintain a clean surface by with water. This simple practice prevents debris buildup, which can negatively impact playability and aesthetics. A light spray with a garden hose every few weeks can effectively wash away dirt and environmental debris. For , consult with .
- Brushing: Use a stiff-bristled broom to brush the turf fibers regularly. This action helps maintain their upright position, preventing matting and ensuring a fresh appearance. Aim to brush the putting green at least once a month, increasing frequency during high-traffic periods. can provide guidance on the best tools for this task.
- : Keep an eye out for any weeds that may emerge around the edges of the turf. Quickly eliminating these weeds is crucial to stop them from establishing and spreading, which can jeopardize the quality of your lawn. provides effective to keep your landscape pristine.
- Seasonal Maintenance: Depending on your climate, implement . In San Jose's mild climate, consider adding sand infill to maintain optimal performance and performing a to remove any stains or odors. Routine evaluations and upkeep can greatly prolong the longevity of your golf surface, making it a valuable asset for your property. Additionally, be cautious to keep flames and petroleum-based chemicals away from the turf, as these can damage the surface. For major concerns, expert upkeep from is advised to guarantee the durability and quality of your lawn.
Homeowners can learn how to install by following these best practices, allowing them to enjoy a beautiful, functional putting green that enhances their outdoor space while minimizing maintenance costs compared to traditional natural grass.

Tools and Resources for Successful Installation
-
Essential Tools:
- Sod Cutter: Used for the removal of existing grass.
- Plate Compactor: Essential for compacting the base material.
- Utility Knife: Necessary for cutting the grass.
- Landscape Staples: Utilized to secure the edges of the grass.
- Stiff-Bristled Broom: Ideal for brushing the grass fibers.
-
Materials Needed:
- : Select high-quality turf from , specifically designed for to ensure optimal performance and durability.
- Weed Barrier Fabric: .
- Crushed Stone or Decomposed Granite: Required for the base layer.
- Putting Green Cups: Used for creating holes in the turf.
- Infill Material: Such as sand, if necessary.
-
Resources:
- : Consult detailed guides from reputable sources for additional tips.
- YouTube Tutorials: Visual aids can offer helpful insights into the .

Conclusion
Installing an artificial putting green can transform a backyard into a golfer's paradise, enhancing both the aesthetic and functional value of the outdoor space. Homeowners can achieve a high-quality installation that promises longevity and optimal playability by following the comprehensive steps outlined in this guide. The process involves careful site preparation, precise installation techniques, and ongoing maintenance to ensure the putting green remains in top condition.
Key points discussed throughout the article include:
- The importance of selecting an appropriate location.
- Preparing the site by clearing and leveling the ground.
- Ensuring proper drainage through a well-constructed base.
Furthermore, the significance of professional assistance from companies like California Turf Company is highlighted, as they can guarantee a high standard of installation, reducing the risk of issues that could affect gameplay. Regular maintenance practices, such as cleaning and seasonal care, are also crucial for preserving the quality of the putting green.
Ultimately, investing in an artificial putting green not only elevates the backyard experience but also provides a low-maintenance alternative to traditional grass. By adhering to the best practices for installation and maintenance, homeowners can enjoy a beautiful, functional putting surface that enhances their outdoor lifestyle. Embrace the opportunity to elevate your golfing experience and contact California Turf Company for expert guidance and premium solutions tailored to your needs.
Frequently Asked Questions
What should I consider when selecting a location for my putting green installation?
Choose a flat area in your yard that receives ample sunlight, is free from overhanging branches, and has a slight slope for drainage, not exceeding a 3% incline to prevent water pooling.
How do I prepare the area for installation?
Clear the area by removing any existing grass, plants, rocks, or debris using a sod cutter or shovel. This ensures the site is completely ready for installation.
What steps should I take to level the ground?
Use a rake to level the ground and fill in any low spots with soil. Then, compact the soil with a plate compactor to create a solid base, which is essential for stability and preventing unevenness in the putting surface.
Why is it important to install a weed barrier?
A weed barrier fabric is crucial to prevent unwanted growth beneath the turf, helping to preserve the quality of your turf over time and ensuring a clean, low-maintenance surface.
How can I outline the area for my putting green?
You can outline the shape of your putting area using spray paint or stakes and string. This visual guide will assist you during the installation process, helping to achieve a balanced and aesthetically pleasing design.
Should I consider professional installation for my putting green?
Yes, while DIY installation may seem appealing, it can be complex and lead to subpar results. Hiring experts from California Lawn Company ensures high standards of quality and performance, particularly concerning base construction and drainage solutions.
What is the typical budget for installing a putting green?
Homeowners typically spend between $15 and $40 per square foot for installation, so understanding these costs can help you effectively plan your budget.
How can I get started on my putting green project?
You can contact California Grass Company to schedule a complimentary consultation and discuss your ideal lawn.
List of Sources
- Prepare Your Site for Installation
- What To Know When Installing a Putting Green in Your Yard (https://syntheticturfnorthwest.com/what-to-know-when-installing-a-putting-green-in-your-yard)
- Tour Greens | Backyard Putting Green Cost in 2025 (https://tourgreens.com/backyard-putting-green-cost.html)
- How Much Does a Backyard Putting Green Cost? [2025 Data] (https://homeadvisor.com/cost/outdoor-living/install-a-putting-green)
- sgwtexas.com (https://sgwtexas.com/blog/2023/09/28/ensure-a-perfect-outdoor-putting-green-installation-with-these-5-tips)
- Install the Artificial Putting Green
- syntheticturftc.com (https://syntheticturftc.com/what-is-the-best-base-for-under-artificial-grass)
- How To Install the Ultimate Artificial Turf Putting Green | Synthetic Grass Warehouse (https://syntheticgrasswarehouse.com/blog/how-to-install-the-ultimate-artificial-turf-putting-green)
- 5 Backyard Putting Green Installation Mistakes & How to Fix Them (https://aglgrass.com/blogs/backyard-putting-green-mistakes)
- sgwtexas.com (https://sgwtexas.com/blog/2023/09/28/ensure-a-perfect-outdoor-putting-green-installation-with-these-5-tips)
- Finalize and Maintain Your Putting Green
- Artificial Golf Greens Maintenance Tips (https://southwestgreens.com/blog/artificial-golf-greens-maintenance-tips)
- Tour Greens | Putting Green Maintenance (https://tourgreens.com/putting-green-maintenance.html)
- artificialturfexpress.com (https://artificialturfexpress.com/blog/backyard-putting-green-maintenance-guide)
- San Jose Putting Greens: Easy Maintenance Tips #TurfCare (https://heavenlygreens.com/blog/how-to-maintain-your-backyard-putting-green-tips-for-san-jose-homeowners)
- 10 Tips for Maintaining an Artificial Grass Putting Green (https://wintergreengrass.com/10-tips-for-maintaining-an-artificial-grass-putting-green)
- Tools and Resources for Successful Installation
- 22 Essential Tools for Installing Artificial Grass (https://neograss.co.uk/22-essential-tools-installing-artificial-grass)
- How To Install the Ultimate Artificial Turf Putting Green | Synthetic Grass Warehouse (https://syntheticgrasswarehouse.com/blog/how-to-install-the-ultimate-artificial-turf-putting-green)
- How To Lay Artificial Turf (https://thisoldhouse.com/lawns/how-to-lay-artificial-turf)
- Tour Greens | Backyard Putting Green Cost in 2025 (https://tourgreens.com/backyard-putting-green-cost.html)
- 10 Best Artificial Turf Installation Tools for Your Project - AGL (https://artificialgrassliquidators.com/artificial-turf-installation-tools)