Introduction
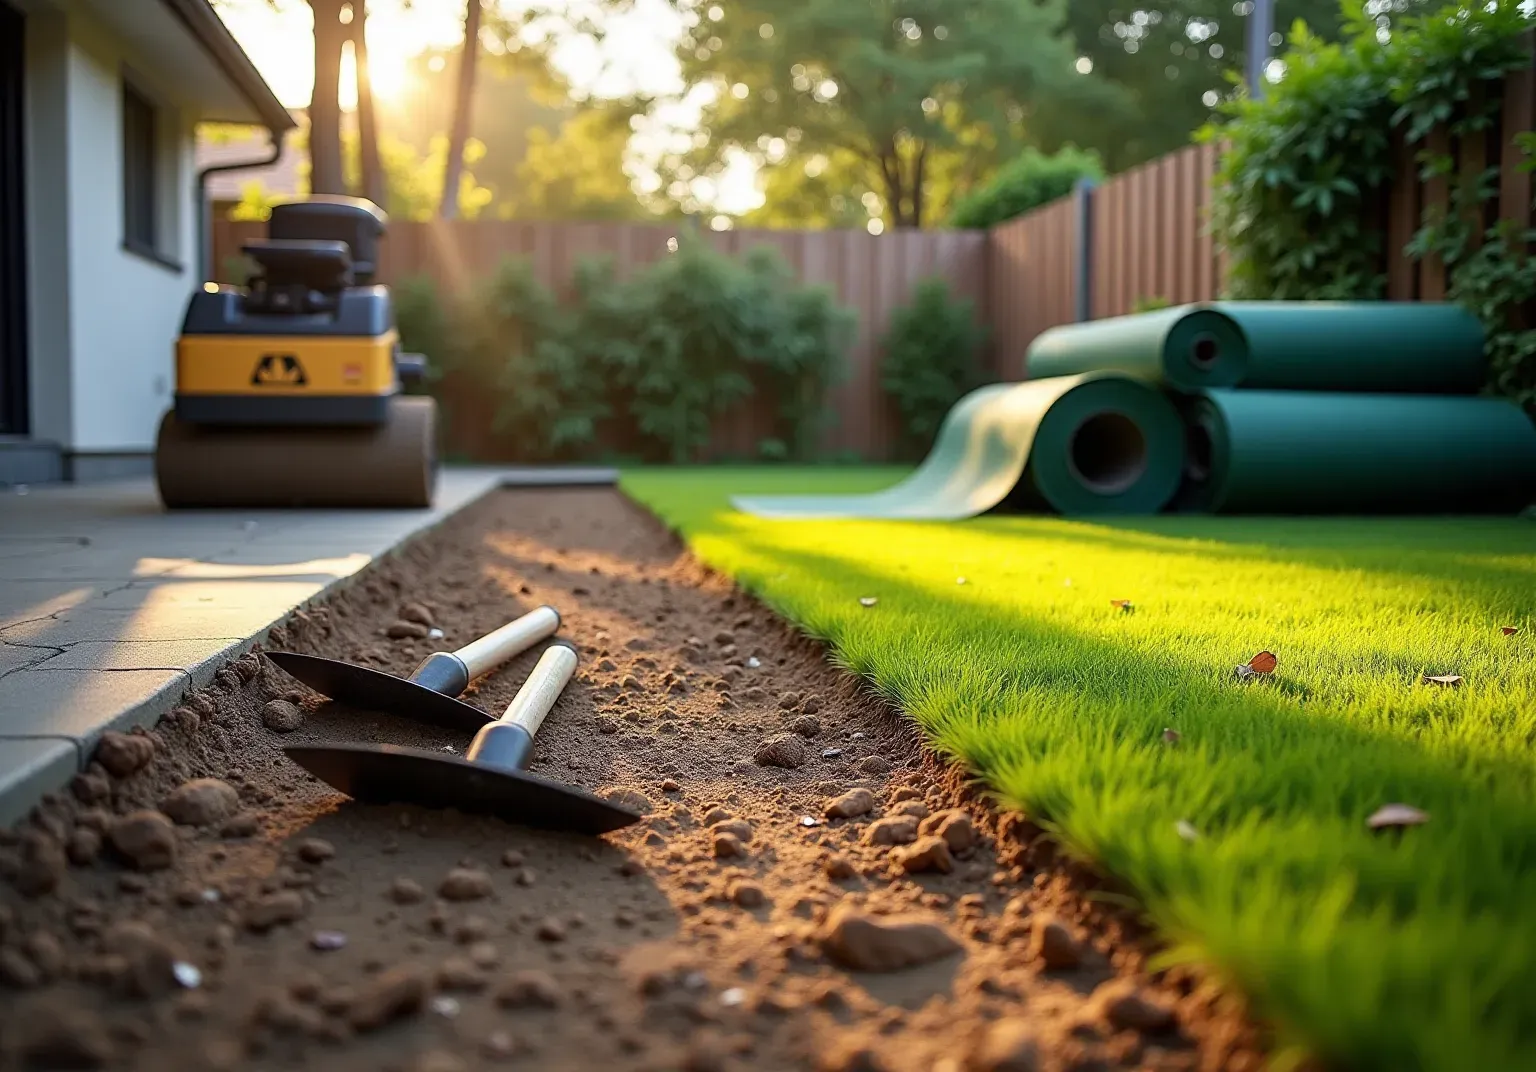
Transforming bare dirt into a lush, green lawn may appear daunting, particularly when it comes to installing turf grass. However, with the right techniques and approach, creating a vibrant, low-maintenance oasis is entirely achievable. This guide outlines the essential steps for successful turf installation and highlights the crucial preparations that contribute to a long-lasting and beautiful lawn.
Challenges may arise during the installation process, but understanding how to address them can ensure that every blade of grass thrives in its new environment. By following this structured approach, you can confidently embark on your journey to a stunning lawn.
Prepare the Installation Area
- Clear the Area: Start by removing any existing grass, weeds, and debris from the . Use a shovel or sod cutter to . This creates a clean slate for your grass installation.
- : After clearing, employ a rake to . Ensure the surface is smooth and even, as any bumps or dips can compromise the appearance and functionality of the grass. , which can lead to mold and deterioration.
- Check for Drainage: of the area. If water tends to accumulate, incorporate a slight slope away from structures to facilitate proper drainage. This step is essential for maintaining the integrity of the surface over time.
- : Once the area is leveled, using a plate compactor or by walking over it. This step is vital for creating a stable base that supports the turf and prevents settling over time. Compacting the soil helps ensure a durable setup.
- Add a Base Layer: If necessary, or decomposed granite to enhance drainage and provide a solid foundation. Spread the material evenly and compact it again to ensure stability. A well-prepared base is essential for the longevity and performance of your .
In 2026, the average expense of installing in residential properties in California varies from $5 to $20 per square foot, depending on factors such as material quality and site preparation. Following these best practices not only ensures a successful installation but also minimizes future maintenance needs.

Install the Turf Grass
- Unroll the Grass: Begin by unrolling the grass in the desired direction. Lay it out to minimize seams and achieve a natural appearance. Allow the grass to acclimate in the sun for a few hours to reduce curling.
- Cut to Fit: Utilize a utility knife to trim the edges of the grass for a precise fit. Ensure you cut from the back to avoid fraying the fibers.
- Prepare the Foundation: To understand how to , before securing the grass. This creates space for the base layer and prevents the grass from rising above adjacent hardscaping, which is important when considering . After digging, compact the soil and consider adding a layer of sand aggregate to enhance drainage and stability.
- Secure the Grass: and along seams using . Place staples every 6-8 inches along the edges and seams to ensure the grass remains securely in position.
- Seam the Grass: For multiple sections of grass, connect them using seam tape and adhesive. Apply the adhesive to the seam tape, press the edges of the grass together, and hold them in place until the adhesive sets.
- After securing the grass, add filler material, such as , to help the blades stand upright and provide cushioning. Distribute the material evenly across the surface using a broom or a spreader.
- Brush the Surface: Following the application of the filler, use a stiff-bristled broom to brush the fibers upright. This enhances the appearance and ensures the infill settles evenly.
- : To prevent weed growth post-installation, consider placing a weed barrier beneath the grass before securing it. This helps maintain the integrity of your new lawn.
- Mist the Area: Lightly mist the area with water during the compacting process to help bind particles together, ensuring a stable setup and preventing shifting over time.

Finalize and Maintain Your Turf
- Examine the Setup: After installation, thoroughly check the grass for any loose sections or seams. Ensure that all edges are secured and that the material is evenly distributed to promote stability and performance.
- : Lightly immediately after installation. This aids in settling the infill, , and enables the grass fibers to restore their shape. Proper watering techniques, such as using a fine spray nozzle, ensure even moisture distribution without over-saturating the area. For optimal results, consider watering in the early morning or late afternoon to minimize evaporation.
- : To , regularly remove debris such as leaves and twigs. Rinsing the grass occasionally will help eliminate dust and dirt buildup. For pet owners, prompt waste cleanup and rinsing the area are essential to prevent odors and maintain hygiene. Homeowners can save on , which typically decreases to only 2-4 hours annually with .
- Brush the Grass: Periodically brush the grass with a stiff-bristled broom to keep the fibers upright and evenly distribute the infill. This practice not only enhances visual attractiveness but also extends the longevity of the grass by preventing matting. setups can endure between 8 to 10 years when properly cared for.
- : Regularly inspect the grass for signs of wear or damage. Address any issues promptly to prevent further deterioration. If seams start to separate, reapply adhesive as needed to preserve the integrity of the setup. of systems, which typically spans from 8 to 10 years when well maintained. Remember, "Expert setup guarantees the grass appears natural, functions effectively, and endures for years.

Tools and Resources for Successful Installation
- :
- Shovel: Crucial for removing existing grass and soil, setting the stage for a smooth installation.
- Rake: Used to level the ground and evenly spread infill, ensuring a stable base for the grass.
- Utility Knife: Essential for making precise cuts to fit the grass perfectly in your designated area.
- Landscape Staples or Nails: These secure the grass in place, preventing shifting and ensuring a neat finish.
- Plate Compactor: Essential for , offering a solid base that improves the durability of the grass.
- Broom: Assists in brushing the grass fibers upright, providing your lawn a lush, natural look.
- Seam Fix Tool: Essential for aligning grass edges and creating robust, nearly invisible seams for a professional finish.
- : Aids in by applying steady pressure during setup.
- Optional Tools:
- Sod Cutter: This tool simplifies the removal of existing grass, making the initial preparation quicker and less labor-intensive.
- Wheelbarrow: Perfect for such as soil and infill, simplifying the setup process.
- Seam Tape and Adhesive: Essential for joining multiple pieces of turf, ensuring a seamless and professional look.
- Edge Trimmer Tool: Useful for making clean, straight cuts along boundaries, enhancing the appearance of the setup.
- : Simplifies the cleanup process after setup by removing loose fibers, leaves, and excessive sand infill.
- Resources:
- Turf Suppliers: Research local suppliers to find high-quality turf options that suit your needs.
- : Utilize video guides for visual support, making the setup process more manageable.
- Local Landscaping Services: If challenges occur, consider seeking advice from experts to guarantee a successful setup.
- Floor Test Tool: Helps check the evenness of the surface before laying down turf, ensuring it sits flat and reducing the risk of bumps or uneven spots after installation.

Conclusion
Installing turf grass on dirt requires careful preparation and attention to detail to ensure a long-lasting and visually appealing lawn. By following the outlined steps - from clearing the area to securing the turf and maintaining it - homeowners can achieve a professional-grade installation that enhances their outdoor spaces.
Key points emphasized throughout this guide include:
- Preparing the Installation Area: Level the ground, check drainage, and compact the soil.
- Laying the Turf: Involves precise cutting, securing the grass, and applying infill to promote upright blades.
- Regular Maintenance Practices: Brushing and inspecting for damage are crucial for prolonging the life of the synthetic grass.
Investing time and effort into a thorough installation and maintenance routine not only ensures a beautiful lawn but also minimizes future upkeep. Embracing best practices for turf grass installation can lead to a stunning outdoor environment that remains vibrant and functional for years to come. For those looking to transform their yards, understanding how to install turf grass on dirt is an essential step toward creating an enjoyable and sustainable outdoor space.
Frequently Asked Questions
What is the first step in preparing the installation area for synthetic grass?
The first step is to clear the area by removing any existing grass, weeds, and debris. This involves excavating the top layer of soil to a depth of 3-4 inches.
How do you level the ground for grass installation?
After clearing the area, you should use a rake to level the ground, ensuring the surface is smooth and even to avoid bumps or dips that could affect the grass's appearance and functionality.
Why is checking for drainage important before installing synthetic grass?
Checking for drainage is crucial to prevent water accumulation, which can lead to mold and deterioration. It is recommended to incorporate a slight slope away from structures to facilitate proper drainage.
What should you do after leveling the ground?
After leveling the ground, you should compact it using a plate compactor or by walking over it to create a stable base that supports the turf and prevents settling over time.
Is it necessary to add a base layer before installing synthetic grass?
Yes, if necessary, you should add a base layer of crushed rock or decomposed granite to enhance drainage and provide a solid foundation. This layer should be spread evenly and compacted again for stability.
What factors affect the cost of installing synthetic grass in California?
The average expense of installing synthetic grass in California varies from $5 to $20 per square foot, depending on factors such as material quality and site preparation.
How do these preparation steps impact future maintenance needs?
Following the best practices for site preparation not only ensures a successful installation but also minimizes future maintenance needs for the synthetic grass.
List of Sources
- Prepare the Installation Area
- shawgrass.com (https://shawgrass.com/about/news-blog/how-to-prep-for-artificial-grass-installation)
- How to Install Artificial Turf on Dirt | US Turf (https://usturfsandiego.com/news/how-to-install-artificial-turf-on-dirt)
- Artificial Grass Installation: 6 Key Surface Requirements | Magnolia Turf (https://magnoliaturf.com/landscapes/artificial-grass-key-surface-requirements)
- Prepare Your Area for Artificial Grass: Expert Guide & Tips (https://justanswer.com/home-improvement/ixp28-prepare-area-artificial-grass.html)
- A Step-by-Step Guide to Installing Artificial Turf Grass (https://lowes.com/n/how-to/install-artificial-grass)
- Install the Turf Grass
- Artificial Grass, Market Trends, Business Insights, and Analysis (https://installartificial.com/how/artificial-grass-business-insights-market-trends)
- Top Trends in Artificial Turf for 2025: What to Expect - The Turf Yard (https://theturfyard.com/top-trends-in-artificial-turf-for-2025-what-to-expect)
- A Step-By-Step Guide to Installing Artificial Turf | Southwest Greens of Florida (https://swgreens.com/blog/artificial-turf-installation-step-by-step-guide)
- How to Install Artificial Turf on Dirt | US Turf (https://usturfsandiego.com/news/how-to-install-artificial-turf-on-dirt)
- How To Install Artificial Grass | SGW (https://syntheticgrasswarehouse.com/resources/installing-artificial-grass/step-by-step-guide-to-installing-artificial-grass)
- Finalize and Maintain Your Turf
- Landscape professionals weigh in: The pros and cons of artificial turf (https://denverpost.com/2025/05/30/landscape-professionals-weigh-in-the-pros-and-cons-of-artificial-turf-real-estate-voices)
- Replacing Grass Can Help Save Water, but Just How Much? - Inside Climate News (https://insideclimatenews.org/news/31012025/turf-replacing-grass-can-help-save-water)
- The Role of Artificial Turf in Water Conservation Efforts - The Turf Yard (https://theturfyard.com/the-role-of-artificial-turf-in-water-conservation-efforts)
- 10 Benefits of Artificial Turf Installation | Breaking AC (https://breakingac.com/news/2026/feb/05/10-benefits-of-artificial-turf-installation)
- Artificial Turf or Natural Grass: Which Costs Less for Baseball? (https://fieldturf.com/en/articles/detail/turf-vs-grass-cost)
- Tools and Resources for Successful Installation
- 9 Must-Have Tools for Easy Artificial Turf Installation (https://skyjades.com/9-must-have-tools-artificial-turf-installation)
- 22 Essential Tools for Installing Artificial Grass (https://neograss.co.uk/22-essential-tools-installing-artificial-grass)
- What Infill to Use for Turf | Elite Turf Supply (https://eliteturfsupply.com/blogs/top-tools-and-equipment-every-contractor-needs-for-turf-installation)
- DIY Guide: Essential Tools for Installing (https://blog.artificialgrassrecyclers.com/diy-guide-tools-you-need-to-install-your-own-artificial-turf)