Introduction
Laying synthetic turf can transform a yard into a lush, low-maintenance oasis. It offers homeowners a durable and visually appealing alternative to natural grass. This guide outlines the step-by-step process of preparing the site, installing the turf, and ensuring its longevity through proper maintenance.
However, navigating the intricacies of installation can lead to common pitfalls. How can one ensure a flawless finish while avoiding typical mistakes that may compromise the turf's performance?
Prepare the Site for Synthetic Turf Installation
- Clear the Area: Begin by removing any existing grass, weeds, and debris from the installation site. Utilize a shovel or a sod cutter to extract the , approximately 3-4 inches deep.
- Check for Drainage: Verify that the location has . If water tends to pool, consider creating a slight slope in the ground to facilitate drainage away from structures.
- : Employ a rake to , filling in any low spots with soil. Compact the soil using a plate compactor to establish a solid base.
- Install a: Lay a fabric over the prepared ground to prevent weed growth beneath the grass. This step is crucial for maintaining the integrity of laying over time.
- : Distribute a layer of crushed rock or decomposed granite (about 2-3 inches) over the . This base will provide stability and drainage for the grass. Ensure this layer is compacted thoroughly.
- Final Grading: Rake the surface to achieve a smooth and even finish, making any necessary adjustments to maintain a consistent grade throughout the entire area.

Lay and Secure the Synthetic Turf
- Roll Out the Grass: Start by rolling out the over the prepared area. Allow the grass to acclimate for a few hours to minimize curling and ensure proper .
- Cut to Fit: Use a utility knife to trim the edges of the grass for a precise fit. Be sure to leave a small gap around the edges to accommodate expansion and contraction.
- Secure the Grass: Employ landscaping stakes or grass nails to secure the grass around the perimeter. Position stakes every 6-8 inches along the edges and seams to prevent any movement.
- Seam the Grass: If your installation involves multiple pieces of grass, utilize to join them together. Ensure that the seams are tight and aligned for a seamless appearance.
- Check for Wrinkles: Smooth out any wrinkles or bubbles by pulling the grass taut and adjusting the stakes as needed. This step is crucial for achieving a professional finish.
- : After and securing it, walk over the surface to confirm that it is even and properly anchored. Make any before moving on to the next step.
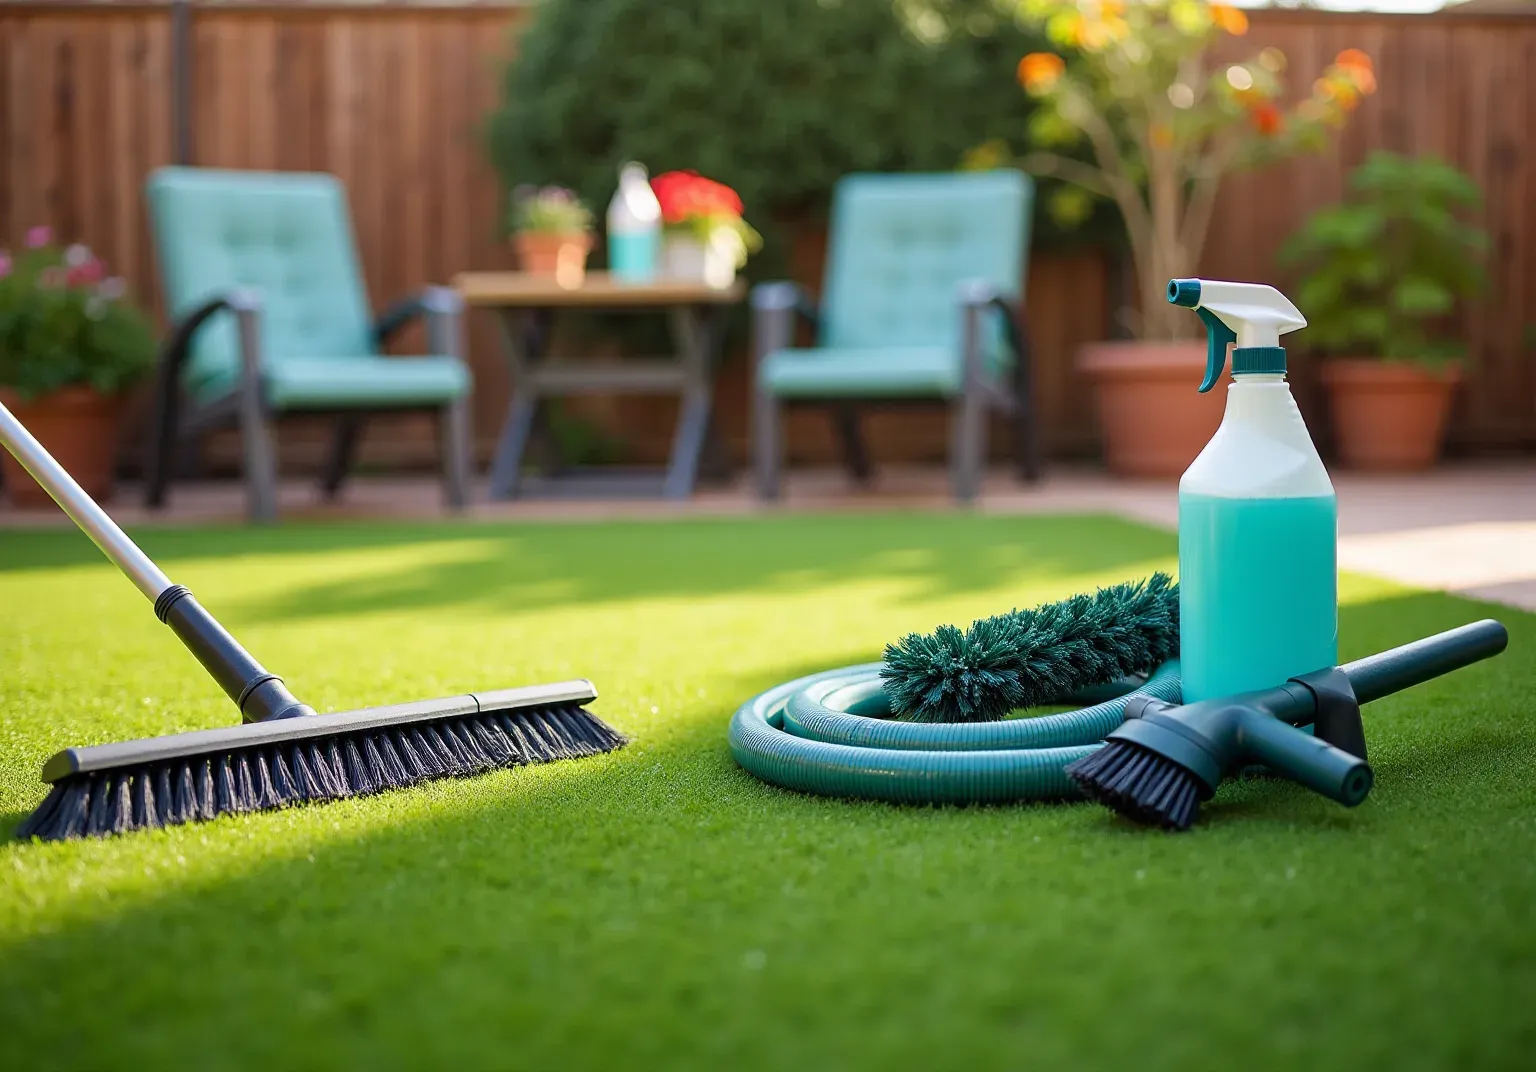
- Reminder: Regular is vital for maximizing the lifespan of your . Rinse and clean the surface regularly to eliminate debris and . For pet areas, consider using a to effectively . is essential; avoid and pooling water by ensuring a professional installation whenever possible.

Apply Infill and Finalize Installation
- : Select a suitable substance based on the intended use of the grass. Common options include silica sand, rubber granules, or organic material.
- : Utilize a drop spreader to evenly spread the substance across the surface of the grass. Aim for a depth of approximately 1-2 inches, depending on the type of grass and material used.
- : After applying the material, use a stiff-bristled broom to groom the grass. This action helps work the material into the grass blades and ensures .
- : Inspect the surface to ensure that the filler is evenly spread and that the grass blades are standing upright. Add more material if necessary to achieve the desired look and feel.
- : Once the material is properly applied, perform a of the turf with a power broom or rake to fluff the grass and enhance its appearance.
- : Remove any excess infill from the edges and nearby locations to maintain a clean installation. Ensure that the area is free of debris and ready for use.

Troubleshooting and Maintenance Tips
- Regular Cleaning: Periodically rinse the turf with water to . A gentle spray from a hose is usually sufficient to maintain cleanliness and prevent odors. For pet waste, enzyme cleaners can effectively eliminate bacteria and odors, ensuring a hygienic environment.
- Check Material Levels: to ensure they are adequate for optimal performance. If the material appears compressed or insufficient, add more to maintain the desired depth and performance of the grass.
- Brush the Grass: Every few months, use a stiff-bristled broom to brush the grass. This practice helps keep the grass blades upright and evenly distributes the infill, enhancing the lawn's appearance and resilience. Routine brushing is crucial to prevent matting and sustain the grass's structure.
- Address Weeds Quickly: Remove any weeds that manage to grow through the grass immediately to prevent spreading. Applying a can be effective; however, ensure it is suitable for synthetic surfaces to avoid damage.
- Inspect for Damage: Regularly , such as tears or loose seams. are essential to prevent minor issues from escalating into larger problems, ensuring the surface remains safe and functional. Additionally, examine the grass after winter for any damage that may need addressing.
- Seasonal Upkeep: At the start of each season, conduct a . This proactive approach ensures the surface is in excellent condition and ready for increased use, especially during warmer months when outdoor activities are more frequent. Furthermore, avoid placing heavy furniture on the turf for extended periods to .

Conclusion
Mastering the art of laying synthetic turf not only enhances the aesthetic appeal of outdoor spaces but also provides a practical solution for homeowners seeking low-maintenance landscaping. This guide outlines essential steps from site preparation to final installation, ensuring a successful transformation of any yard into a lush, green oasis.
Key points include:
- The importance of clearing the area.
- Ensuring proper drainage.
- Leveling the ground before laying the turf.
Additionally, insights into securing the grass, applying infill, and maintaining the turf highlight the meticulous care required for a durable and attractive lawn. Regular maintenance practices, such as cleaning and checking for damage, are crucial for prolonging the life of synthetic grass and ensuring it remains in optimal condition.
Ultimately, investing time and effort into the installation and upkeep of synthetic turf pays off with a beautiful, functional outdoor area that withstands the test of time. Homeowners are encouraged to embrace these best practices, not only for a successful installation but also to enjoy the numerous benefits of synthetic turf, including reduced water usage and minimal upkeep. Following these steps will lead to a vibrant, hassle-free lawn that can be enjoyed for years to come.
Frequently Asked Questions
What is the first step in preparing the site for synthetic turf installation?
The first step is to clear the area by removing any existing grass, weeds, and debris from the installation site. This involves using a shovel or a sod cutter to extract the top layer of soil, approximately 3-4 inches deep.
How can I check for drainage before installing synthetic turf?
To check for drainage, verify that the location does not have water pooling. If pooling occurs, consider creating a slight slope in the ground to facilitate drainage away from structures.
What should I do to level the ground for synthetic turf installation?
Use a rake to level the ground, filling in any low spots with soil. After that, compact the soil using a plate compactor to establish a solid base.
Why is it important to install a weed barrier before laying synthetic turf?
Installing a weed barrier fabric over the prepared ground is crucial to prevent weed growth beneath the grass, helping to maintain the integrity of the synthetic turf over time.
What type of base material should be added after the weed barrier?
A layer of crushed rock or decomposed granite, about 2-3 inches thick, should be distributed over the weed barrier. This base provides stability and drainage for the grass and should be compacted thoroughly.
What is the final step in preparing the site for synthetic turf installation?
The final step is to rake the surface to achieve a smooth and even finish, making any necessary adjustments to maintain a consistent grade throughout the entire area.
List of Sources
- Prepare the Site for Synthetic Turf Installation
- Synthetic Turf News | Stadia Magazine (https://stadia-magazine.com/news/synthetic-turf)
- Emerging opportunities in fertile synthetic turf - Floor Covering News (https://fcnews.net/2025/08/emerging-opportunities-in-fertile-synthetic-turf)
- Plastic Turf Fields Are Taking Over America (https://nytimes.com/2025/07/26/business/artificial-turf-grass-sports.html)
- Lay and Secure the Synthetic Turf
- The battle over fake grass is very real - Bridger Valley Pioneer (https://bridgervalleypioneer.com/stories/the-battle-over-fake-grass-is-very-real,55378)
- How Long Does Artificial Turf Last? What Homeowners Need to Know - Synthetic Turf (https://syntheticturfnorthwest.com/how-long-odes-turf-last)
- Turf war continues in Beverly Hills - Beverly Press & Park Labrea News (https://beverlypress.com/2025/05/turf-war-continues-in-beverly-hills)
- Artificial turf opponents rally ahead of vote on controversial Santa Clara County ban (https://nbcbayarea.com/investigations/artificial-turf-santa-clara-county-ban/3771362)
- As California installs more artificial turf, health and environmental concerns multiply (https://latimes.com/science/story/2025-09-17/californias-love-hate-relationship-with-artificial-turf)
- Apply Infill and Finalize Installation
- Artificial Turf Industry News & Updates - Mighty Grass (https://mightygrass.com/news)
- Understanding the Polymeric Infill Ban: Our Response and plan (https://sispitches.com/news/understanding-the-polymeric-infill-ban-our-response-and-plan-forward)
- As California installs more artificial turf, health and environmental concerns multiply (https://latimes.com/science/story/2025-09-17/californias-love-hate-relationship-with-artificial-turf)
- Plastic Turf Fields Are Taking Over America (https://nytimes.com/2025/07/26/business/artificial-turf-grass-sports.html)
- Emerging opportunities in fertile synthetic turf - Floor Covering News (https://fcnews.net/2025/08/emerging-opportunities-in-fertile-synthetic-turf)
- Troubleshooting and Maintenance Tips
- Effortlessly Maintain Your Artificial Grass in Texas: Nine Expert Tips (https://magnoliaturf.com/maintaining-artificial-grass-texas)
- Maintenance 101: Caring for Your ArtificialTurf in the Texas Heat | Waterloo Turf (https://waterlooturf.com/blog/maintenance-101-caring-for-your-artificialturf-in-the-texas-heat)
- Essential Synthetic Pitch Maintenance Guide for Safe and Long-Lasting Surfaces (https://greentek.com/news/essential-synthetic-pitch-maintenance-guide-for-safe-and-long-lasting-surfaces)
- How to Maintain Your Artificial Grass All Year Round (https://synlawn.com/articles/how-to-maintain-artificial-grass)
- Protecting the Play: Preventative Maintenance Tips for High-Traffic Synthetic Turf - River Region Sports Fields (https://riverregionsportsfields.com/protecting-the-play-preventative-maintenance-tips-for-high-traffic-synthetic-turf)