Introduction
Transforming a backyard into a golfer's paradise requires careful planning and execution. This guide presents a straightforward four-step process for installing a turf putting green, enabling enthusiasts to enhance their game right at home. Many enthusiasts face challenges in selecting the right site and maintaining the green effectively. Neglecting these elements can lead to a disappointing installation that fails to meet expectations.
Select and Prepare the Installation Site
Creating a turf putting green installation requires careful planning and execution to ensure optimal conditions for practice and play.
- Choose the Right Location: Select a flat area that offers good drainage and receives ample sunlight. Avoid areas with dense tree cover, as they can block sunlight and drop debris onto the lawn. Ideally, the putting green should be positioned 5-10 paces from home entryways to maximize practice time and visibility from inside the house.
- Clear the Area: Remove any existing grass, plants, or debris using a shovel or sod cutter. A clean area is essential for proper excavation and setup. Make sure there are no large tree roots in the area, as they can disrupt the turf base. If needed, think about adding root barriers.
- Check for Underground Utilities: Before beginning any digging, contact local utility companies to confirm the absence of underground lines. This precaution helps prevent damage during excavation and ensures a safe installation process. Failing to check for underground utilities can result in costly repairs and delays in your project.
- Mark the Outline: Use spray paint or stakes to outline the desired shape and size of your golf area. This outline will help you dig accurately and keep the dimensions just right.
- Excavate the Area: Dig down approximately 4-6 inches to create a stable base for the turf. Ensure the base is level and compacted to provide a smooth surface, which is essential for the durability and playability of the putting area. Proper drainage is crucial for turf putting green installation, as water should flow efficiently off the area to prevent pooling and maintain a consistent playing surface. Additionally, maintain a 4-foot wide equipment hauling route from storage to the practice area over smooth, flat ground.
Neglecting these steps can lead to significant setbacks, impacting both the quality of your putting green and your overall enjoyment of the space.

Execute the Installation Process
Creating a durable and visually appealing turf area requires careful preparation and attention to detail. Here’s a structured approach to ensure a successful installation:
- Prepare the Base: Begin by excavating the area to a depth of 4 inches. Lay down a layer of crushed stone or gravel, approximately 2 to 4 inches thick, to create a solid foundation. Achieving a compaction density of at least 95% is crucial to prevent settling and ensure a flat surface for the turf.
- Install Drainage: Implement a drainage system if necessary to prevent water accumulation. This may include perforated pipes or French drains, designed to direct water away from the putting green effectively. Proper drainage is essential, as it minimizes standing water, reduces the risk of mold and bacteria growth, and enhances the longevity of the installation. Without proper drainage, water can accumulate, leading to potential damage and reduced usability of the turf area.
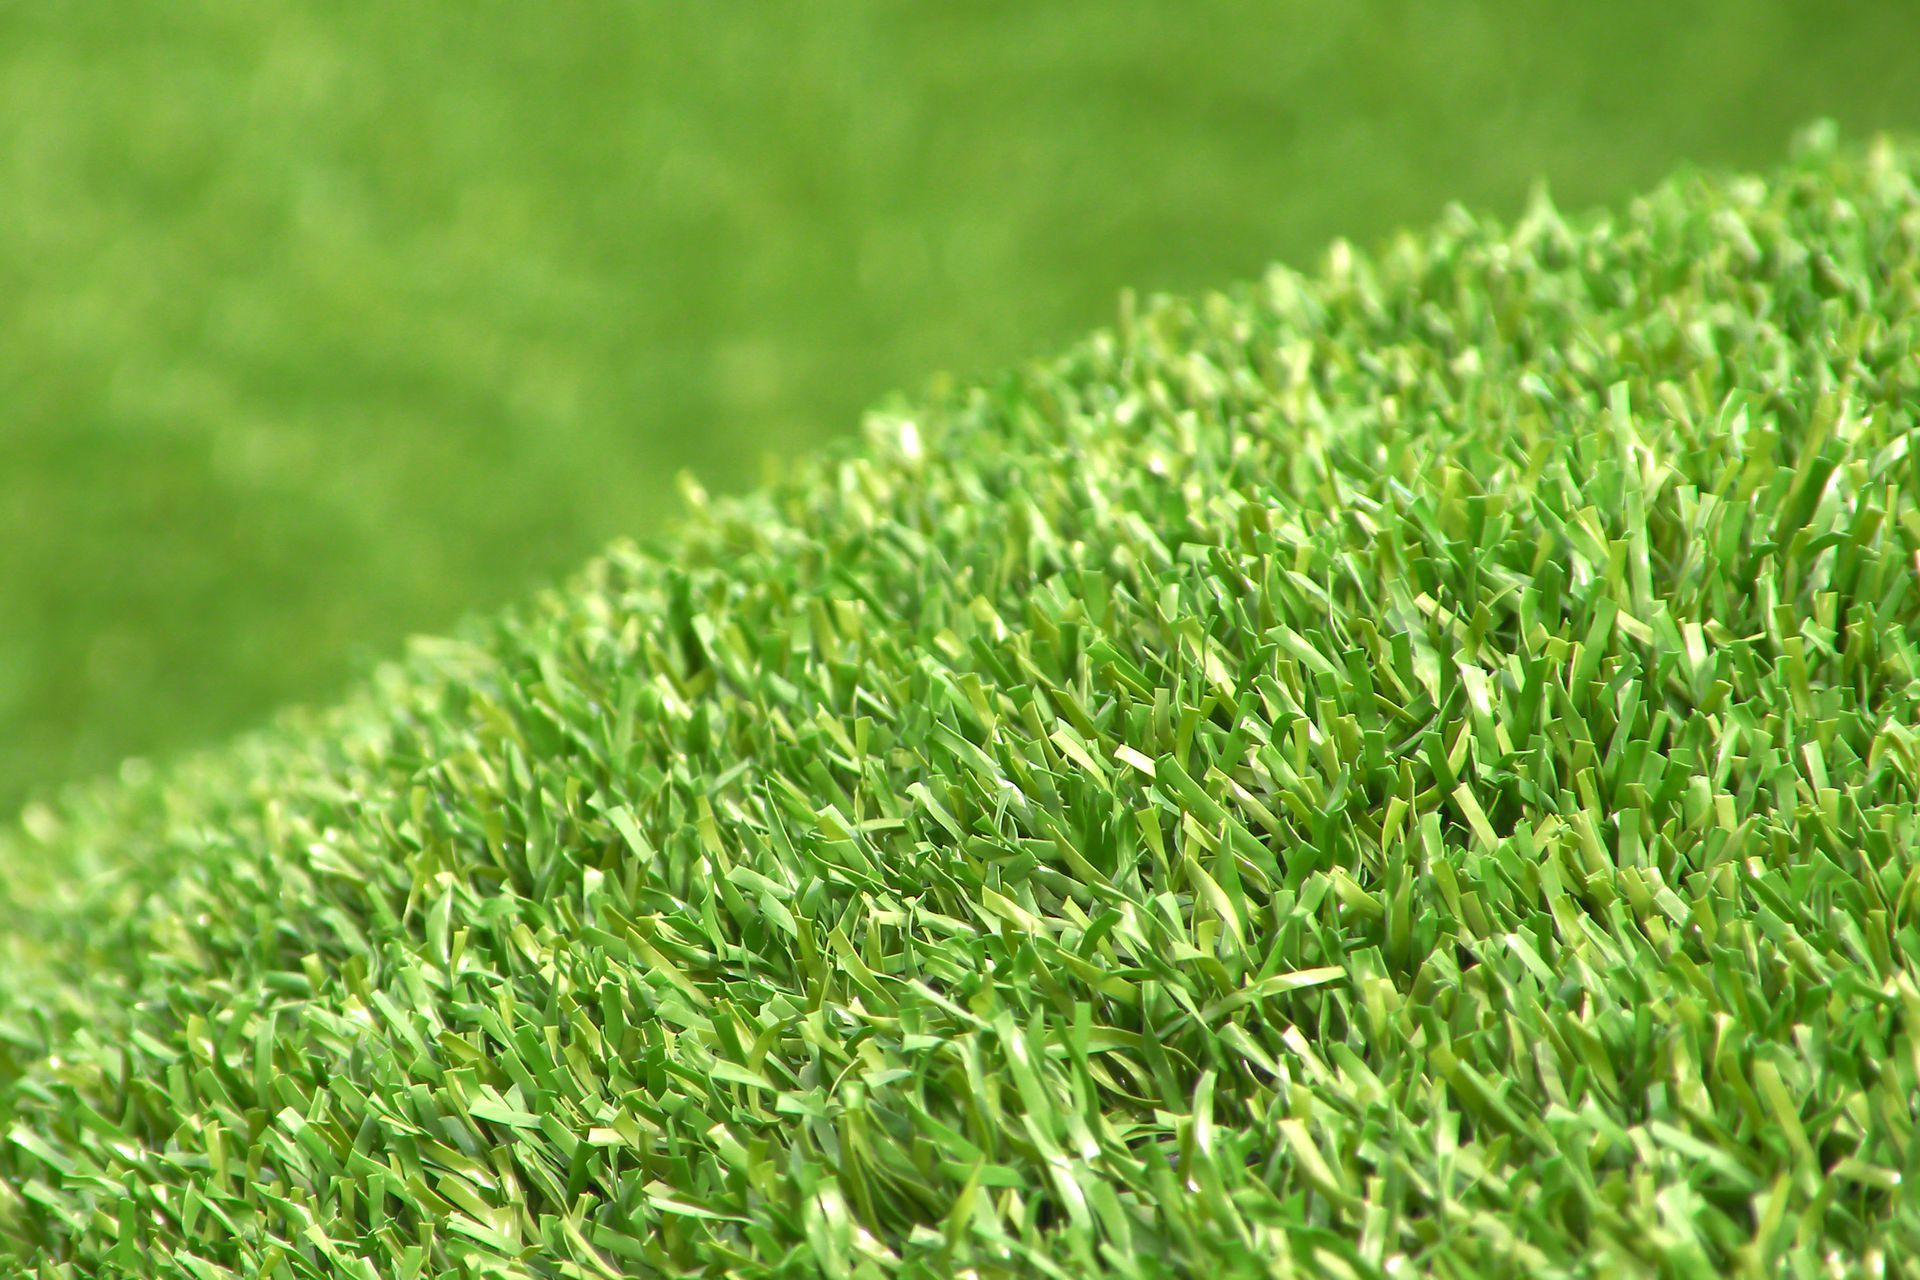
- Lay the Grass: Roll out the synthetic grass over the prepared base, ensuring that the fibers are oriented in the same direction for a uniform appearance. Modern artificial grass includes permeable backing and advanced drainage layers, enabling water to flow through efficiently, which is essential for preserving a healthy playing surface.
- Secure the Grass: Use landscape staples or adhesive to fasten the grass to the base. Stretch the turf tightly to avoid wrinkles or seams, which can detract from the aesthetic and functional quality of the golf surface. Failing to secure the grass can lead to unsightly wrinkles and seams, compromising both the appearance and functionality of the putting green.
- Cut Holes for Cups: Mark and cut holes for the golf cups using a utility knife. Ensure that the cuts are precise, allowing the cups to fit snugly, which is vital for a seamless playing experience.
Ultimately, the quality of your turf putting green installation directly impacts the longevity and enjoyment of your turf area.

Finalize and Maintain Your Putting Green
- Add Infill: If required, evenly spread infill material, such as silica sand, across the grass surface. This step is crucial as it helps compress the grass and keeps the blades upright, enhancing the overall appearance and performance of the putting green.
- Brush the Grass : Use a stiff-bristle broom or grass brush to brush the fibers against the grain. This technique fluffs the fibers, maintaining a natural look and ensuring consistent ball roll. Experts agree that regular brushing is essential for keeping the grass healthy and ensuring a smooth ball roll. Avoid using metal tools, as they can harm the grass blades and backing material.
- Regular Cleaning : Consistently remove debris such as leaves and dirt to maintain the surface's cleanliness. Rinsing the surface with water is particularly important in pet-friendly areas to eliminate odors and prevent bacteria buildup. During dry or high-pollen seasons, increase the frequency of rinsing to keep the grass in optimal condition. Cleaning your turf regularly not only makes it look better but also helps it last longer.
- Inspect for Damage : Conduct routine inspections for any signs of wear or damage. Ignoring minor issues can lead to costly repairs and a decline in lawn quality. Quickly addressing issues such as loose seams or flattened fibers can prevent further deterioration and ensure the longevity of your lawn.
- Seasonal Maintenance : Depending on your climate, perform seasonal maintenance tasks, including deep cleaning and adjusting the infill. In spring, check your backyard turf for low areas or bumps created during the freeze-thaw cycle. Neglecting these tasks can result in a lawn that fails to perform well throughout the year. This proactive approach ensures optimal performance throughout the year, allowing your putting green to remain in excellent condition regardless of weather conditions.

Gather Essential Tools and Resources
Successful turf installation hinges on having the right tools and safety measures in place.
- Basic Tools: Having the right basic tools is essential for effective site preparation and grass laying. Ensure you have a shovel, rake, utility knife, and tape measure.
- Compaction Tools: A plate compactor or hand tamper is necessary for compacting the base material to ensure stability. Proper soil compaction ensures the setup's longevity by preventing dips and undulations.
- Turf Installation Tools: Gather landscape staples, adhesive, and a turf cutter for securing and fitting the turf accurately. Using the right turf installation tools contributes to a smooth setup and a professional finish.
- Safety Gear: Always keep safety in mind to avoid injuries when working with tools and materials. Wear gloves and safety glasses to shield yourself during the setup process.
- Additional Resources: Consider watching instructional videos or reading guides on turf setup to familiarize yourself with the process before starting. Additionally, using a leaf blower can simplify the cleanup after installation, ensuring a tidy finish.
By prioritizing the right tools and safety, you set the stage for a successful and efficient turf putting green installation.

Conclusion
Transforming your outdoor space into a golfer's paradise requires a systematic approach to creating a turf putting green. The process emphasizes careful site selection, meticulous installation, and ongoing maintenance to ensure the putting green remains functional and visually appealing. Each phase, from preparing the ground to securing the turf and maintaining the surface, plays a critical role in achieving the desired outcome.
Key considerations for a successful putting green include:
- Selecting the right location
- Ensuring proper drainage
- Maintaining a stable base for the turf
Regular maintenance practices, such as brushing the grass, cleaning debris, and inspecting for damage, are essential to prolong the life and performance of the putting green. Additionally, having the right tools and safety measures in place facilitates a smooth installation process.
When you master the installation and maintenance of your turf putting green, you’re not just improving your outdoor space; you’re creating a personal retreat for practice and enjoyment. By following this guide, individuals can confidently embark on their putting green project, ensuring a rewarding experience that elevates their golfing skills right at home. By investing time and effort into this project, you will create a valuable asset that enhances both your skills and your outdoor lifestyle.
Frequently Asked Questions
What is the first step in creating a turf putting green installation?
The first step is to select a flat area that offers good drainage and receives ample sunlight, avoiding areas with dense tree cover.
How far should the putting green be from home entryways?
The putting green should ideally be positioned 5-10 paces from home entryways to maximize practice time and visibility from inside the house.
What should be done to clear the area for installation?
Remove any existing grass, plants, or debris using a shovel or sod cutter, ensuring the area is clean for proper excavation and setup.
Why is it important to check for underground utilities before digging?
Checking for underground utilities is crucial to prevent damage during excavation and to ensure a safe installation process, avoiding costly repairs and delays.
How can you mark the outline of the putting green area?
You can mark the outline using spray paint or stakes to outline the desired shape and size of your golf area.
How deep should the area be excavated for the turf installation?
The area should be excavated down approximately 4-6 inches to create a stable base for the turf.
What is essential for the durability and playability of the putting area?
Ensuring that the base is level and compacted is essential for providing a smooth surface, along with proper drainage to prevent water pooling.
What should be maintained for equipment hauling during the installation?
A 4-foot wide equipment hauling route over smooth, flat ground should be maintained from storage to the practice area.
What can happen if the preparation steps are neglected?
Neglecting these steps can lead to significant setbacks, impacting both the quality of the putting green and the overall enjoyment of the space.
List of Sources
- Select and Prepare the Installation Site
- 4 Best Practices for Residential Putting Green Design (https://californiaturfco.com/4-best-practices-for-residential-putting-green-design)
- Choosing the Right Location for Your Backyard Putting Green (https://bestputtinggreensandturfpalmdesert.com/blog/choosing-the-right-location-for-your-backyard-putting-green)
- Smart Placement Tips for a Backyard Putting Green (https://fieldturflandscape.com/golf-putting-green/how-to-position-your-backyard-putting-green)
- How To Choose The Right Location For Your Putting Green | Northeast Synthetic Turf (https://northeastsyntheticturf.com/how-to-choose-the-right-location-for-your-putting-green)
- Ensure a Perfect Outdoor Putting Green Installation With These 5 Tips - SGW Texas (https://sgwtexas.com/blog/2023/09/28/ensure-a-perfect-outdoor-putting-green-installation-with-these-5-tips)
- Execute the Installation Process
- Does Artificial Turf Drain Well? (https://synlawn.com/articles/does-artificial-turf-drain-well)
- 5 Things You Didn't Know about Artificial Turf Drainage (https://en-plast.us/5-things-you-didnt-know-about-artificial-turf-drainage)
- The Importance of Drainage Systems for a Lush and Vibrant Artificial Grass | Smart Turf® Artificial Grass (https://smartturf.com/drainage-artificial-grass)
- Current Trends in Putting Green Aeration (https://usga.org/content/usga/home-page/course-care/green-section-record/64/issue-06/current-trends-in-putting-green-aeration-across-the-u-s-.html)
- How Much Base for Artificial Turf: Essential Steps for Homeowners (https://californiaturfco.com/how-much-base-for-artificial-turf-essential-steps-for-homeowners)
- Finalize and Maintain Your Putting Green
- Artificial Putting Green Maintenance: Year-Round Care Guide (https://aglgrass.com/blogs/artificial-putting-green-maintenance)
- Backyard Putting Green Maintenance Tips | TurFresh (https://turfresh.com/blog/helpful-artificial-grass-maintenance-tips-for-your-backyard-putting-green)
- Artificial Backyard Putting Green: Cleaning and Maintenance Tips (https://texasturfusa.com/austin-landscape-design/how-to-clean-an-artificial-putting-green)
- sciencedirect.com (https://sciencedirect.com/science/article/pii/S1877705816307457)
- 10 Tips for Maintaining an Artificial Grass Putting Green (https://wintergreengrass.com/10-tips-for-maintaining-an-artificial-grass-putting-green)
- Gather Essential Tools and Resources
- DIY Guide: Essential Tools for Installing (https://blog.artificialgrassrecyclers.com/diy-guide-tools-you-need-to-install-your-own-artificial-turf)
- 22 Essential Tools for Installing Artificial Grass (https://neograss.co.uk/22-essential-tools-installing-artificial-grass)
- Elite Turf Supply (https://eliteturfutah.com/blogs/top-tools-and-equipment-every-contractor-needs-for-turf-installation)
- sgwsacramento.com (https://sgwsacramento.com/blog/important-facts-about-compaction-to-ensure-a-perfect-artificial-turf-installation-every-time)