Introduction
Transforming a backyard into a personal putting green presents both exciting opportunities and significant challenges for homeowners. This comprehensive guide provides a structured, step-by-step approach to installing synthetic turf, ensuring an aesthetically pleasing result that enhances golfing experiences.
Homeowners often feel overwhelmed by the choices and processes involved in creating a putting green. Without understanding these key considerations, homeowners risk an unsatisfactory installation that fails to meet their expectations.
Prepare Your Site for Installation
- Select the Location: Selecting the right location is crucial for maximizing the performance of synthetic putting greens. Identify a flat area that receives ample sunlight and has minimal elevation changes. Avoid locations with dense tree cover to limit leaf litter and maintenance issues. This choice enhances the capabilities of California Turf Company's premium synthetic surfaces, which include putting green turf backyard options available in various styles suited for different playing techniques.
- Clear the Area: Eliminate any existing grass, weeds, rocks, and debris. Utilize a shovel or a sod cutter for larger spaces to ensure a clean slate for installation. A clean area is vital for the installation methods used by California Turf Company, which ensures a durable and long-lasting surface.
- Excavate the Soil: Dig down about 4-6 inches to create a level base. This depth is essential for adequate drainage and offers a stable base for the grass, enabling true ball roll and consistent performance.
- Check for Drainage: Inadequate drainage can lead to water pooling, compromising the surface's usability. Assess the area for adequate drainage, and if necessary, install a drainage system to prevent water accumulation on the surface. Proper drainage ensures the longevity and performance of the putting green, allowing for consistent play.
- Compact the Soil: Utilize a plate compactor to compress the soil, creating a firm foundation that supports the grass and reduces settling over time. A well-compacted base is key to achieving the professional golf performance that California Turf Company’s products are designed to deliver.
- Add a Base Layer: Place a 2-4 inch layer of crushed stone or gravel to enhance drainage and create a stable surface for the turf installation. Compact this layer thoroughly to ensure stability. This preparation step is crucial for establishing an optimal setting for your putting green turf backyard.
In Southern California, the average cost of installing a putting green in 2026 can range from $15 to $30 per square foot, depending on the materials and complexity of the design. Landscape experts highlight that comprehensive site preparation is essential for attaining a successful installation, as it directly affects the performance and longevity of the grass. Lawn specialist Luke Taylor notes that if you want a transformation, grass is the way to go, and it should be ready for play in just a couple of weeks. By investing in proper installation techniques, homeowners can significantly enhance their outdoor spaces and enjoy years of reliable performance.

Choose the Right Turf and Materials
1. Understand Turf Types
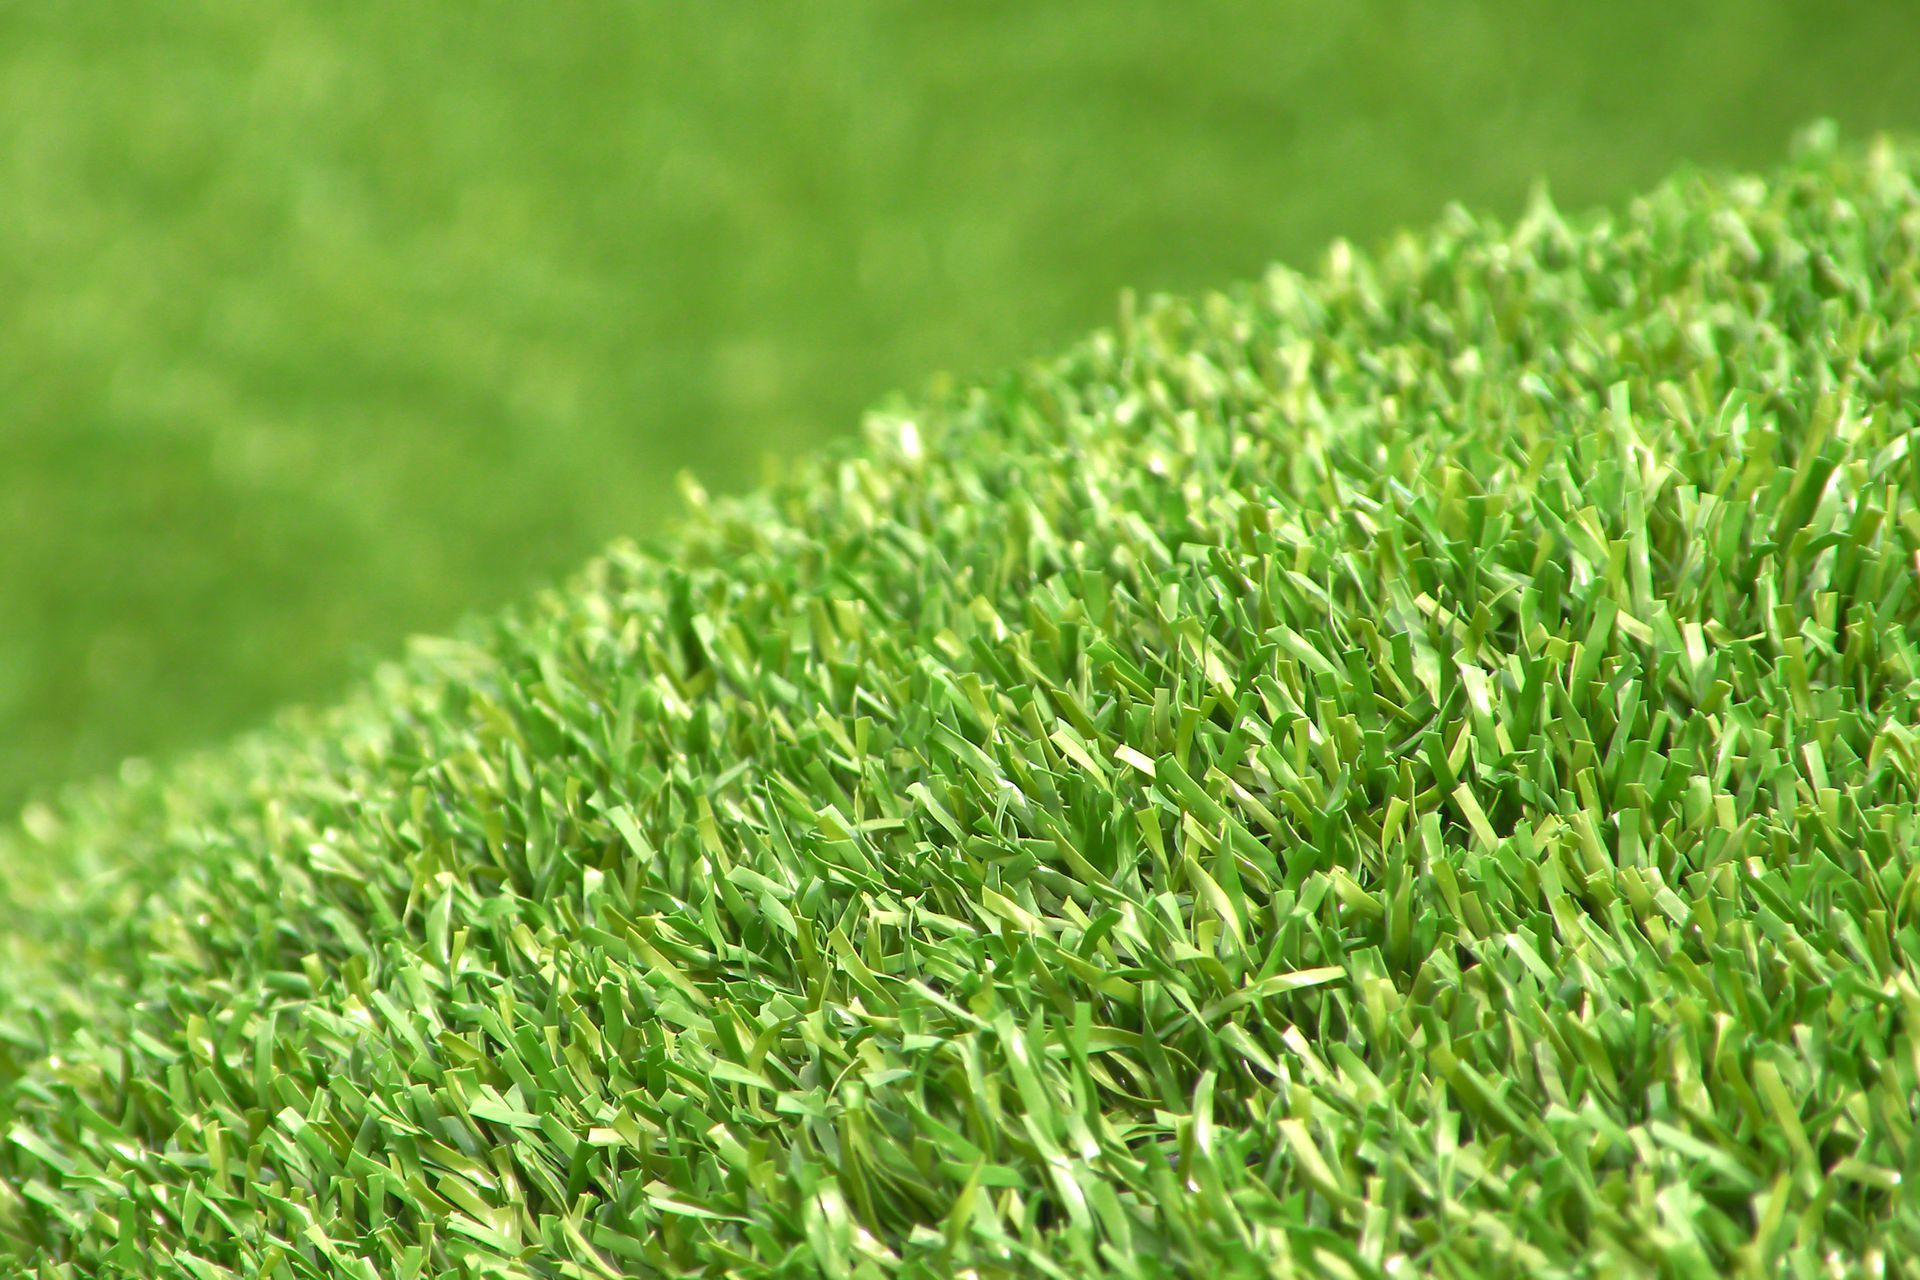
Choosing the right synthetic turf for your putting green can be a daunting task, given the variety of options available. Familiarize yourself with the various synthetic turf options:
- Nylon: Often favored for its durability, making it suitable for high-traffic areas.
- Polyethylene: Offers a softer feel, ideal for recreational use.
2. Consider Pile Height
Getting the right pile height is crucial for your turf to perform at its best. For golf course surfaces, a pile height ranging from ½ inch to ¾ inch is suggested. This height provides a smooth texture that guarantees uniform ball movement and resembles the sensation of natural turf.
3. Evaluate Infill Options
Infill materials play a significant role in enhancing the performance of your putting green. Consider the following options:
- Sand: Commonly used due to its weight and ability to replicate the feel of natural grass.
- Envirofill: Recommended for its mold resistance and aesthetic appeal.
4. Check for UV Resistance
Make sure the grass you choose is UV resistant to avoid fading and damage from the sun. High-quality synthetic grass with UV-stabilized fibers can retain its vibrant appearance for more than 15 years, making it a wise investment for your backyard.
5. Review Warranty and Quality
Look for products that come with a robust warranty and have received positive reviews. High-quality grass not only delivers superior performance but also guarantees an extended lifespan, giving you a beautiful and functional putting green for years ahead.
Investing time in selecting the right putting green turf backyard will ensure a beautiful and functional green that lasts for years.

Install Your Putting Green Turf
- Lay the Grass : Begin by rolling out the grass over the prepared base, ensuring it is oriented correctly for both aesthetics and playability. Allow the grass to acclimate for a few hours to adapt to the environment.
- Cut to Fit: Utilize a utility knife to trim the edges of the grass, ensuring it conforms to the shape of your putting green. Leave a slight excess for any necessary adjustments.
- Secure the Grass: To prevent lifting, fasten the grass to the base using landscape staples or adhesive. Proper anchoring of the edges is crucial for maintaining the integrity of the installation.
- Install Cups and Flags: Mark the desired locations for the cups and carefully cut holes in the grass. Insert the cups into these holes and secure them according to the manufacturer's guidelines to ensure stability.
- Add Infill: If your installation requires infill, distribute it evenly across the grass surface. Use a broom to work the infill into the fibers, ensuring it is uniformly spread for optimal performance and playability.
- Final Touches: Brush the grass fibers against the grain to help them stand upright, enhancing the overall look of your surface. Inspect for any wrinkles or uneven areas and make adjustments as needed to achieve a smooth finish.
Installing artificial grass for a putting green backyard requires careful attention to detail to ensure optimal performance and aesthetics. Consulting with experts can help avoid common pitfalls and enhance the quality of your installation.

Maintain Your Putting Green for Longevity
Maintaining artificial grass requires a systematic approach to ensure its longevity and performance.
- Regular Cleaning: Weekly removal of debris such as leaves, twigs, and dirt is crucial to keep the surface clean and prevent mold growth. This practice improves the grass's appearance and helps it last longer.
- Brush the Grass: Utilize a stiff-bristled broom or grass rake to brush the fibers regularly. This action helps maintain the upright position of the grass blades in a putting green turf backyard, ensuring a smooth and consistent ball roll, which is essential for an enjoyable putting experience.
- Inspect for Damage: Make it a habit to check for any wear or damage, like tears or loose seams. Promptly addressing these issues is vital to prevent further deterioration and costly repairs down the line.
- Rinse Occasionally: Rinsing the surface with water removes dust and pet waste, keeping it clean and hygienic. For organic growth, consider using a mixture of vinegar and water to enhance the cleaning process. Regular rinsing is particularly important to maintain the surface's functionality.
- Infill Maintenance: Periodically check the levels of infill materials, such as silica sand or rubber granules, and ensure they are evenly distributed. Proper infill upkeep is crucial for optimal grass performance and appearance, affecting the speed and consistency of the ball roll.
- Seasonal Care: Tailor your maintenance routine to the changing seasons. For instance, during fall, increase the frequency of debris removal to prevent buildup, while in summer, ensure adequate watering if applicable to keep the turf cool and comfortable for use. In winter, brush the green before snowfall and monitor for standing water after heavy rains to prevent damage.
By implementing these maintenance practices, you can significantly extend the life of your artificial grass and enhance its performance.

Conclusion
Creating a personal putting green in your backyard is more than just an aesthetic upgrade; it’s a commitment to enhancing your leisure time. This process highlights the need for careful site preparation, material selection, and installation techniques. Following these steps helps homeowners create a durable putting surface that enhances their property and provides lasting enjoyment.
Key points from the guide emphasize the importance of:
- Selecting the right location
- Adequately preparing the ground
- Choosing high-quality turf materials tailored to individual needs
Understanding the types of turf, pile height, and infill options ensures that the final product not only looks appealing but also performs optimally. Regular maintenance, like cleaning and checking for damage, keeps your putting green in top shape for practice and play.
Ultimately, investing in a putting green turf installation is not just about aesthetics; it’s about enhancing lifestyle and leisure. Consider the long-term benefits of a well-installed putting green, which can redefine your outdoor experience and foster memorable moments with loved ones.
Frequently Asked Questions
What is the importance of selecting the right location for synthetic putting greens?
Selecting the right location is crucial for maximizing the performance of synthetic putting greens. A flat area that receives ample sunlight and has minimal elevation changes is ideal, while avoiding dense tree cover helps limit maintenance issues.
What should be done to clear the area before installation?
Before installation, it is important to eliminate any existing grass, weeds, rocks, and debris. A shovel or sod cutter can be used for larger spaces to ensure a clean slate for installation.
How deep should the soil be excavated for a synthetic putting green?
The soil should be excavated about 4-6 inches deep to create a level base, which is essential for adequate drainage and provides a stable base for the grass.
Why is checking for drainage important before installation?
Checking for drainage is important because inadequate drainage can lead to water pooling, compromising the surface's usability. Proper drainage ensures the longevity and performance of the putting green.
What is the purpose of compacting the soil during preparation?
Compacting the soil using a plate compactor creates a firm foundation that supports the grass and reduces settling over time, which is key to achieving the professional performance of the putting green.
What base layer is recommended for the installation of synthetic putting greens?
A 2-4 inch layer of crushed stone or gravel is recommended to enhance drainage and create a stable surface for turf installation. This layer should be compacted thoroughly for stability.
What is the average cost of installing a putting green in Southern California in 2026?
The average cost of installing a putting green in Southern California in 2026 can range from $15 to $30 per square foot, depending on materials and the complexity of the design.
How long does it typically take for the grass to be ready for play after installation?
The grass is typically ready for play in just a couple of weeks after installation, provided that proper installation techniques are followed.
List of Sources
- Prepare Your Site for Installation
- Artificial Turf Market Size And Share | Industry Report, 2033 (https://grandviewresearch.com/industry-analysis/artificial-turf-market)
- Plastic Turf Fields Are Taking Over America (https://nytimes.com/2025/07/26/business/artificial-turf-grass-sports.html)
- The latest turf installation news, videos & comments | NewsBreak (https://newsbreak.com/trending/top/turf-installation-news)
- How To Prepare Your Home for Artificial Grass Installation: 5 Expert Tips - SGW Colorado (https://sgwcolorado.com/blog/2025/08/28/how-to-prepare-your-home-for-artificial-grass-installation-5-expert-tips)
- Choose the Right Turf and Materials
- 2026’s Biggest Artificial Turf Putting Green Design Trends - OC Turf & Putting Greens (https://octurfandputtinggreens.com/2026s-biggest-artificial-turf-putting-green-design-trends)
- The Best Artificial Grass for Putting Green (https://themotzgroup.com/infill_blog/the-best-artificial-grass-for-putting-greens)
- Choosing the Right Synthetic Grass for Your Turf Putting Green: Tips from the Experts - OC Turf & Putting Greens (https://octurfandputtinggreens.com/choosing-the-right-synthetic-grass-for-your-turf-putting-green-tips-from-the-experts)
- The Best Putting Green Turf: Buyer's Guide (https://synlawn.com/articles/best-putting-green-turf-buyers-guide)
- How to Choose the Right Turf for Your Backyard Golf Sanctuary (https://turffactorydirect.com/blog/backyard-golf-turf-selection-guide?srsltid=AfmBOooi8QFjOtR3JC3-cUPf-vqCa-vH8dhKMMglODgA5JMTlTUE1C-P)
- Install Your Putting Green Turf
- What’s Trending in Turf? 2026’s Most Unique Artificial Grass Landscape Ideas - OC Turf & Putting Greens (https://octurfandputtinggreens.com/whats-trending-in-turf-2026s-most-unique-artificial-grass-landscape-ideas)
- Artificial Grass News | American Syn-Turf Industry Updates (https://americansynturf.com/news)
- Advancements in Turf Technology: What's New in 2025? - Turft - Turf & Game Court Installation Specialists (https://turft.com/advancements-in-turf-technology-whats-new-in-2025)
- How Long Does a Putting Green Installation Take? Timeline for USA Homes (https://backninegreens.com/blog/how-long-does-a-putting-green-installation-take-step-by-step-timeline)
- Maintain Your Putting Green for Longevity
- Backyard Putting Green Maintenance Tips | TurFresh (https://turfresh.com/blog/helpful-artificial-grass-maintenance-tips-for-your-backyard-putting-green)
- Artificial Backyard Putting Green: Cleaning and Maintenance Tips (https://texasturfusa.com/austin-landscape-design/how-to-clean-an-artificial-putting-green)
- 10 Tips for Maintaining an Artificial Grass Putting Green (https://wintergreengrass.com/10-tips-for-maintaining-an-artificial-grass-putting-green)
- Artificial Putting Green Maintenance: Year-Round Care Guide (https://aglgrass.com/blogs/artificial-putting-green-maintenance)
- How to Clean and Maintain Putting Green Turf: A Seasonal Guide (https://backninegreens.com/blog/how-to-clean-and-maintain-putting-green-turf-seasonal-checklist)