Introduction
The increasing popularity of synthetic grass highlights a growing preference for low-maintenance landscaping that retains its vibrant appearance throughout the year. This guide provides homeowners with a structured, step-by-step approach to effectively install synthetic grass, ensuring a visually appealing and functional outdoor area. However, potential pitfalls during installation may arise. How can one effectively navigate these challenges to achieve a flawless finish?
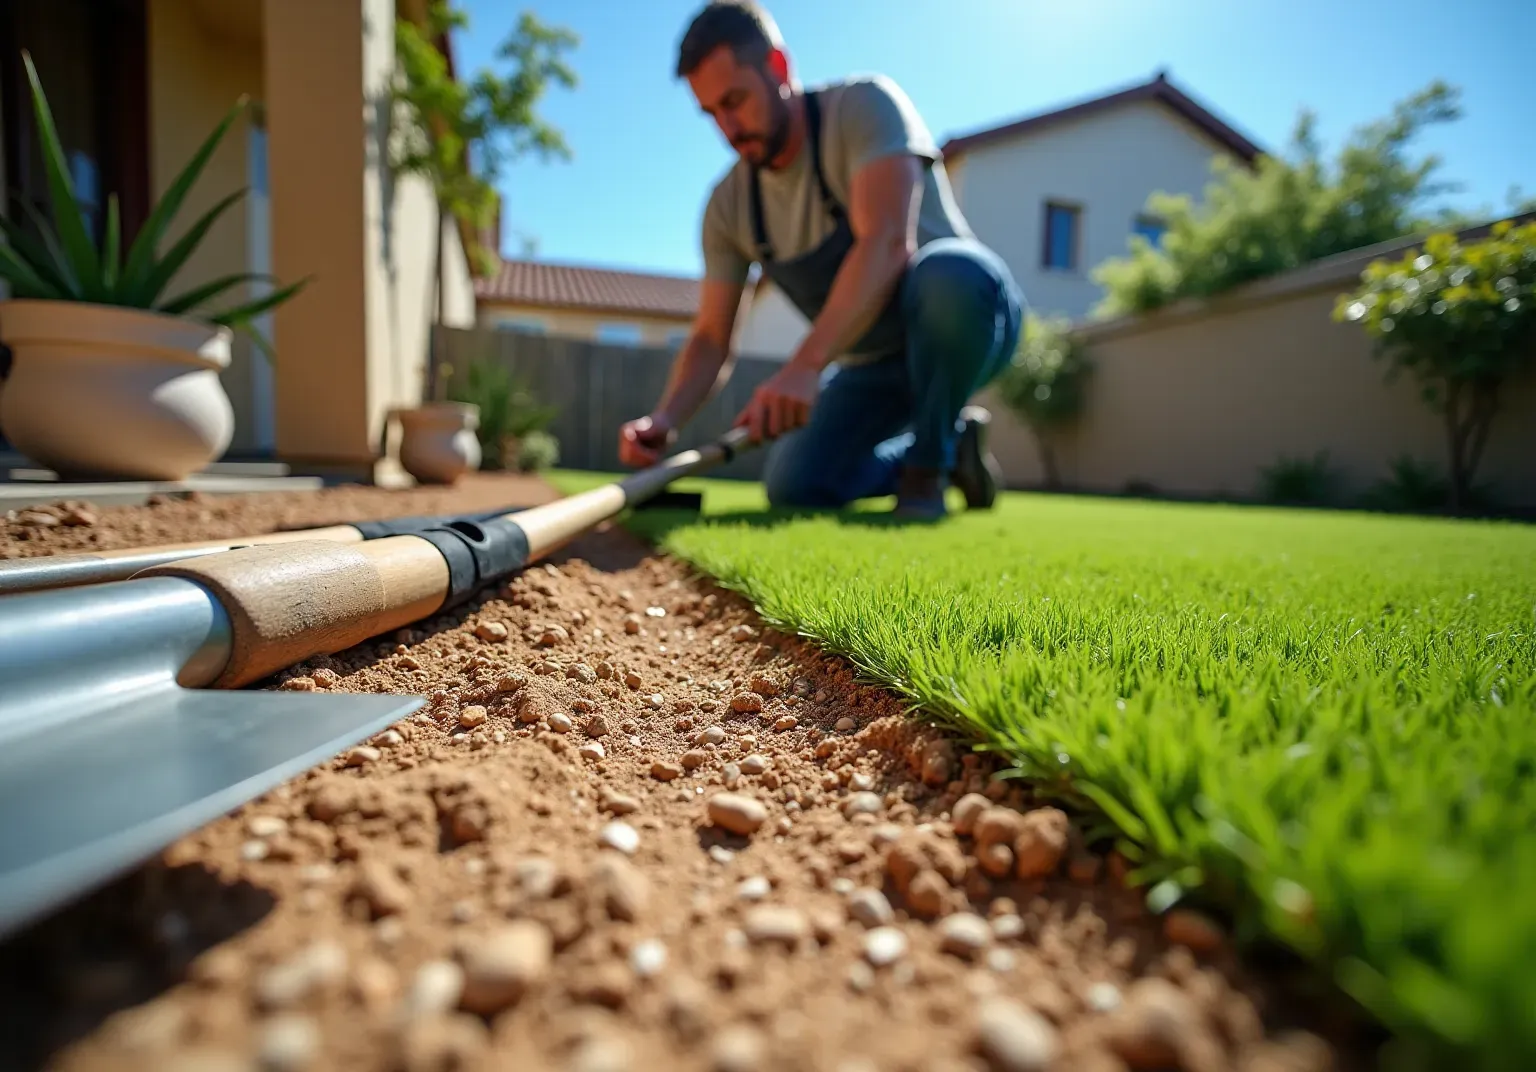
Prepare the Installation Area
- Clear the Area: Begin by removing any existing vegetation, weeds, and debris from the installation site. Use a shovel to excavate the top 2-4 inches of soil, creating a clean foundation for your synthetic grass.
- Level the Ground: After clearing, employ a rake to level the ground. This step is crucial to prevent any bumps or dips that could affect the surface's appearance and functionality.
- Check for Drainage: Verify that the area has . If the ground appears too flat, consider grading it slightly to encourage water runoff, thus preventing pooling beneath the turf.
- Install a Weed Barrier: Lay down a to inhibit future weed growth. While this step is optional, it is highly recommended to maintain the integrity of your setup.
- Add Base Material: Depending on your specific requirements, add a or gravel, approximately 2-4 inches thick. This layer will enhance stability and drainage for your .
In 2026, the is expected to be competitive, reflecting the growing demand for . Landscaping experts emphasize that , including , is vital for achieving a successful synthetic grass install. For example, ensuring a not only boosts aesthetic appeal but also contributes to the longevity of the turf. Many due to its lush appearance and minimal maintenance, with over 42% seeking backyard installations to resolve issues with dry, patchy natural lawns.

Install the Synthetic Grass
- Roll Out the Turf: Begin by rolling out the over the prepared area. Ensure that the grass is laid in the same direction to maintain a uniform appearance, as this alignment is crucial for achieving a .
- Cut to Fit: Use a utility knife to trim the edges of the grass for a precise fit. Always cut from the back of the grass to prevent fraying of the fibers, which can compromise the integrity of the installation.
- Secure the Grass: Fasten the edges of the grass using landscape staples or nails, placing them approximately 3-4 inches apart along the perimeter. This step is essential to keep the grass securely in place and prevent shifting over time.
- Seam the Turf: For setups involving multiple pieces of turf, ensure that the seams are aligned correctly. Use seam tape and adhesive to bond the edges together, creating a that enhances the overall aesthetic.
- Infill the Turf: Depending on the type of synthetic lawn, you may need to add , such as sand or rubber granules. This infill helps the blades stand upright and provides cushioning. Spread the infill evenly across the surface and use a broom to work it into the fibers, ensuring optimal performance and longevity.
The can range from 15 to 25 years with . Experts emphasize that is essential for maximizing its .

Maintain Your Synthetic Grass
- : Rinse the surface with a hose weekly to remove dust, dirt, and debris. This simple step helps and prevents buildup.
- : Use a stiff-bristled broom or a grass rake to brush the grass fibers regularly. This practice keeps the blades upright and prevents matting.
- : For spills or stains, apply a mild soap solution or a turf-specific cleaner. Gently scrub the affected area with a soft brush and rinse thoroughly.
- : Periodically examine the grass for any signs of weed growth. If any are noticed, remove them promptly to prevent them from taking root.
- : Regularly check for signs of wear or damage, such as tears or loose seams. Addressing these issues early can prevent more significant problems in the future.

Troubleshoot Common Installation Issues
-
Uneven Surface: If you notice bumps or dips after installation, inspect the base layer for inconsistencies. It may be necessary to lift the sod and re-level the base to ensure a smooth surface. A is critical to avoid such issues, as improper preparation can lead to and uneven surfaces. Key steps for preparing the sub-base include:
- Excavation
- Grading
- Applying a compacted aggregate layer
-
Visible Seams: To address , ensure that the turf pieces are aligned in the same direction. Trimming the edges more carefully and using high-quality seam tape and adhesive can help secure them better. Professional installers often emphasize the importance of and careful adhesion techniques to achieve virtually invisible seams.
-
Water Pooling: If water is pooling on the surface, check the drainage of the base layer. Adjusting the grading to create a slight slope of 1-2% can facilitate . is one of the most common complaints among homeowners after , making this step crucial for long-term satisfaction.
-
Plant Growth: Should , confirm that the barrier was set up properly. Installing a durable barrier membrane during the initial setup can significantly decrease the chances of plant problems. or manually removing the weeds may be necessary, along with reinforcing the barrier to prevent future growth.
-
Grass Damage: For small tears or harm, can be utilized for repairs. However, for larger issues, replacing the affected section of turf may be required. Regular maintenance and prompt attention to damage can help maintain the aesthetic and functional quality of your synthetic lawn.

Conclusion
In conclusion, successfully installing synthetic grass requires careful planning and execution, as detailed in this guide. By adhering to the step-by-step instructions-from site preparation to installation and maintenance-homeowners can achieve a beautiful and durable lawn that enhances their outdoor space.
Key considerations include:
- Clearing and leveling the installation area
- Ensuring proper drainage
- Securing the grass effectively to prevent future issues
Additionally, regular maintenance practices are essential to keep the synthetic turf looking its best and to prolong its lifespan. Addressing common installation challenges, such as uneven surfaces and visible seams, is crucial for ensuring long-term satisfaction with the installation.
Transitioning to synthetic grass presents a sustainable and low-maintenance solution for homeowners seeking an attractive landscape. By investing time and effort into the installation process and following best practices, individuals can enjoy a lush, green lawn that stands the test of time. Embracing this modern landscaping option not only enhances property aesthetics but also contributes to more efficient water use and reduced upkeep, making it a wise choice for any homeowner.
Frequently Asked Questions
What is the first step in preparing the installation area for synthetic grass?
The first step is to clear the area by removing any existing vegetation, weeds, and debris from the installation site. You should use a shovel to excavate the top 2-4 inches of soil to create a clean foundation.
Why is it important to level the ground before installing synthetic grass?
Leveling the ground is crucial to prevent any bumps or dips that could affect the surface's appearance and functionality.
How can I check for adequate drainage in the installation area?
You should verify that the area has adequate drainage. If the ground appears too flat, consider grading it slightly to encourage water runoff and prevent pooling beneath the turf.
Is it necessary to install a weed barrier when preparing the site for synthetic grass?
Installing a weed barrier is optional, but it is highly recommended to inhibit future weed growth and maintain the integrity of your setup.
What type of base material should be added before laying synthetic grass?
You should add a base layer of crushed stone or gravel, approximately 2-4 inches thick, to enhance stability and drainage for your synthetic grass installation.
What is the expected trend for synthetic grass installation costs in California by 2026?
The average expense of synthetic grass installation in California is expected to be competitive in 2026, reflecting the growing demand for low-maintenance landscaping solutions.
Why is proper site preparation emphasized by landscaping experts?
Proper site preparation, including effective clearing and leveling, is vital for achieving a successful synthetic grass installation, as it boosts aesthetic appeal and contributes to the longevity of the turf.
List of Sources
- Prepare the Installation Area
- Synthetic Turf News | Stadia Magazine (https://stadia-magazine.com/news/synthetic-turf)
- Artificial Grass, Market Trends, Business Insights, and Analysis (https://installartificial.com/how/artificial-grass-business-insights-market-trends)
- Synthetic Turf News | News & Blog | Synthetic Turf International (https://synthetic-turf.com/news-blog)
- As California installs more artificial turf, health and environmental concerns multiply (https://latimes.com/science/story/2025-09-17/californias-love-hate-relationship-with-artificial-turf)
- Artificial Grass News | American Syn-Turf Industry Updates (https://americansynturf.com/news)
- Install the Synthetic Grass
- Why Californians Are Using Artificial Grass Instead of Natural Grass (https://forestgreenartificialgrass.com/blog/why-californians-are-using-artificial-grass-instead-of-natural-grass)
- How Long Does Artificial Turf Last? | 2026 Regional Guide (https://bigbullyturf.com/how-long-does-artificial-turf-last)
- What Is The Lifespan Of Synthetic Turf - Keystone Sports Construction (https://keystonesportsconstruction.com/what-is-the-lifespan-of-synthetic-turf)
- The Rise of Artificial Grass in California – SJAPC (https://sjapc.net/the-rise-of-artificial-grass-in-california)
- Maintain Your Synthetic Grass
- 4 Best Practices for Maintaining Your Synthetic Grass Turf – Hall Turf | Artificial Turf Installation Kansas City KS & MO (https://hallturf.com/4-best-practices-for-maintaining-your-synthetic-grass-turf)
- Tips for Artificial Grass Maintenance [Extend Longevity] (https://groundsguys.com/blog/artificial-grass-maintenance-tips)
- Artificial Turf Maintenance Guide | Cleaning & Care Tips (https://fieldturflandscape.com/maintenance/artificial-turf-maintenance-guide)
- Complete Artificial Turf Cleaning & Maintenance Guide 2026 • Turf Monsters AZ (https://turfmonstersaz.com/complete-artificial-turf-cleaning-maintenance-guide-2026)
- Essential Practices for Maintenance of Artificial Grass at Home (https://californiaturfco.com/essential-practices-for-maintenance-of-artificial-grass-at-home)
- Troubleshoot Common Installation Issues
- Synthetic Grass Installation: Common Challenges & Solutions (https://syntheticgrassmasters.com/synthetic-grass-installation-challenges-and-solutions-what-to-expect)
- Common Issues With DIY Installs | Synthetic Grass Warehouse (https://syntheticgrasswarehouse.com/resources/installing-artificial-grass/common-issues-with-diy-installs)
- Fake Grass Installation Mistakes (and Ways to Avoid Them) (https://southwestgreens.com/blog/fake-grass-installation-mistakes-and-ways-to-avoid-them)
- 7 Common Artificial Grass Problems and How to Fix Them (https://ccgrass.com/problems-with-artificial-grass)